

Windows 10 has HDR settings, but the options were limited. But with the introduction of Auto HDR in Windows 11, users can unleash the full potential of their HDR-supporting display(s).
The Auto HDR feature was first introduced in Microsoft's 9th generation gaming consoles, the Xbox Series
HDR automatically adjusts the lighting and color of your screen, leading to better and more realistic graphics.
In Windows 11, users can now enable Auto HDR without installing additional software. Anyone with a screen that supports HDR can now use this extra palette of colors and more.
Enable Auto HDR in Windows 11
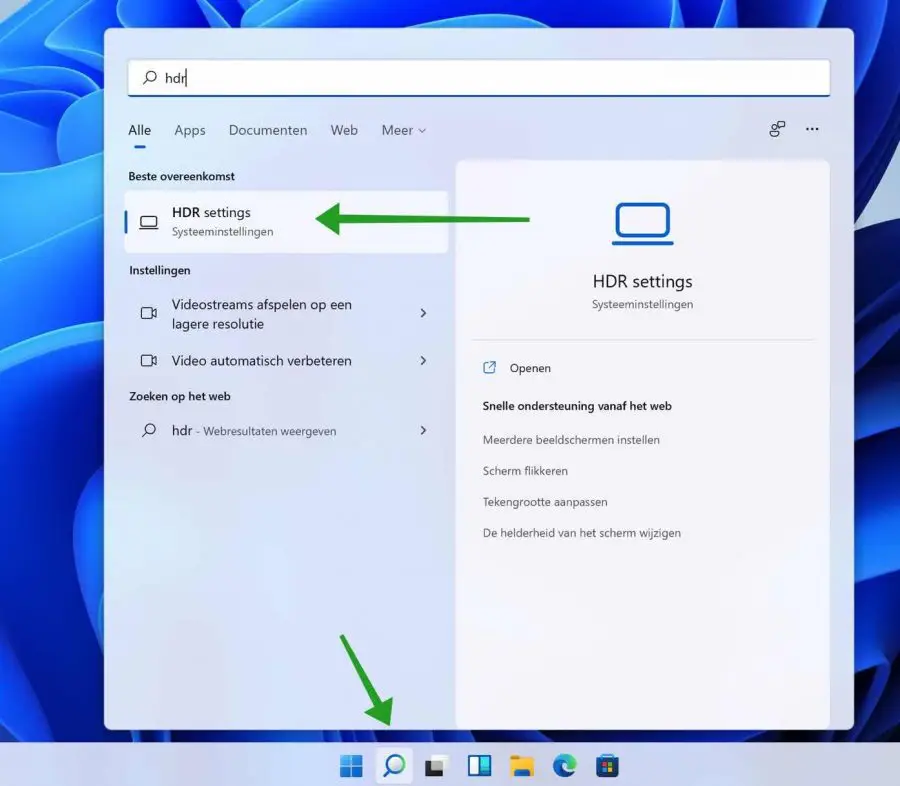
In the Windows search bar type: HDR. Click on the: HDR settings or HDR settings result.
In the HDR settings of Windows, enable both options: Play streaming HDR video and Use HDR.
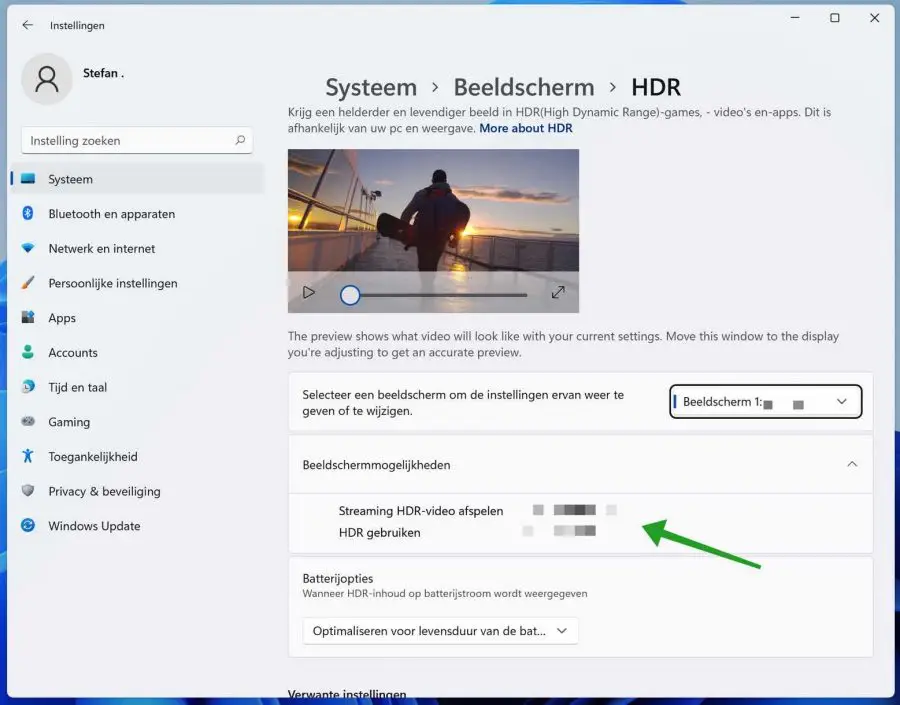
If you have enabled both HDR switches, navigate down a bit until you reach “Auto HDR”. Also enable the option: Auto HDR.
You have now successfully enabled Auto HDR in Windows 11. There is no need to restart the computer. Windows itself immediately uses HDR via the Auto HDR function.
I hope this simple tip has helped you. Thank you for reading!
I have a problem with Outlook.
I cannot find the list of people and the schedule of messages (received and sent) is not working properly. The columns have changed.
This may be able to be resolved with a system restore.
Kind regards, Jan van den Hoek.
Hello, this could be several problems. Here are 5 solutions.
1. You may have enabled the “new” Outlook. Click on “New Outlook” or “Net Outlook” in Outlook at the top right to disable it.
2. You have made changes to the appearance. Right-click on the Start button in Windows. Click on “execute”. In the run window type: outlook.exe /cleanviews
3. Click on the “View” tab in Outlook. Select “Change view” and then choose “Restore view to defaults.”
4. Reinstall Outlook:
https://support.microsoft.com/nl-nl/office/een-office-toepassing-herstellen-7821d4b6-7c1d-4205-aa0e-a6b40c5bb88b5. Restore a Windows restore point: https://www.pc-tips.info/tips/windows-tips/windows-herstelpunt-maken-en-terugzetten-uitgebreide-instructie/
Success!