

Various visual effects are available in Windows 11 and 10. These visual effects make displaying certain Windows components easier.
One of these components is shadows that you see in a file name or a font on both the desktop and in the Windows Explorer. This technique is better known as “anti-aliasing” in the graphics world.
When text is displayed on a screen, it is created by lighting pixels in certain patterns. Since pixels are square, rendering curved or slanted lines of fonts can create a cascading or blocky effect, which is called “aliasing.” Anti-aliasing helps reduce this problem by lighting the pixels at the edges of the text in different shades of gray, making the edges appear smoother and softer.
The shadow in a font is not always useful. For example with a light topic of background can it font style actually come out less well and are therefore more difficult to read. You can also show or hide the shadow in the font. This is how it works.
Show or hide shadow in font in Windows 11 or 10
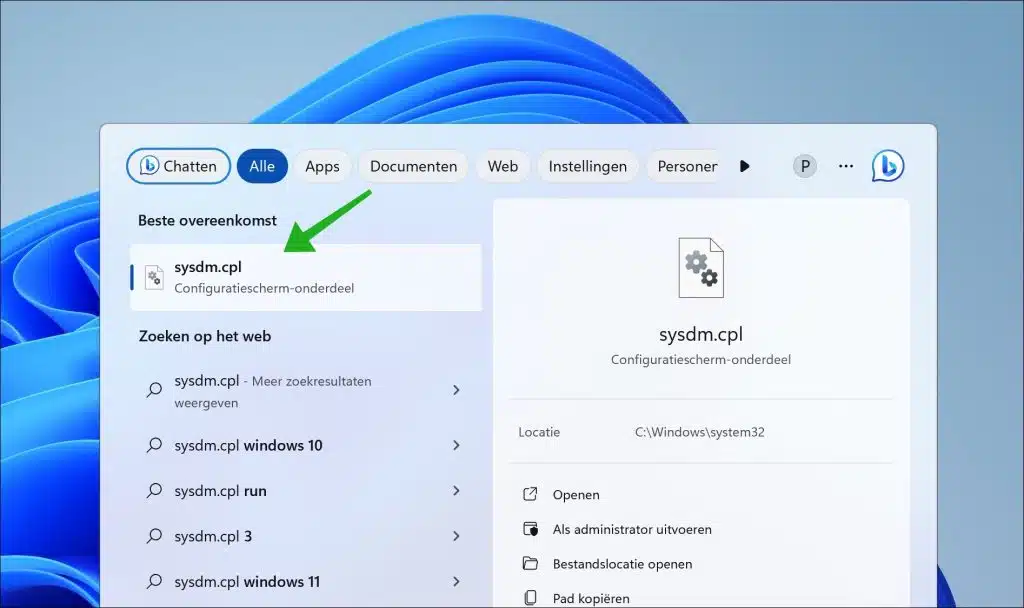
To get started, open the system properties. In the search bar on the taskbar type: sysdm.cpl to open the system properties.
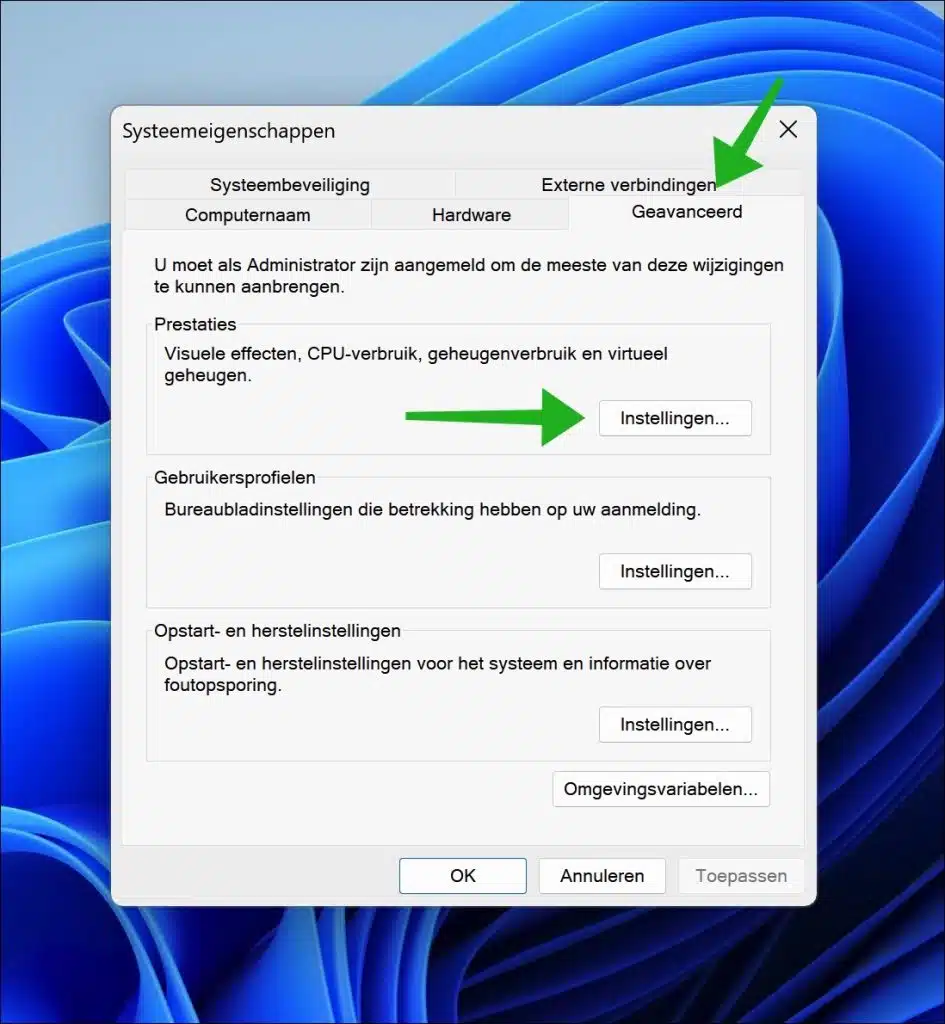
Then click on the “Advanced” tab and then on the “Settings” button in the performance settings.
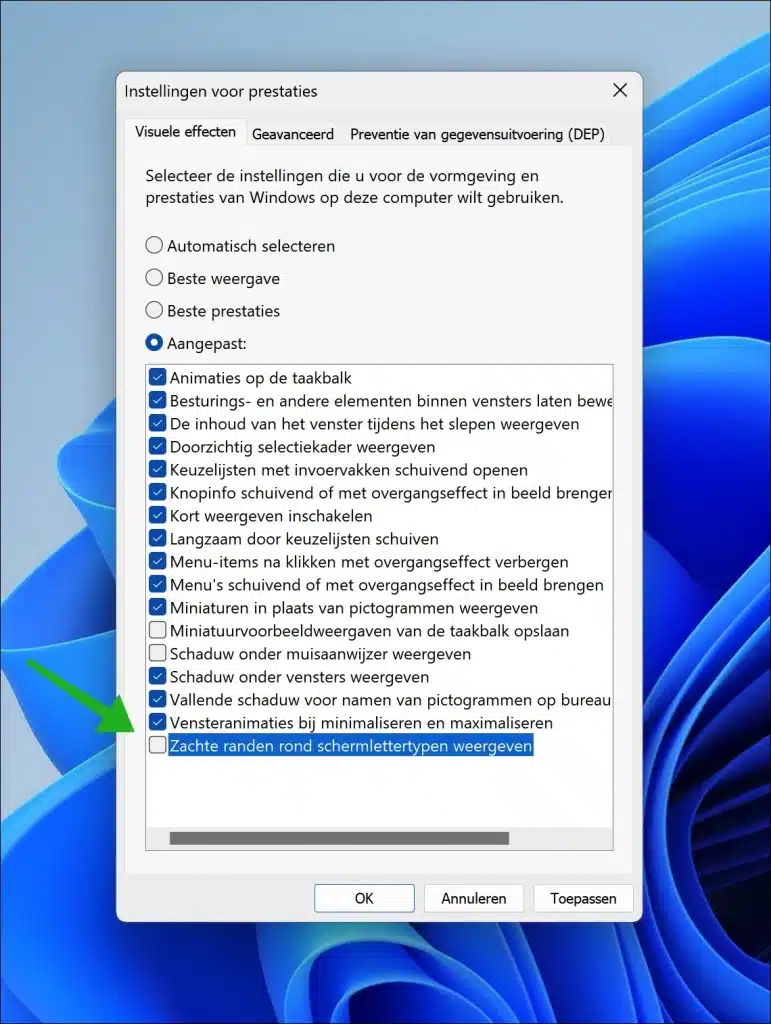
You can now enable or disable the font shadow by changing the “Show soft edges around screen fonts” option. Confirm by clicking “Apply” and “OK”.
You will immediately see the desired effect in the font. If you don't see it, restart your computer.
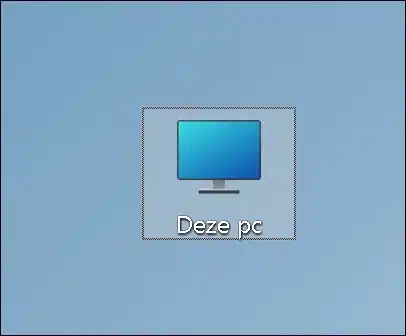
Below is the effect when “show soft edges around screen fonts” is enabled:
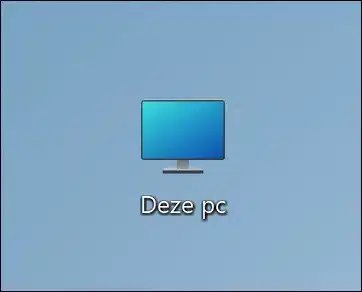
Here is the effect when “show soft edges around screen fonts” is disabled:
I hope to have informed you with this. Thank you for reading!
Read more: Enable shadow for mouse cursor.