
The start menu in Windows 10, we all have a kind of love-hate relationship with it, at least I do. In the recent Windows 10, the start menu has changed considerably and I had to get used to it.
Instead of a start menu with a succession of different folders and shortcuts to programs, the start menu in Windows 10 has changed into a stack of shortcuts in the form of tiles.
In Windows 10, these tiles are adapted to the user's use, i.e. tiles show relevant tips, the weather and are added or removed if you use specific apps or not.
In this article you will find a number of tips to customize the start menu. There are a lot of changes you can apply to the start menu. This way you can change the start menu to your liking.
Customize Windows 10 start menu
Change the size of the tiles
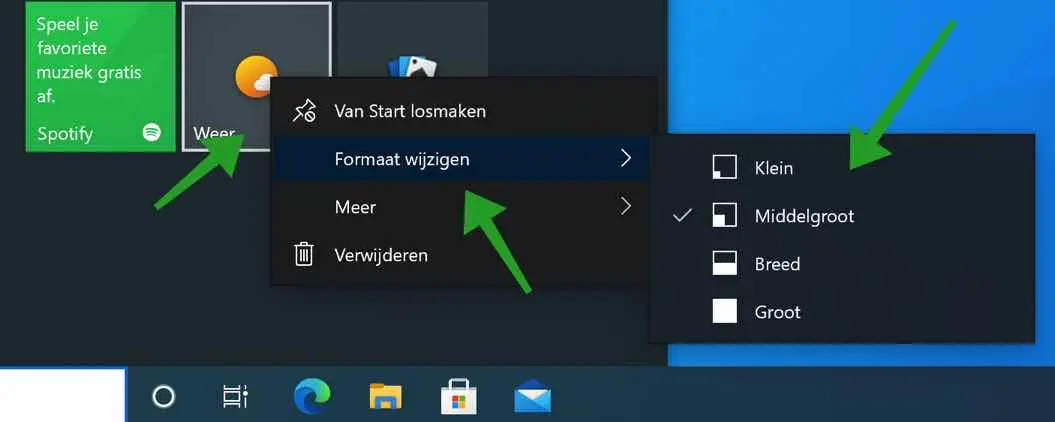
To resize tiles in the Windows start menu, right-click on a tile in the start menu. You then choose resize from the menu. You can then change the size of a tile to small, medium, wide and large. You must do the sizing separately for each tile.
Adjust the size of the Windows start menu
You can adjust the Windows 10 start menu in both length and width. You can make the start menu larger but not smaller without removing tiles first.
The start menu in Windows 10 has a certain size corresponding to the screen resolution in Windows. You cannot make the start menu smaller because then all tiles and structures will no longer fit in the start menu.
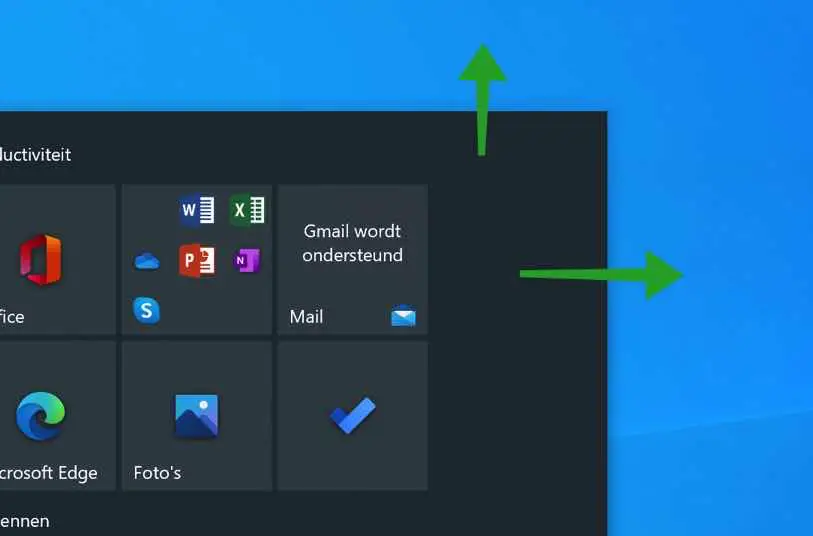
To adjust the size of the start menu, open the start menu and hold the mouse pointer on the edges of the top right and the right side, then drag the mouse to the desired size. This way you can adjust the size of the start menu.
Add or remove tiles from the start menu
To adjust tiles it is also useful to be able to add or remove tiles.
Remove tile from the start menu
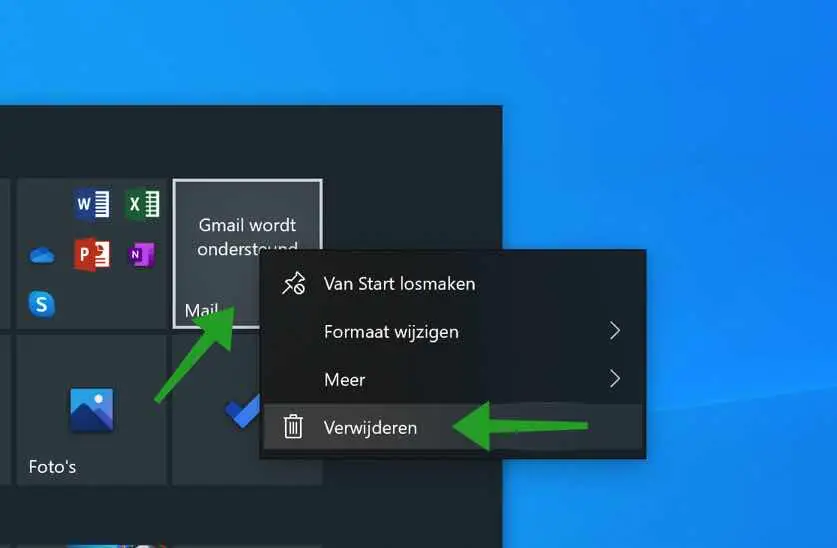
If you want to delete a tile, right-click on the tile and choose Delete.
Add tile to the start menu
To add a specific app as a tile to the start menu, right-click its name from the list of apps in the start menu and choose Pin to Start.

Disable live tiles
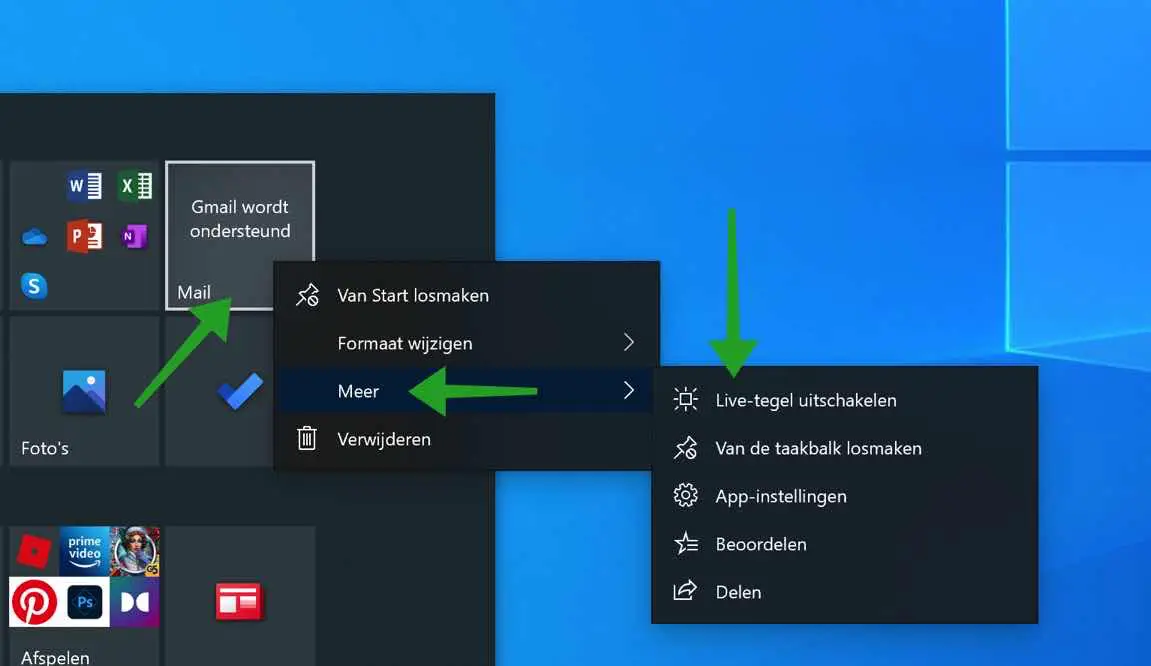
Some tiles in the Windows 10 start menu are “live”. Live means that the tiles show information that is constantly being updated. Live information such as the weather. If you want to disable this live tile information, right-click on the tile in question, click more and then click Disable live tile.
Group tiles
If you want to create an overview of different tiles, it is advisable to add the tiles to a folder. You can do this by selecting (holding) a tile with the left mouse button and dragging it onto any other tiles that you want to group into a folder.
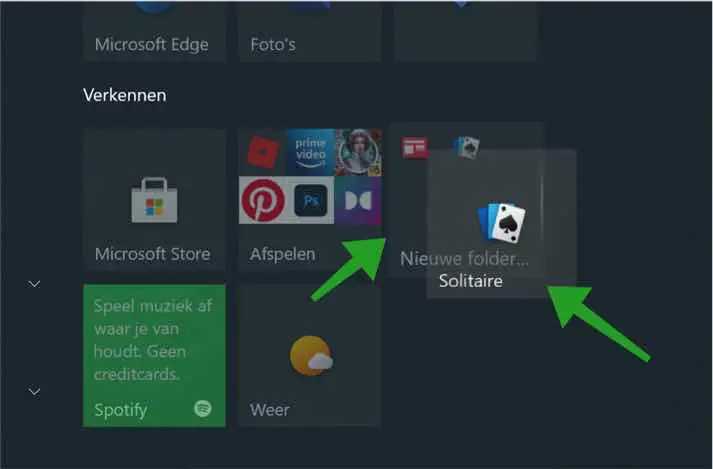
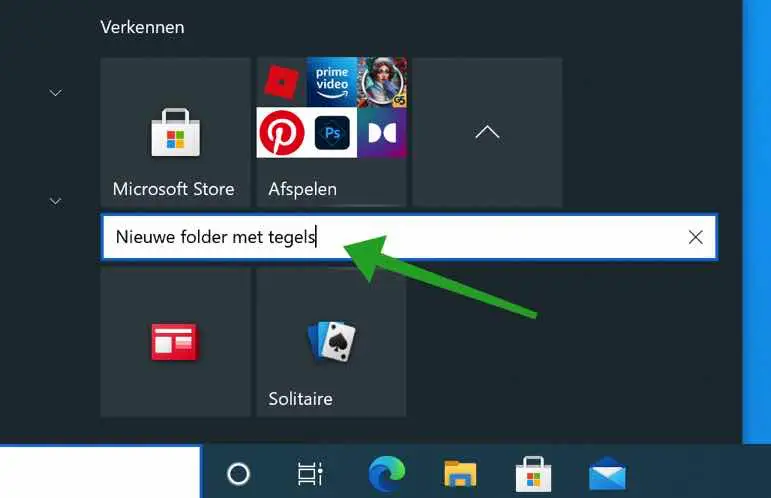
This way creates a new folder and you can give it a name for overview.
Create old Windows 7 start menu in Windows 10
If you are fond of the old start menu that most of us know from Windows 7 and earlier, you can create a similar start menu in the following way.
You click on each tile one by one and remove each tile from the start menu, or choose – unpin from start. Then change the start menu to a smaller size. How to remove a tile and resize the start menu can be found in this article.
The Windows 10 start menu will then look like the following (image below). This seems somewhat on the old familiar start menu as one knows from Windows 7 and earlier. There are no more tiles present.
With the app StartIsBack you can return the Windows 7 start menu to Windows 10 for a fee.
Customize apps in the start menu
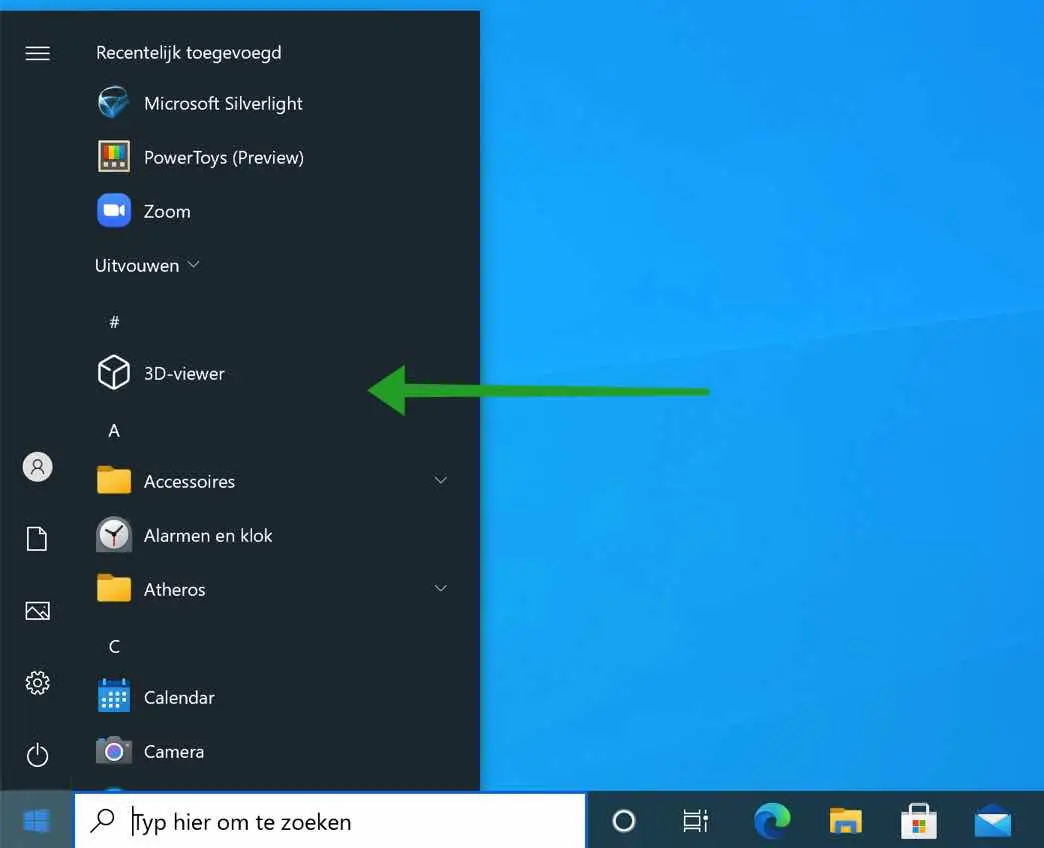
By default, the Windows 10 Start menu shows several of your recently installed, most used, and suggested apps, followed by a list of all apps installed on your system.
If you do not want to show these personalization settings of apps in the start menu, you can disable these app settings as follows.
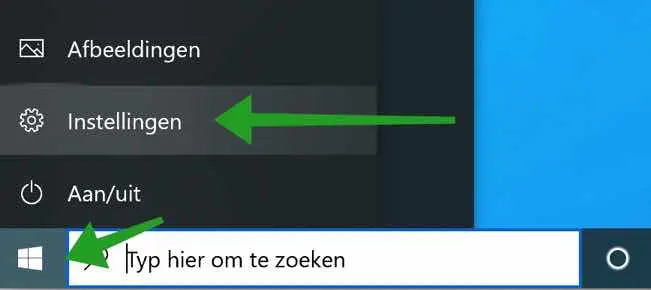
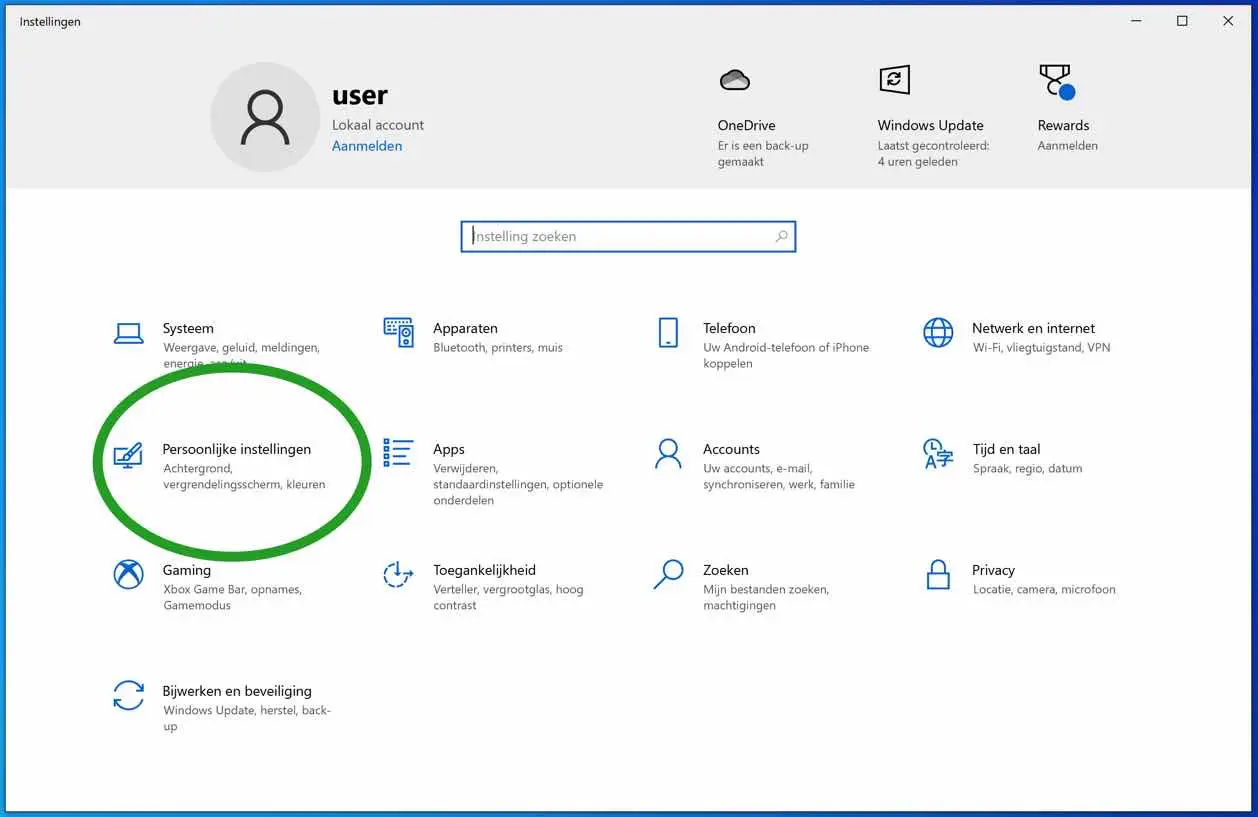
Click on the start menu. In the left menu click on the gear icon to open the settings.
Then click on Personal settings.
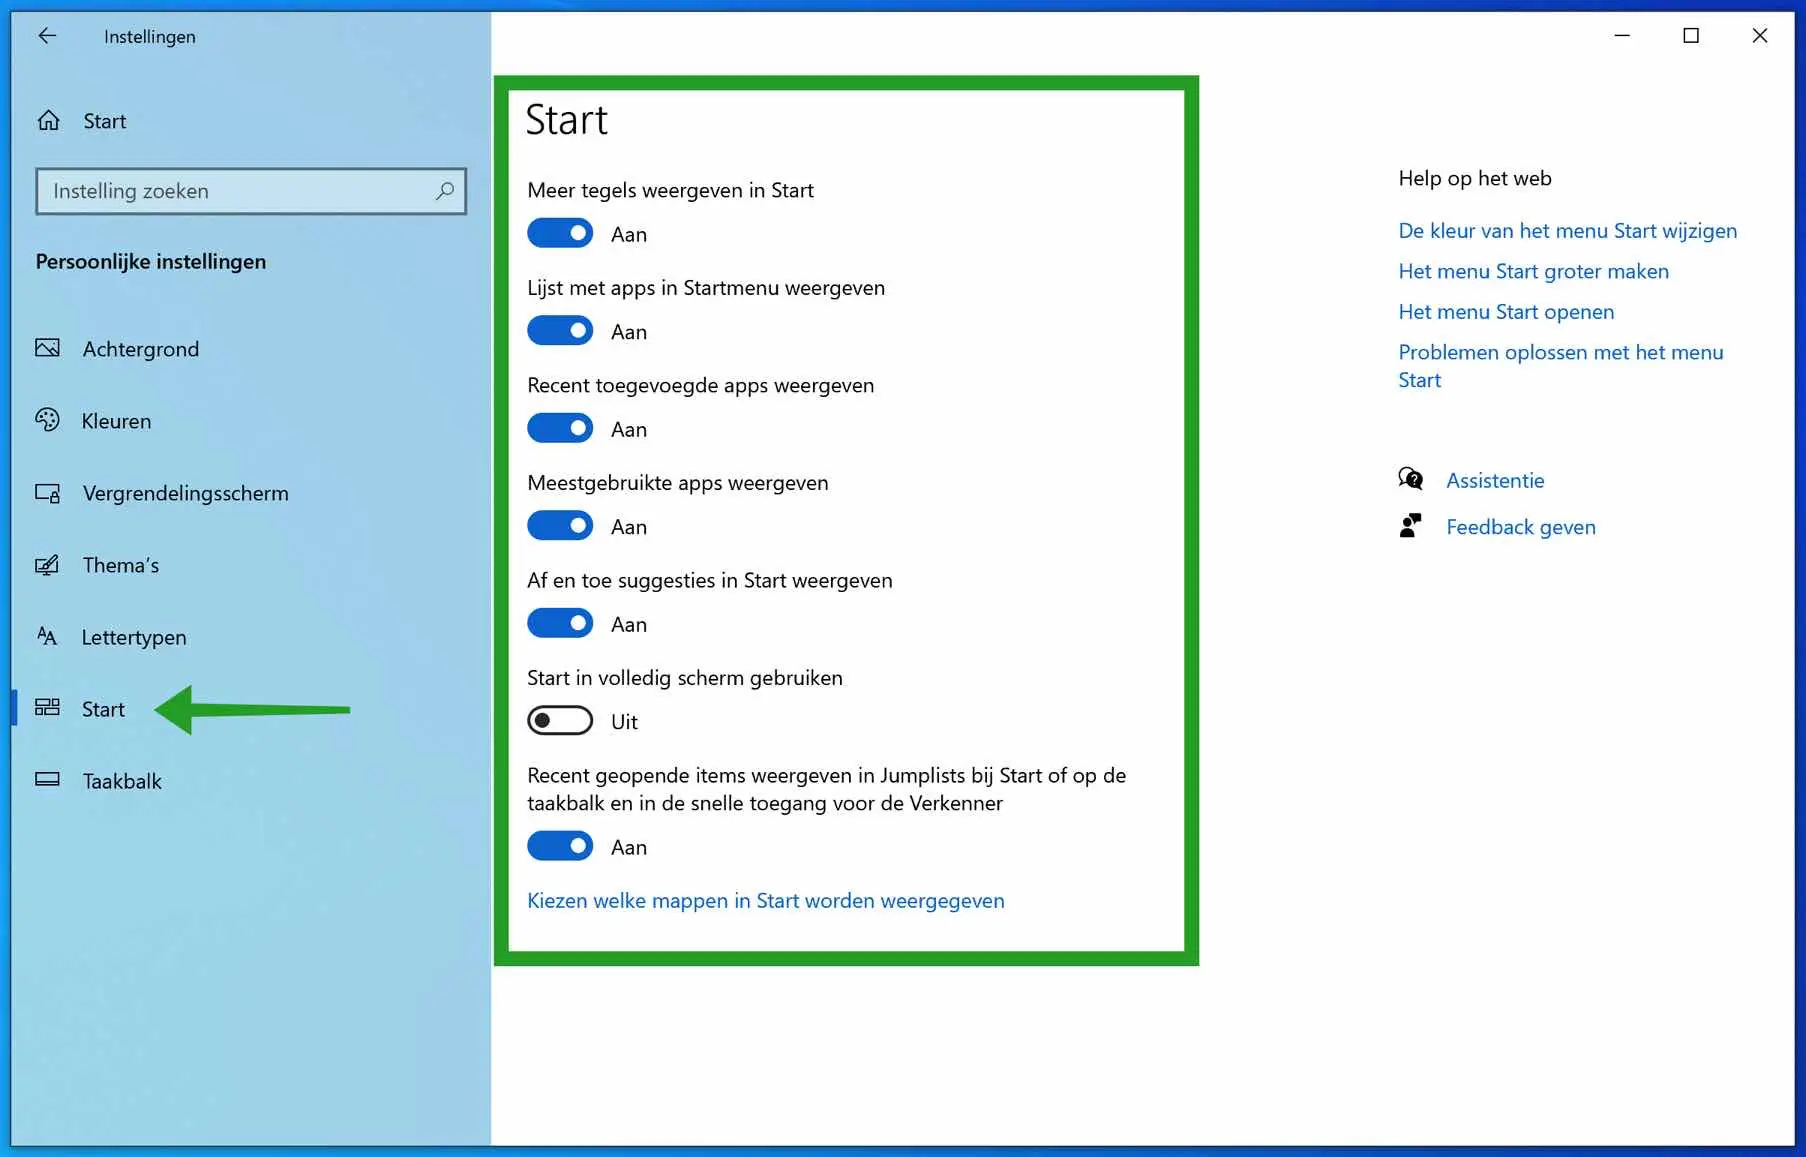
In the left menu, click Start to adjust the start menu settings. You then have the choice to make the following start menu adjustments.
Show more tiles in home. Show list of apps in start menu. Show recently added apps. Show most used apps and occasionally show suggestions in the Start.
If you want to display the start menu in full screen, you can also activate or disable this start menu setting here.
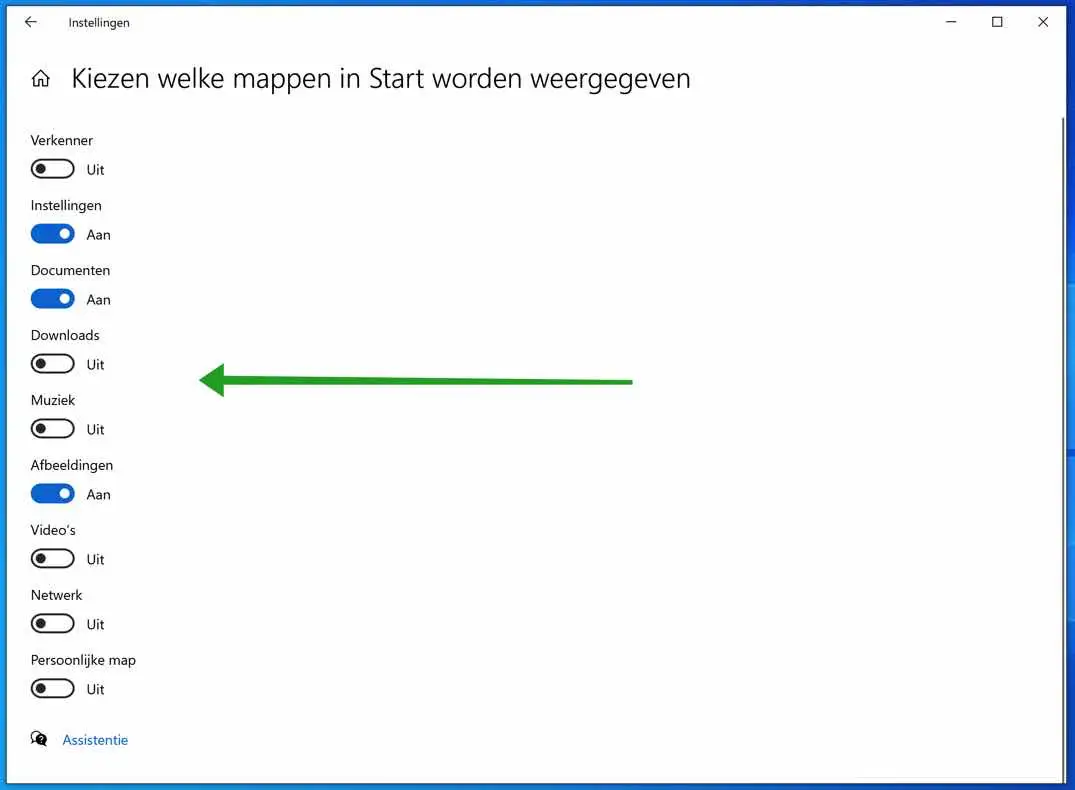
If you click on the link at the bottom called: Choose which folders appear in Start you can change the shortcuts that appear in the left part of the start menu.
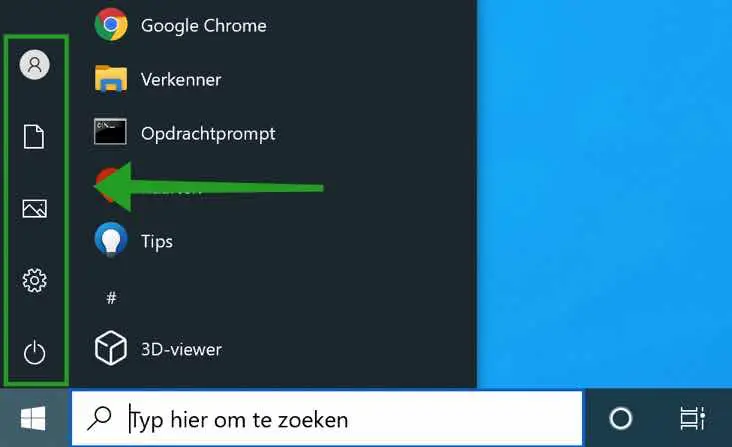
You then have the choice to enable or disable the display of the following shortcuts. The Windows Explorer, the Windows settings, the shortcut to Documents, Downloads, Music, Pictures, Videos, Network and the Personal (Users) folder. By default, the Windows on or off button is also displayed.
I hope this has helped you customize the start menu in Windows 10 to your liking. If you have any questions, please ask your question via the comment field at the bottom of these instructions.
Thank you for reading!