
This guide will show you how to change the startup logo in Windows 11 or 10. The startup logo is the logo that is displayed when Windows loads. This is generally a logo of Windows itself, but is replaced by the manufacturer's logo by some manufacturers.
This concerns the following logo, see image:
![]()
You can change this startup logo, but there are some important things to keep in mind.
- You should disable Secure Boot and leave it disabled. With Secure Boot enabled, the new boot loader cannot be started. Disabling Secure Boot may cause issues with malware, new updates, and functionality. It's important that you know what you're getting into before you disable Secure Boot.
- Windows must use UEFI and not a BIOS.
- You have administrator rights needed on the computer.
- BitLocker encryption must be disabled.
- Important: Make a backup before continuing.
- Do not run this on a computer that is important for daily use.
Use a logo of a maximum of 300x300 pixels and color the background black. Do not use a transparent image (PNG file), this is not supported. Preferably use a JPG file.
Change Windows Startup logo in Windows 11 or 10
Read the above if you haven't already done so. To start, download HackBGRT from Github. Hack is self-explanatory, “BGRT” means: Boot Graphics Resource Table. The BGRT contains information about the boot logo that is displayed during the system boot process.
HackBGRT is a utility that allows you to change or replace the boot logo displayed by UEFI firmware during system boot. This can be useful for customization purposes, such as adding a custom logo or removing the manufacturer's logo that usually appears during startup.
It is important to note that changing system firmware or bootloader settings can be risky and may void warranties or cause system instability if done incorrectly. Therefore, you should exercise caution and make sure you understand the potential risks before using tools like HackBGRT.
Extract the contents of HackBGRT and place it on your desktop, for example. Right-click on setup.exe and choose “run as administrator”.
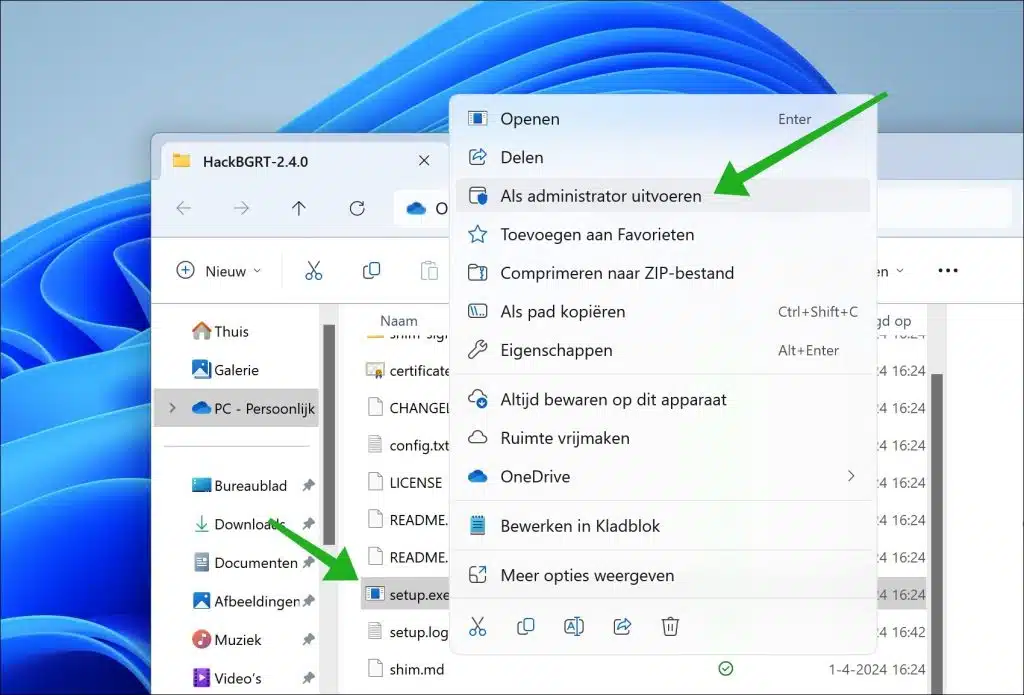
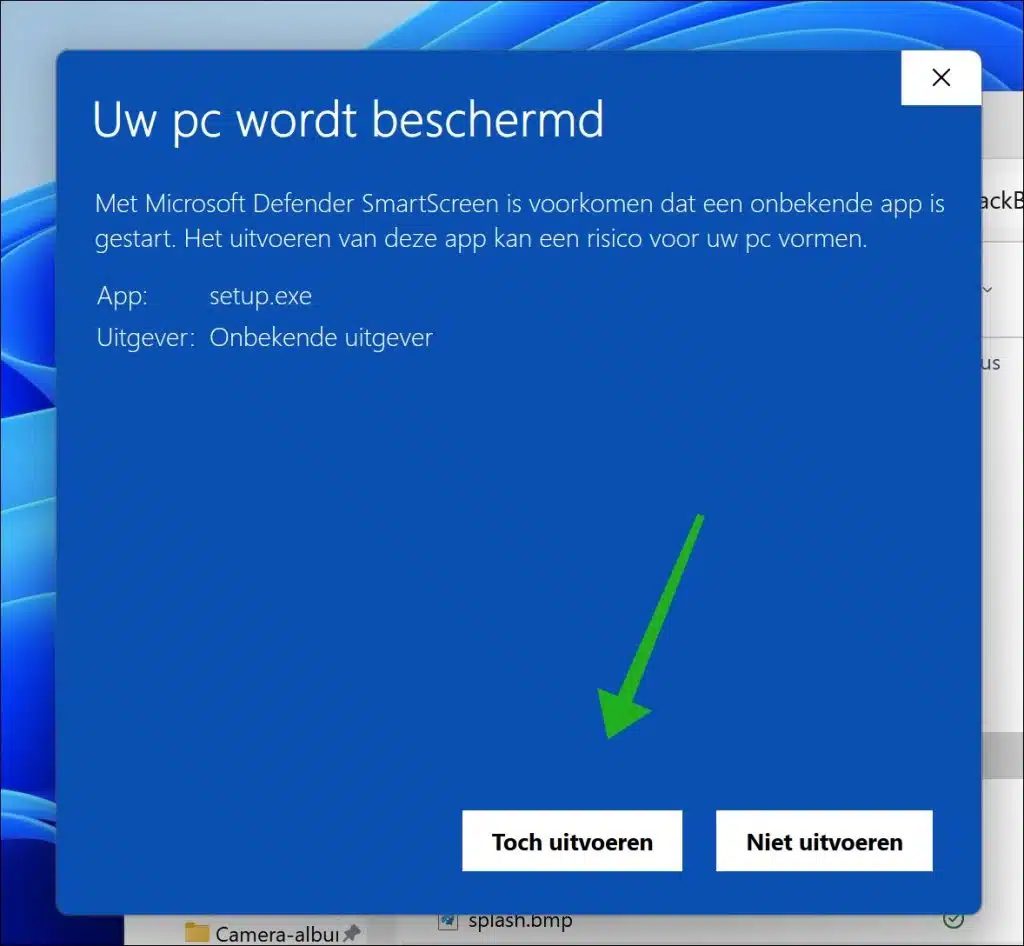
If you use the receives message “Your PC is being protected”, then click on the link “more information. Then confirm by clicking “Run Anyway”.
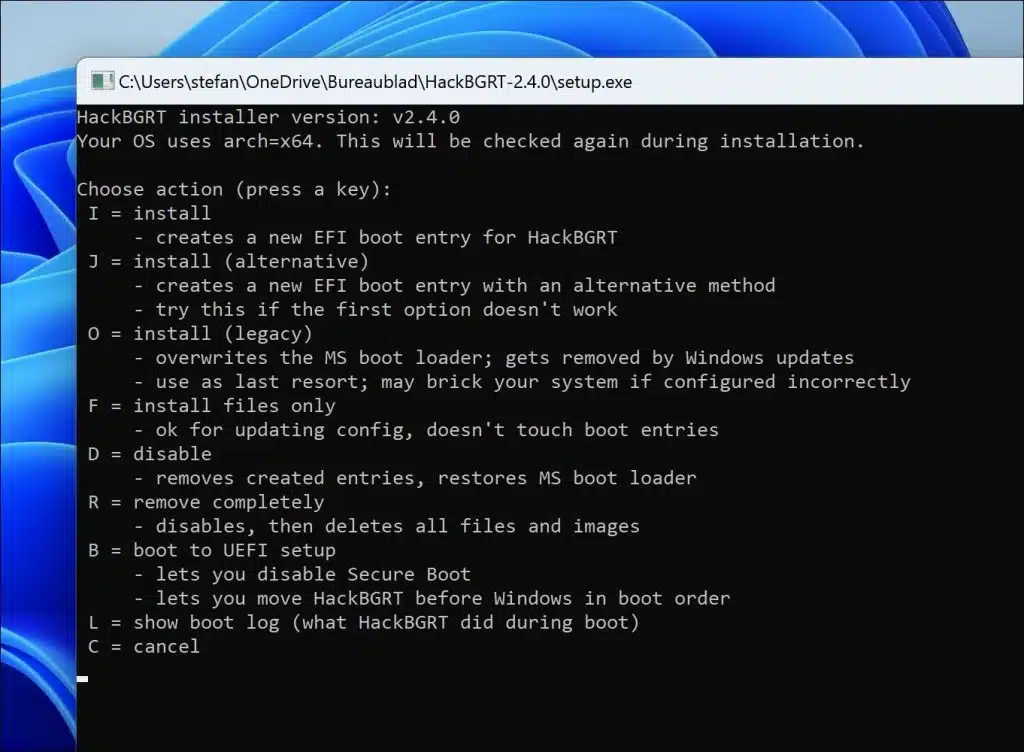
To replace the boot logo you need to add a new EFI boot entry via HackBGRT. To do this, press “I”.
Paint now opens in a standard image. Replace this image by choosing “File” > “Import to Canvas” > “From File” from the menu.
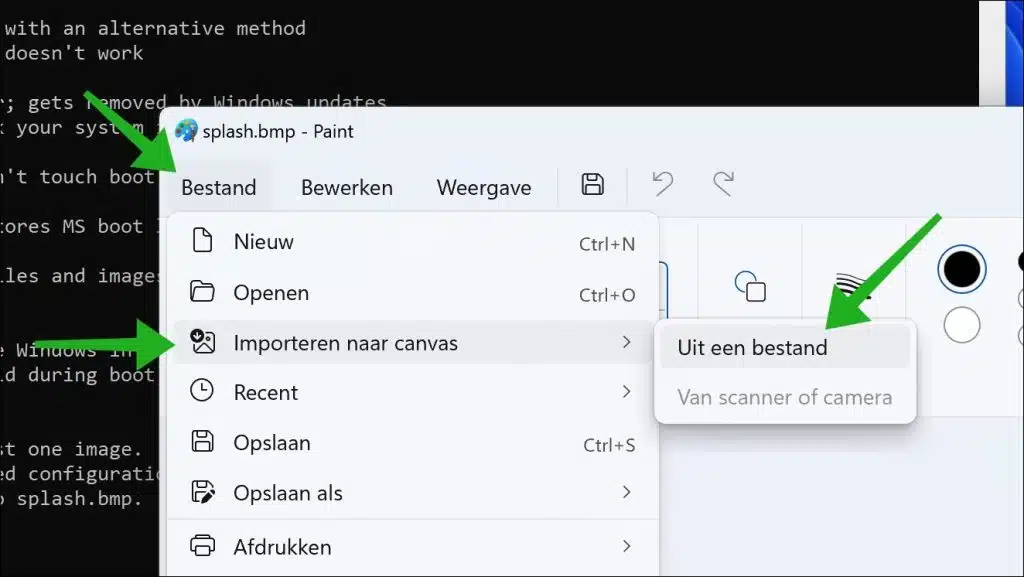
Make sure you overwrite the existing image. When you are done, click “File” > “Save”.
![]()
As soon as you close Paint, a new EFI boot entry will be installed.
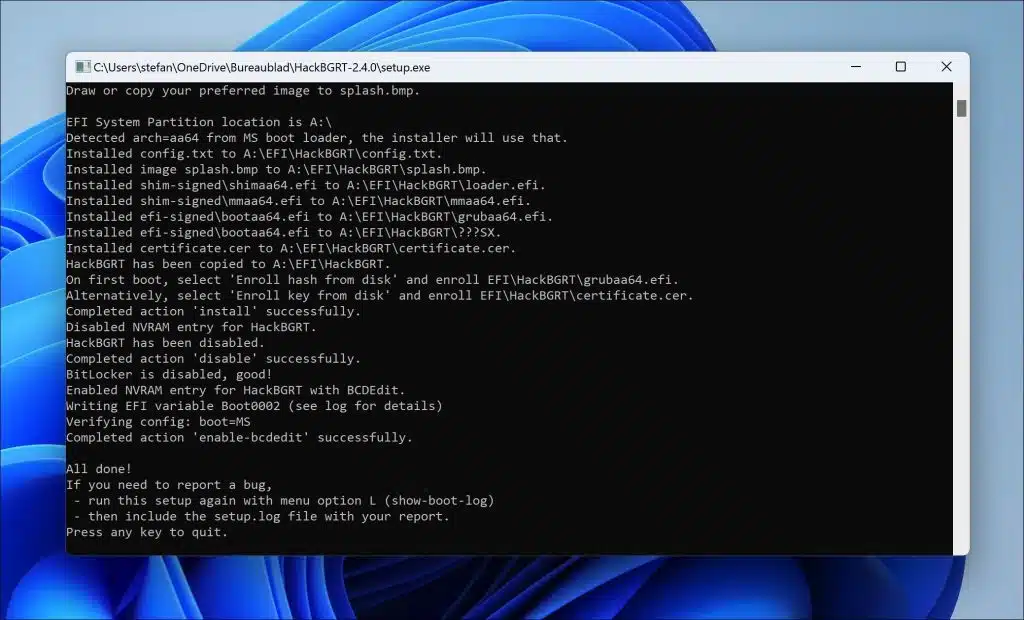
Restart your computer. After the restart you will see the new boot logo.

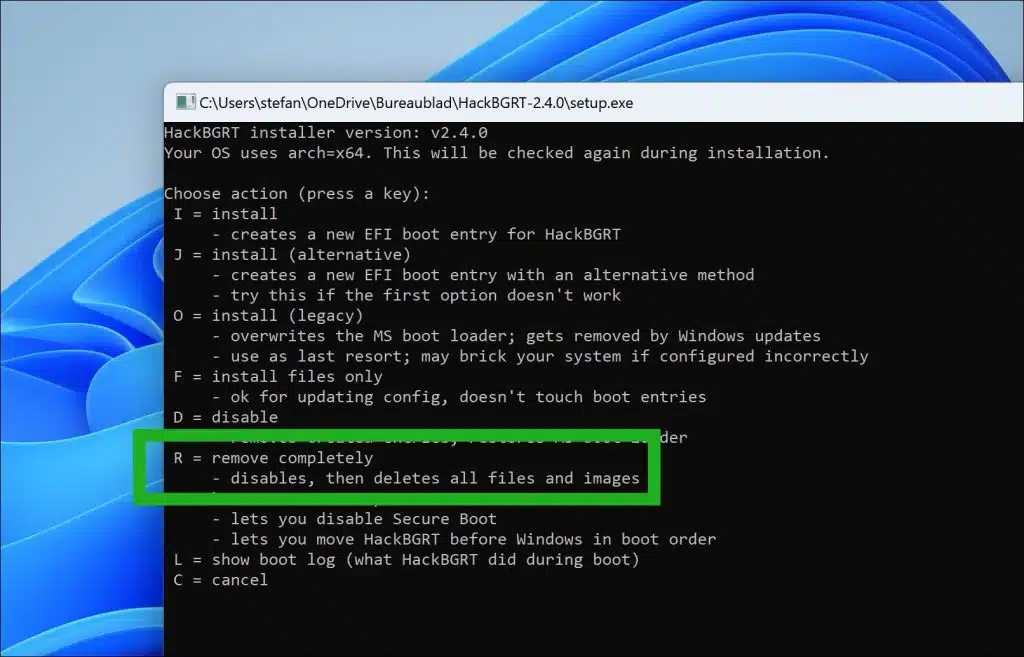
If you want to restore the old Windows boot logo, follow the above by opening HackBGRT. Instead of choosing “I” for install, choose “R” for remove. The old Windows boot logo will now be reinstalled. You can also enable Secure Boot again afterwards.
I hope this helped you. Thank you for reading!