

If you are going to install Windows, Windows will automatically be installed with an Administrator account. An administrator account is required to install apps and adjust settings in Windows. If you add an account in Windows later when Windows is fully installed, this will be a user account without administrator rights by default.
A standard account in Windows is the account that most Windows users work with. If an Administrator account is required during the installation of an app or the adjustment of certain Windows settings, Windows will show the UAC.
UAC is User Account Control and UAC asks for permission to run certain apps and settings as Administrator. This way, a standard user can still install apps, etc.
A standard user account in Windows can be created via a local account or through one Microsoft account.
Administrators, on the other hand, have full access to a Windows computer and can run everything without restrictions like a standard user account. To adjust a user account in Windows, an Administrator account is required.
Change user account in Windows
Change a user account type via Windows settings
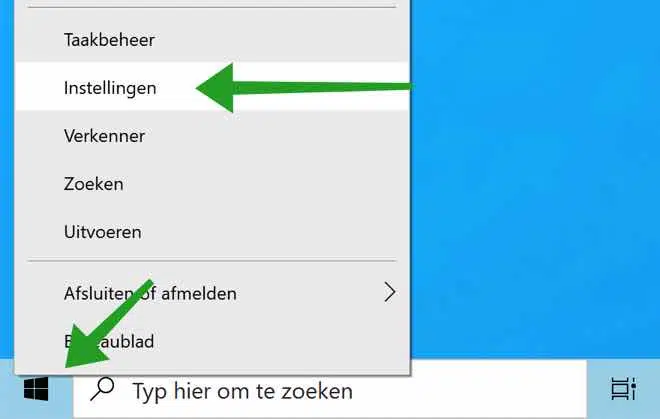
To change an account type via Windows settings, first right-click on the Windows start button. In the startmenu click Settings.
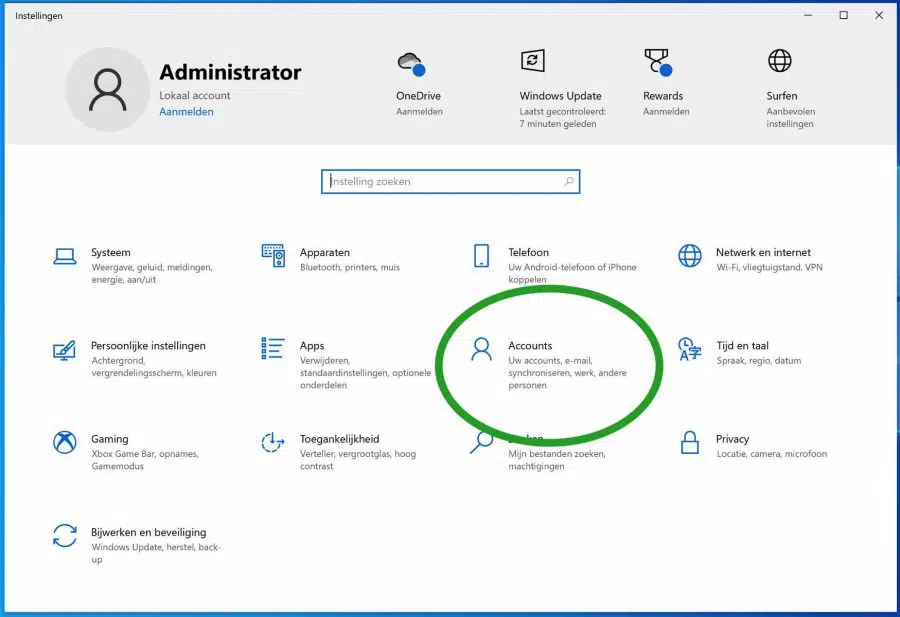
Click Accounts to change user accounts.
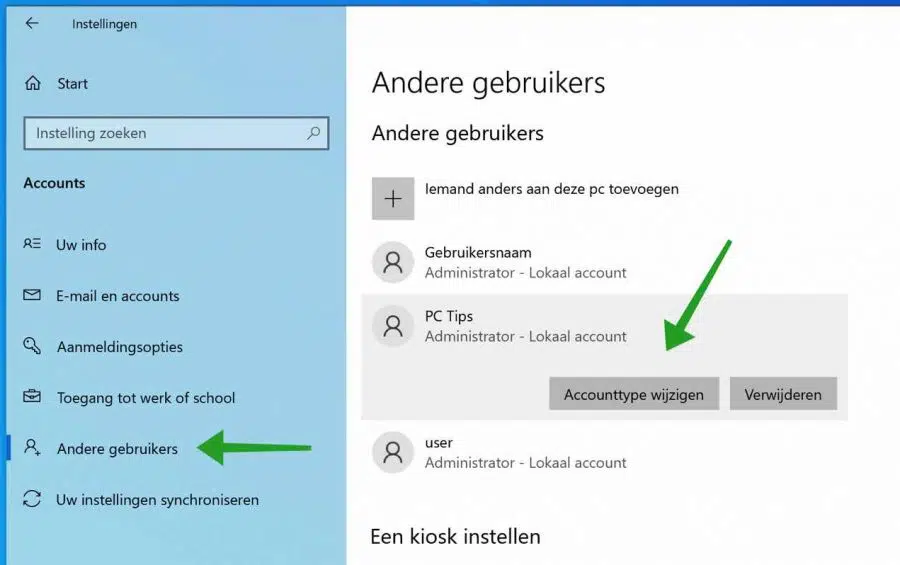
In the left menu click on: Other users. Click on the user account whose account type you want to change and click the Change Account Type button.
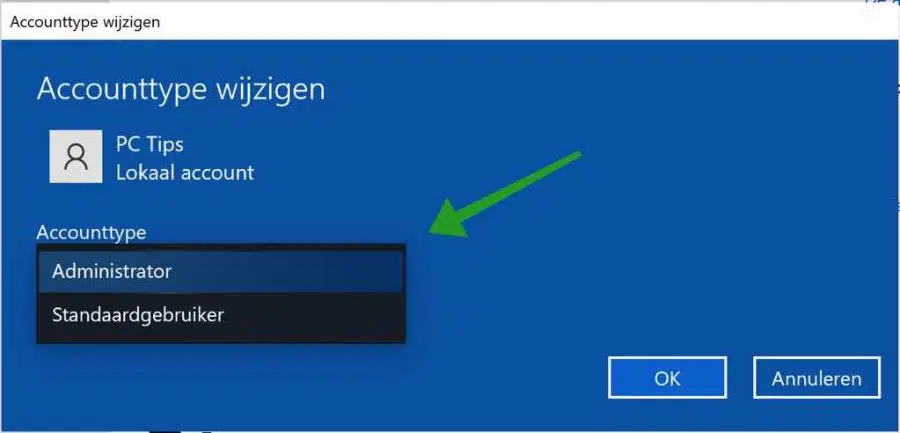
A new window will open where you can change the account type. You can turn a standard account type into an administrator and vice versa. Click OK to confirm.
Change account type via the control panel
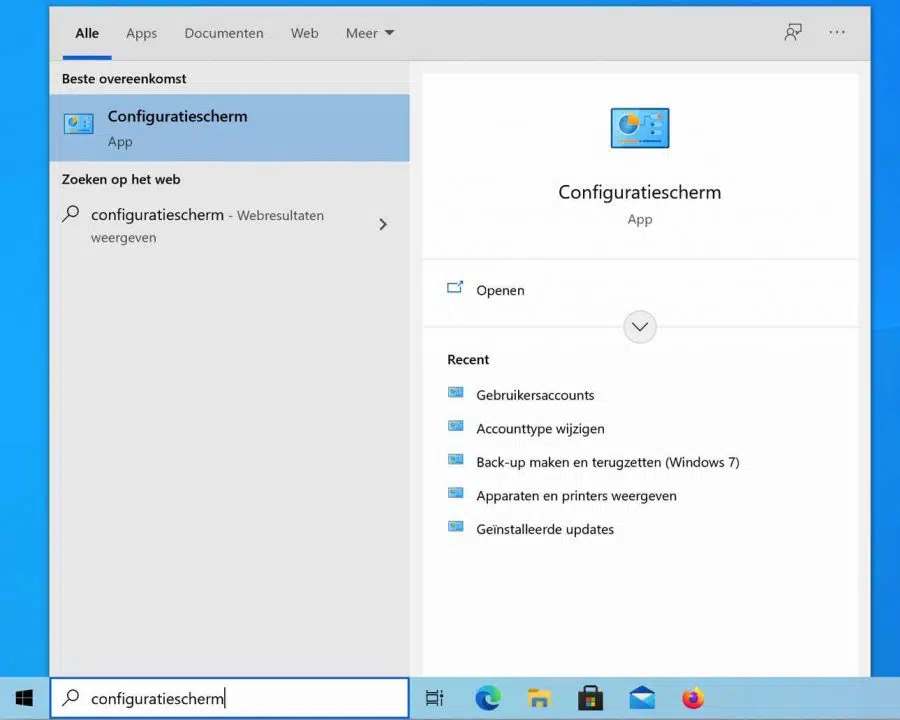
You can also change an account type in Windows through the Control Panel. In the Windows search bar or using the magnifying glass, search for: Control Panel.
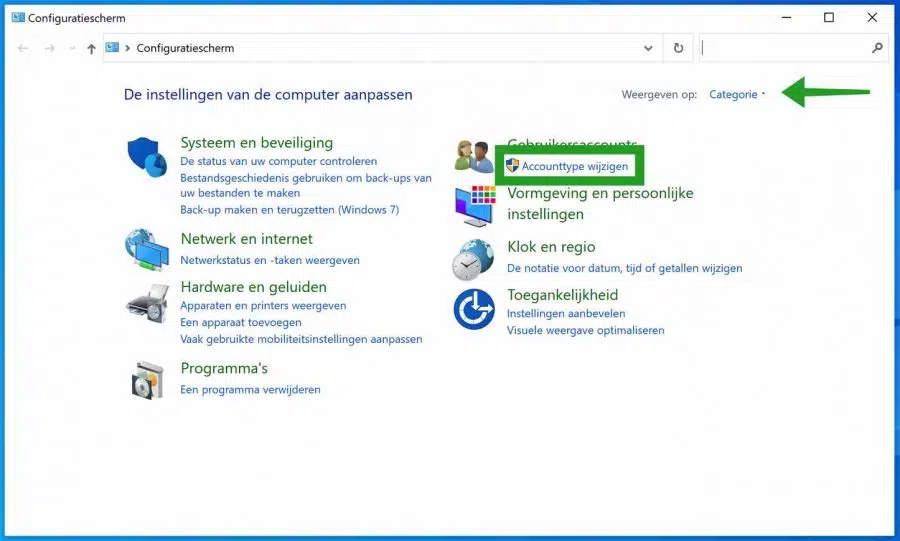
Change the control panel view to: Category. Then click on Change account type in the User accounts heading.
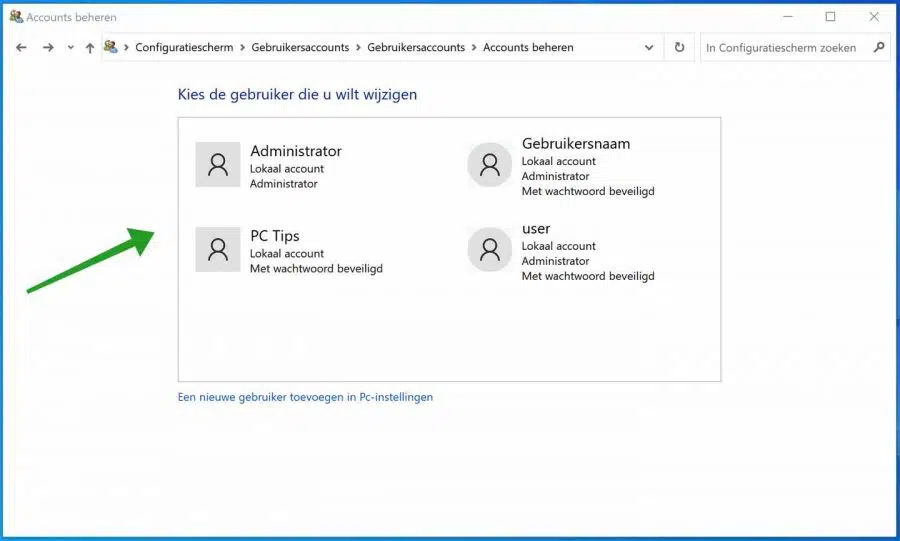
Click on the Windows account whose type you want to change.
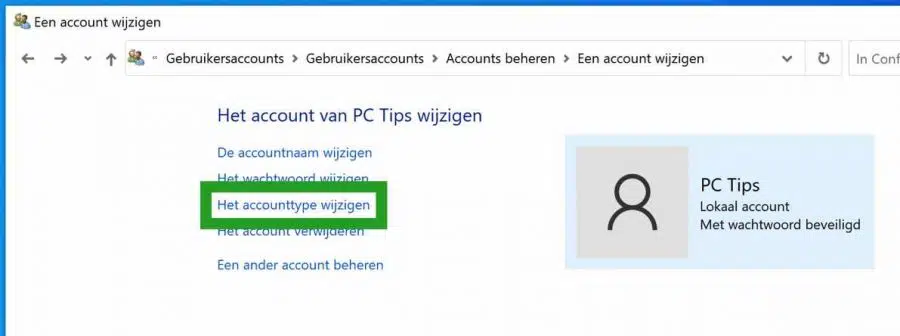
Click on the text: Change the account type.
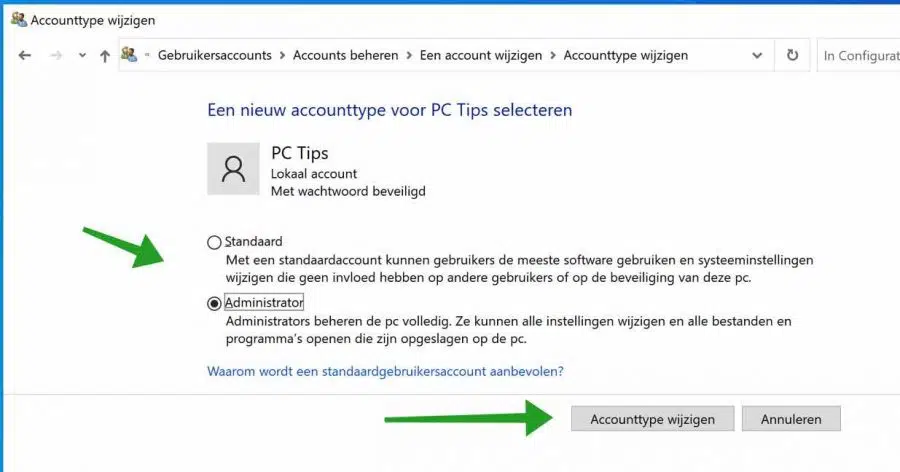
You can now select a new account type for the local Windows account. Select standard or an administrator account.
A Standard account allows users to use most software and change system settings that do not affect other users or security of this PC.
Administrators fully manage the PC. They can change all settings and open all files and programs stored on this PC.
Click the Change Account Type button to confirm the change.
Change account type via Netplwiz
Netplzwiz is a utility responsible for managing user accounts and it is considered a fundamental part of the security aspect of the Windows operating system. Netplwiz can be used to create a change username in Windows as well as the Windows account type.
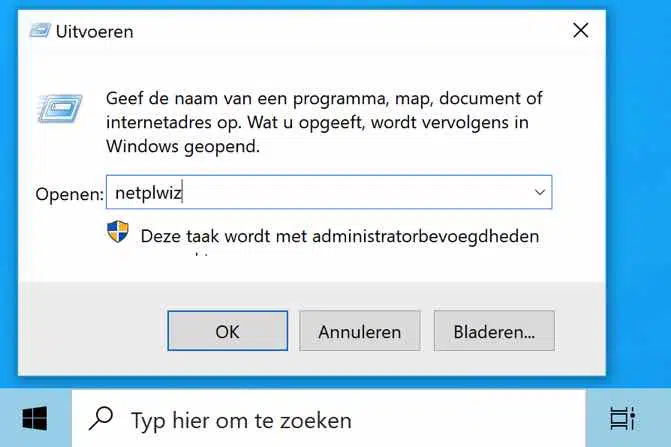
Right-click on the Windows start button. In the start menu, click Run. In the Run window type: netplwiz.
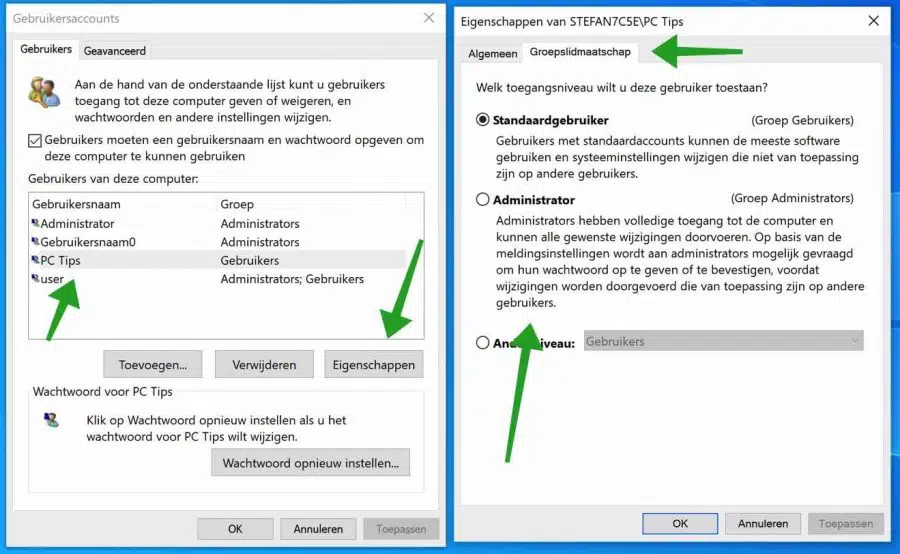
The User Account window opens. In the table of “Users of this computer” click on the user account you wish to change. Then click on the Properties button.
The user profile properties open. Click on the tab: Group Membership and select the desired Standard User or Administrator account type. Click OK and close the window.
Change account type via Command Prompt
You can also change the account type in Windows via commands you enter in the Windows Command Prompt. You can optionally process these commands in a script, such as a batch script.
In the Windows search bar or using the magnifying glass, search for: Command Prompt. Right-click on the result and choose Run as Administrator.

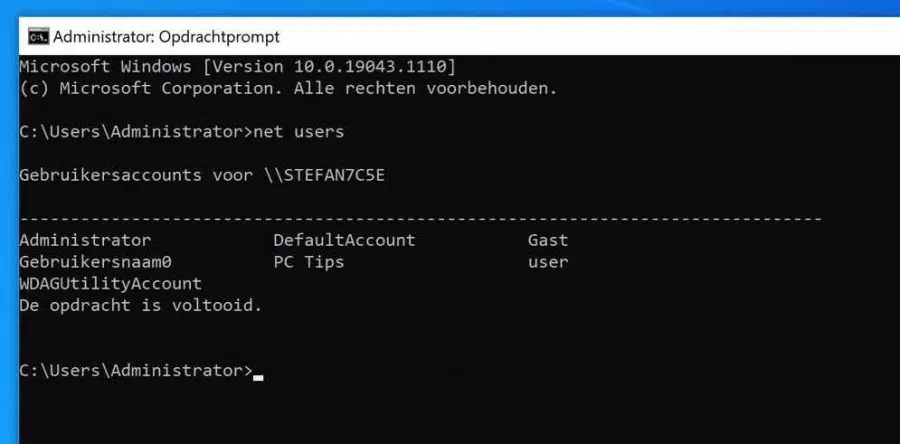
To get started, first get a list of all accounts on the computer to see what names these accounts belong to. You need this name to enter as a command.
To query all users on the computer via Command Prompt, type:
net users
You can then add a user account to a group, the Users or the administrator group. The group: Users is a group of standard user accounts in Windows and the Administrator group is the administrator group.
Are you using an English version of Windows? Then change “Users” to “Users”.
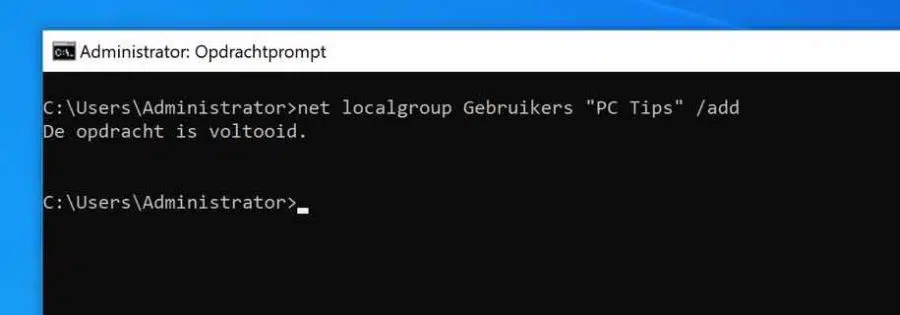
To add an account to a Users group, type the following command:
net localgroup Gebruikers "naam" /add
Around the user to delete again from the group change /add to /delete.
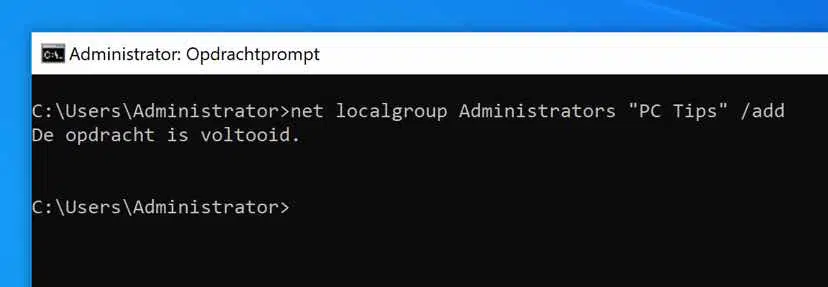
To add an account to an Administrator group, type the following command:
net localgroup administrators "naam" /add
To remove the user from the group, change /add to /delete.
I hope this helped you. Thank you for reading.