
A username is a way to identify the name of an account in Windows. A username is associated with two types of accounts in Windows, namely a local account or a Microsoft account.
For example, a user name in Windows is displayed on the login screen when you have started the computer and need to log in to Windows. The username in Windows is slightly different from the account name.
For example, the account name is used to create a profile folder and cannot be changed by changing the username. To change a username in Windows you must be logged in as an administrator, also known as it Administrator account.
Change username in Windows
Change username via your Microsoft account
Microsoft offers you the option to log in to Windows via a Microsoft account. If you use this, you must change the username via Microsoft.com.
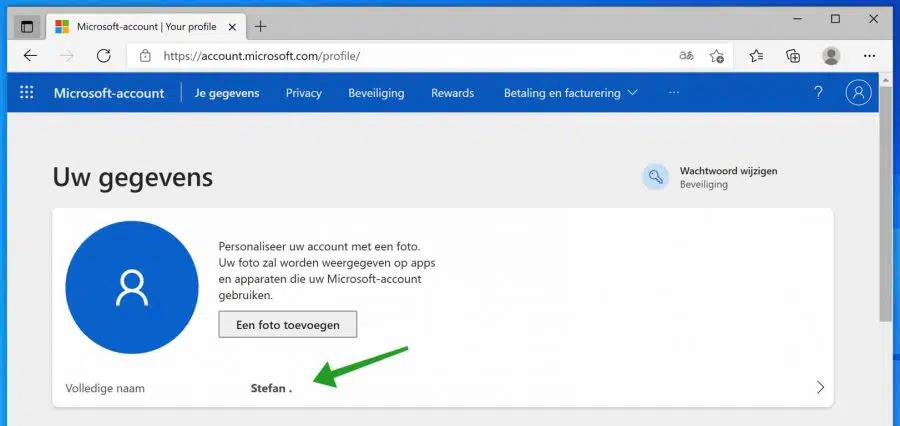
Go to the Microsoft account profile page. If you were not already logged in, log in via the login screen with your Microsoft account.
If you have successfully logged in, you will see your full name. Click on your name.
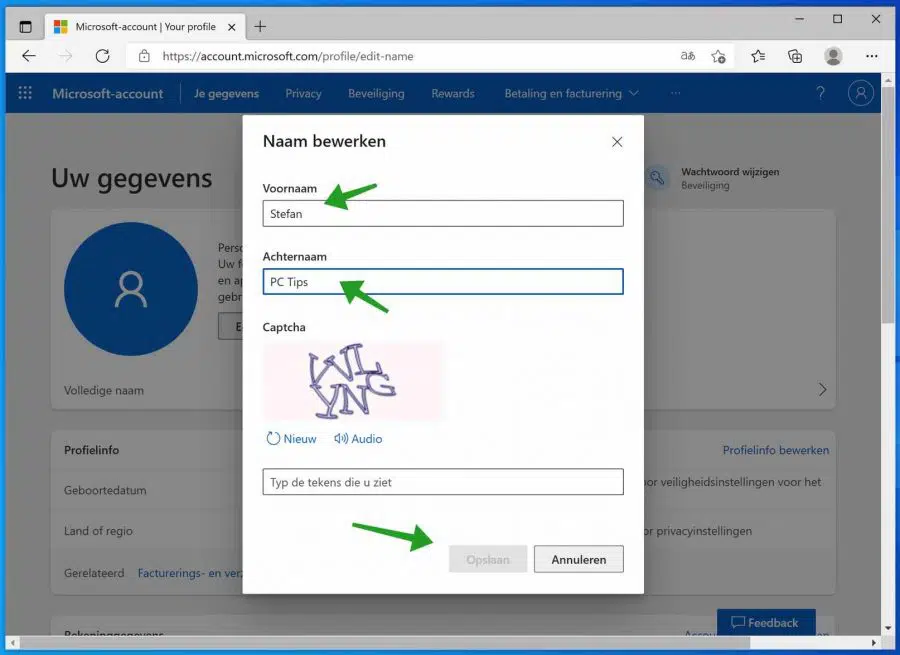
The text now changes to a field in which you can enter your first and last name. This will be your new username.
Change the username of a local Windows account via Control Panel
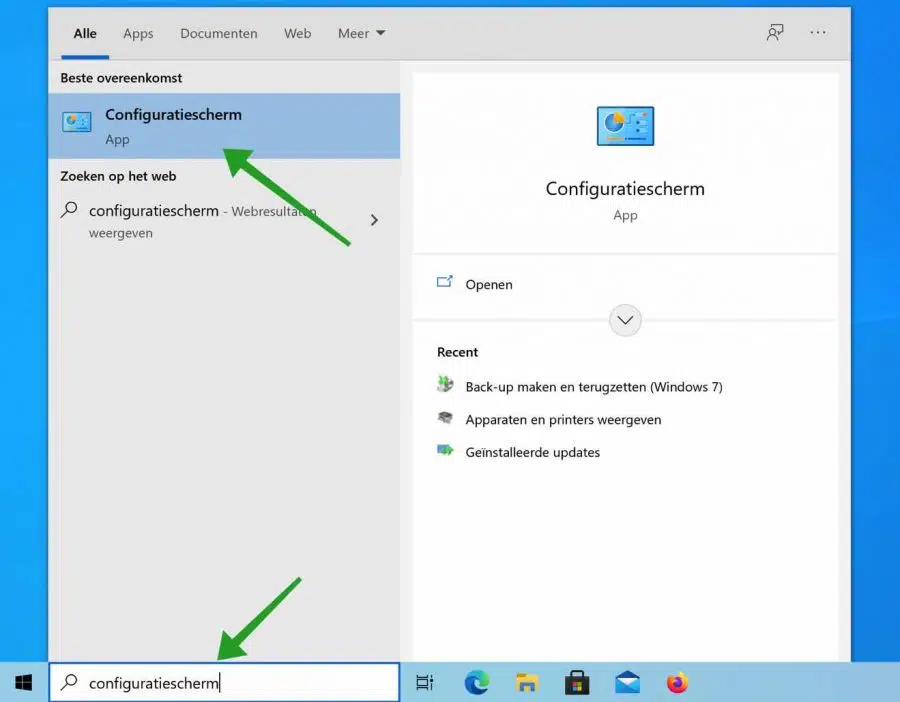
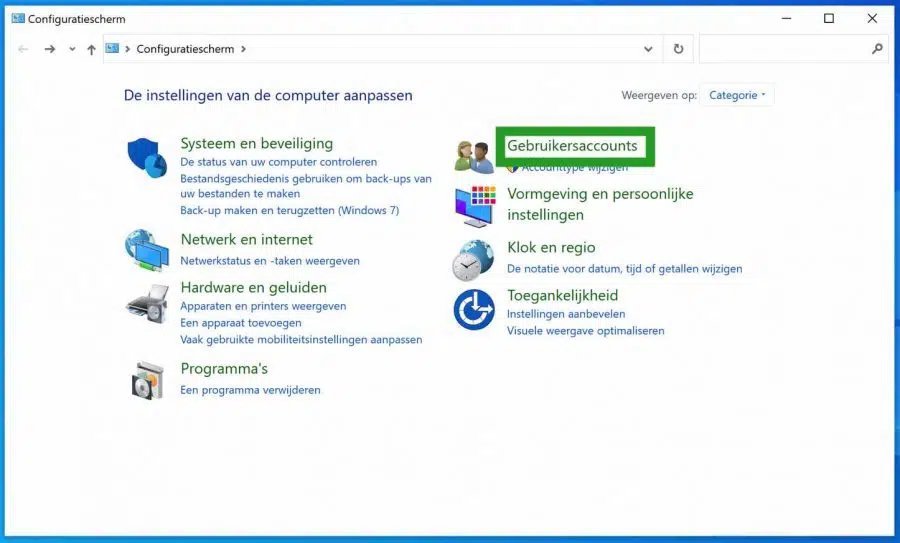
To change the username of a local account in Windows, open the control panel. Click the Windows search bar or magnifying glass. In the search box type: control panel.
Click on User account. Change the displayed by type to Category if you don't see it. This option can be found in the top right corner.
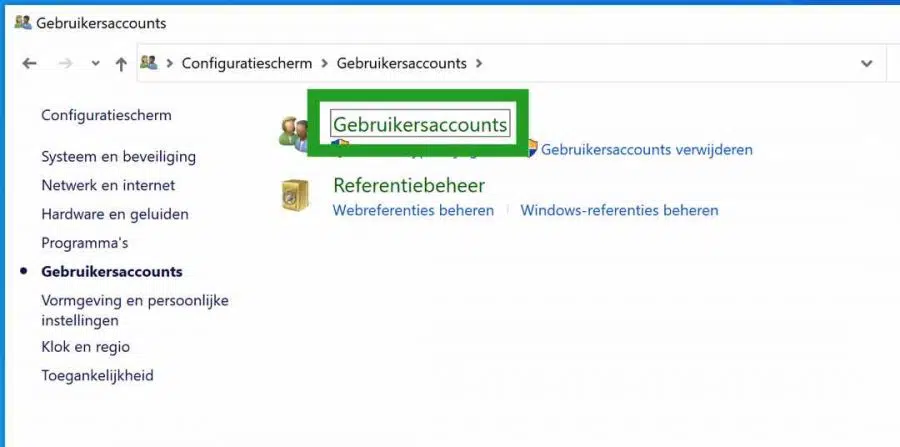
Click User Accounts again.
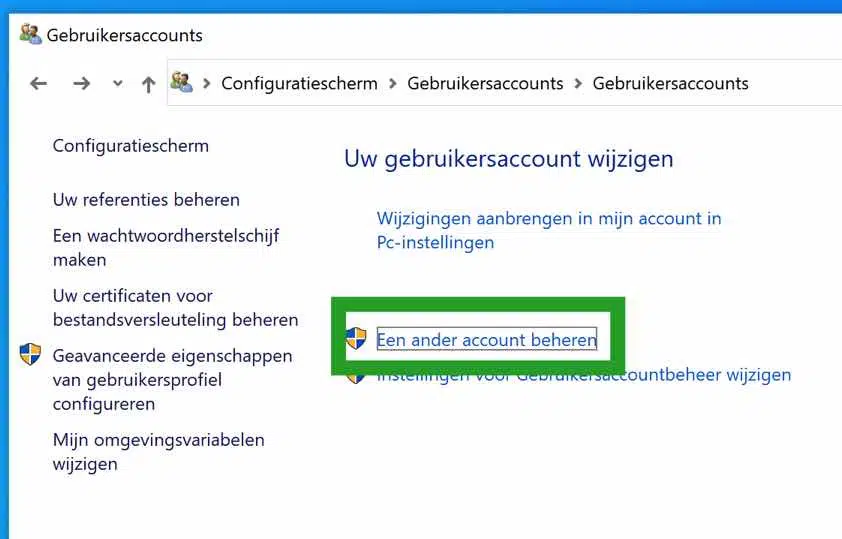
Click on the text: Manage another account.
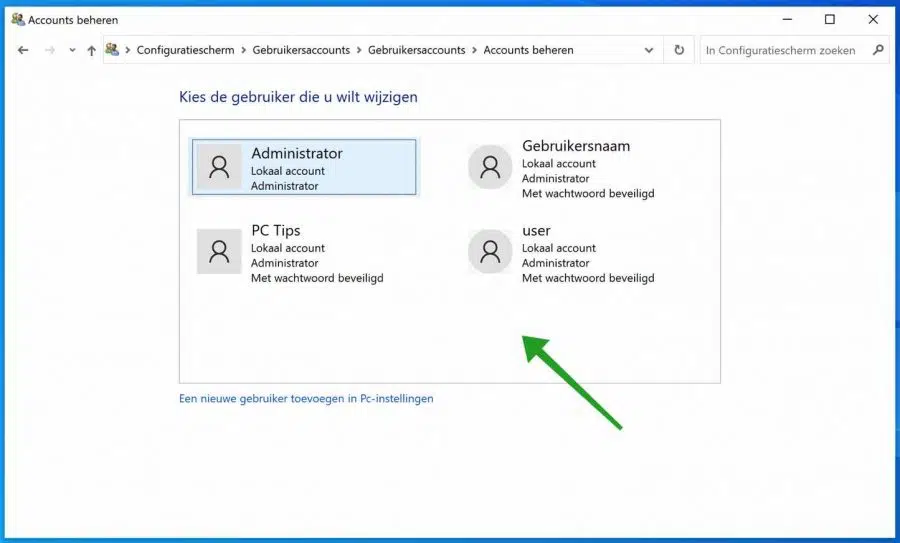
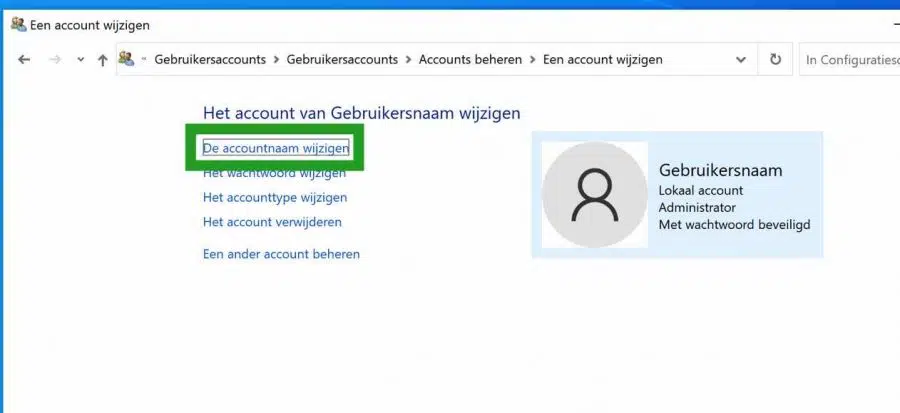
Click on the user whose username you want to change in Windows.
Click on Change account name.
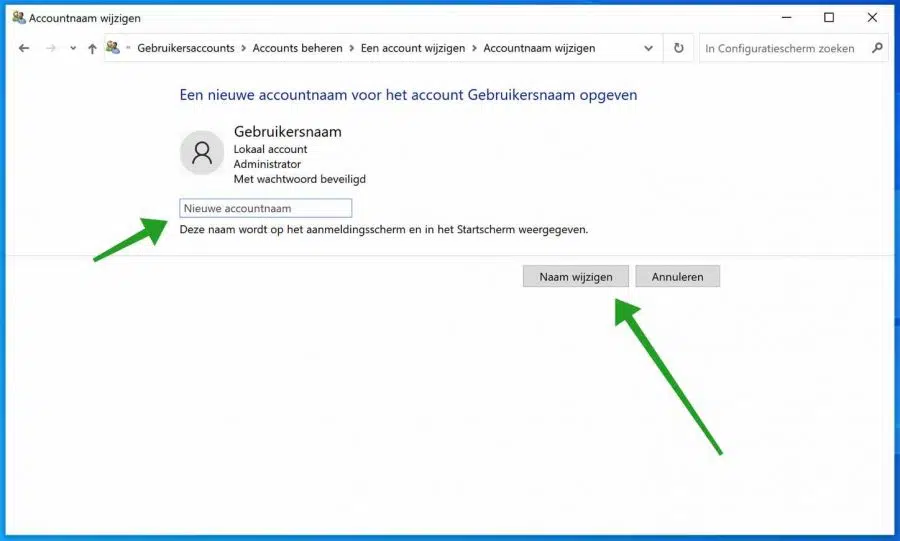
Type the new account name and click the Rename button.
Change the username of a Local Windows account via Local users and groups
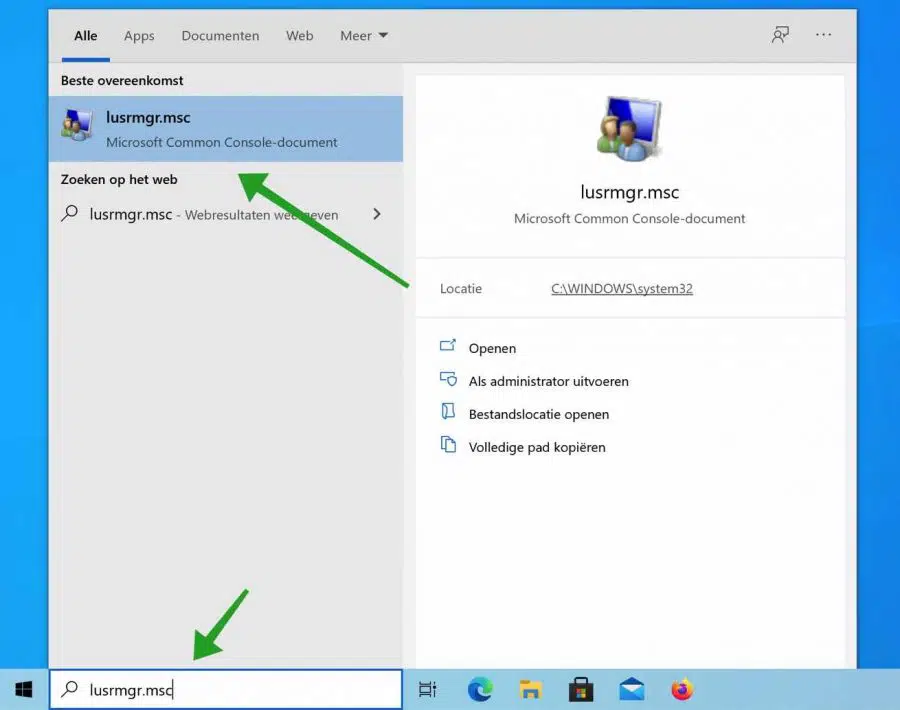
In the Windows search bar or via the magnifying glass, type in the search box: lusrmgr.msc
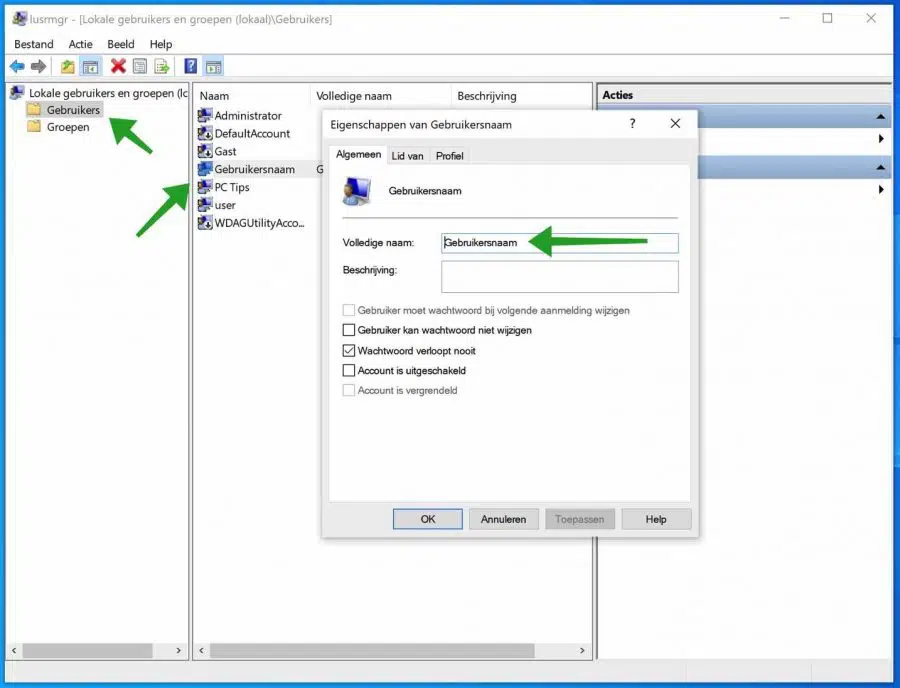
The Local Users and Groups console will now open. Click Users in the left panel. Then double-click on the username you wish to change. In the “full name” field, enter the new username. Click OK.
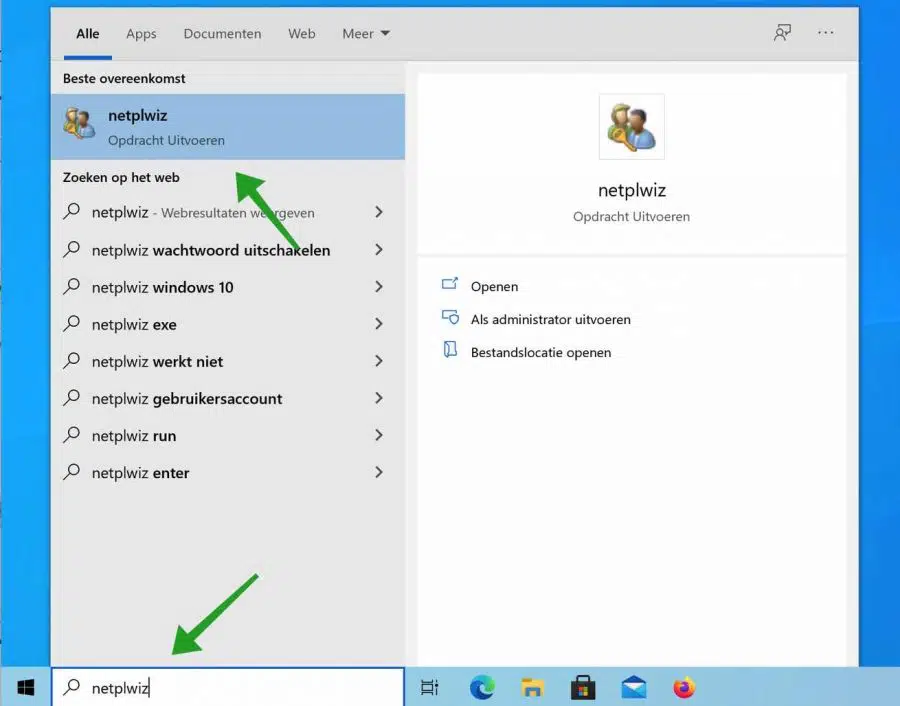
Change username of a local account via Netplwiz
In the Windows search bar or via the magnifying glass, type in the search box: netplwiz
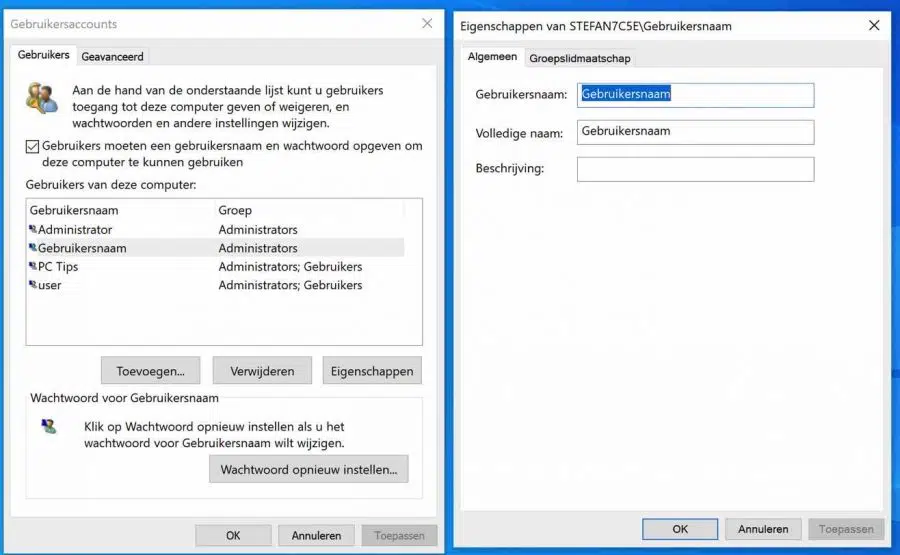
In the list of users of this computer, click on the username you want to rename. You can also double click. Then click on Properties.
In the Username field or the “Full Name” field, type the new name. Click OK.
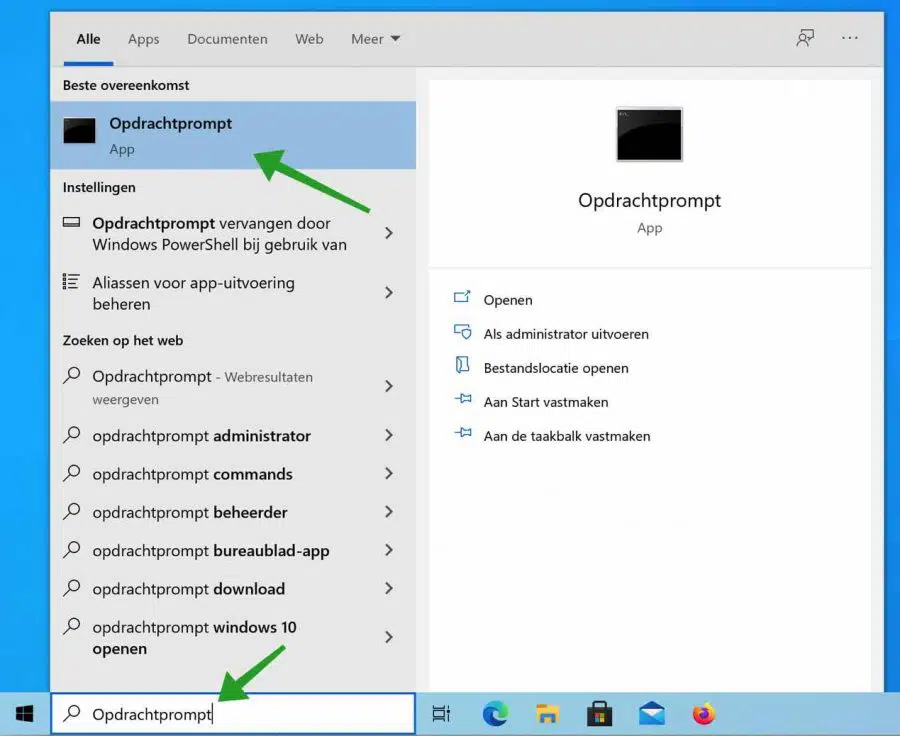
Change username of a local Windows account via Command Prompt
You can also change the username in Windows via the Command Prompt. This is a somewhat technical method, but it can be useful if you may be processing these types of scripts in a batch file.
In the Windows search bar or first click on the magnifying glass. In the search bar type: Command Prompt. Then click on the text: Run as Administrator.
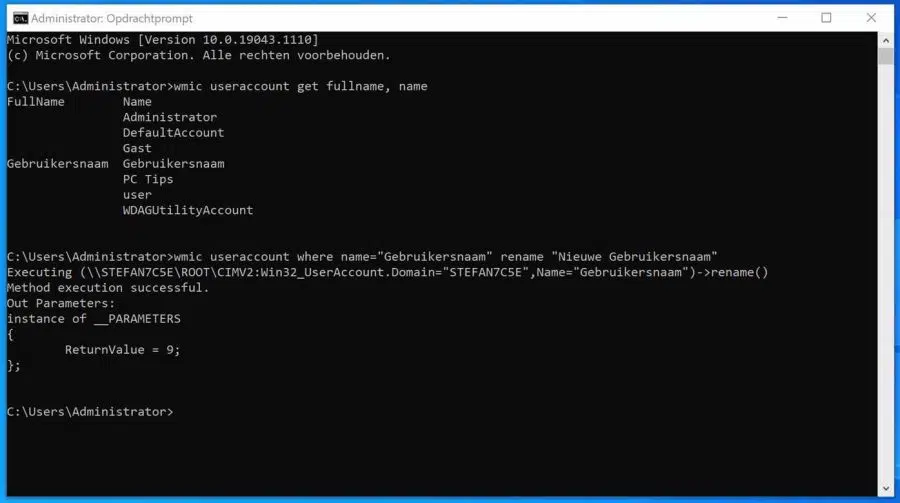
Start with the command:
wmic useraccount get fullname, name
Make a note of the name you wish to change. Then type:
wmic useraccount where name="OudeGebruikersnaam" rename "NieuweGebruikersnaam"
See the example below.
Change the username of a local Windows account via PowerShell
You can also change the username in Windows via the PowerShell. This is a somewhat technical method, but it can be useful if you may be processing these types of scripts in a batch file.
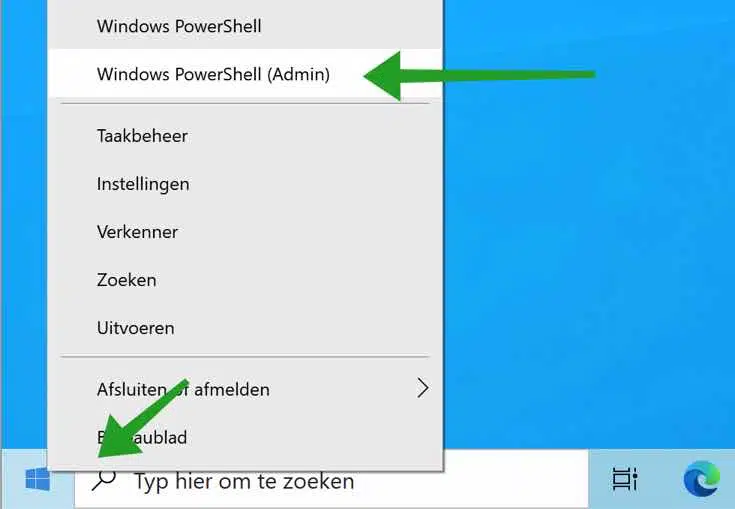
Right-click on the Windows start button. In the menu, click PowerShell (Admin).
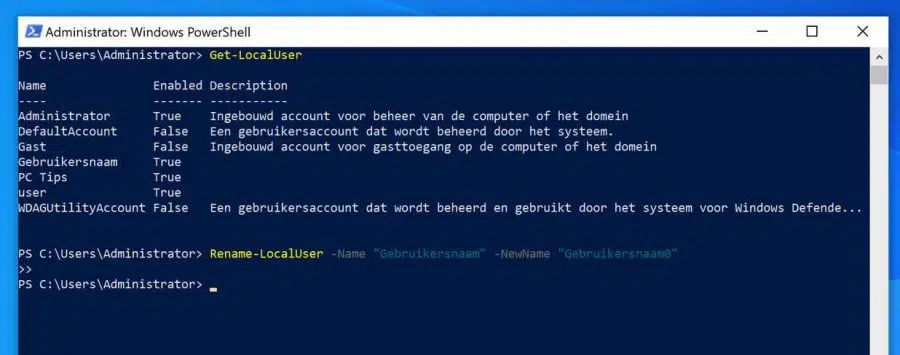
Type the following commands in the PowerShell window. Start with the command:
Get-LocalUser
Make a note of the username you wish to change. Then type:
Rename-LocalUser -Name "OudeGebruikersnaam" -NewName "NieuweGebruikersnaam"
See the example below via PowerShell.
Change the username of the local Administrator account via the Local Security Policy
If you wish to change the username of the local Administrator account, you can do this via the local security policy. This only works on a Windows professional license.
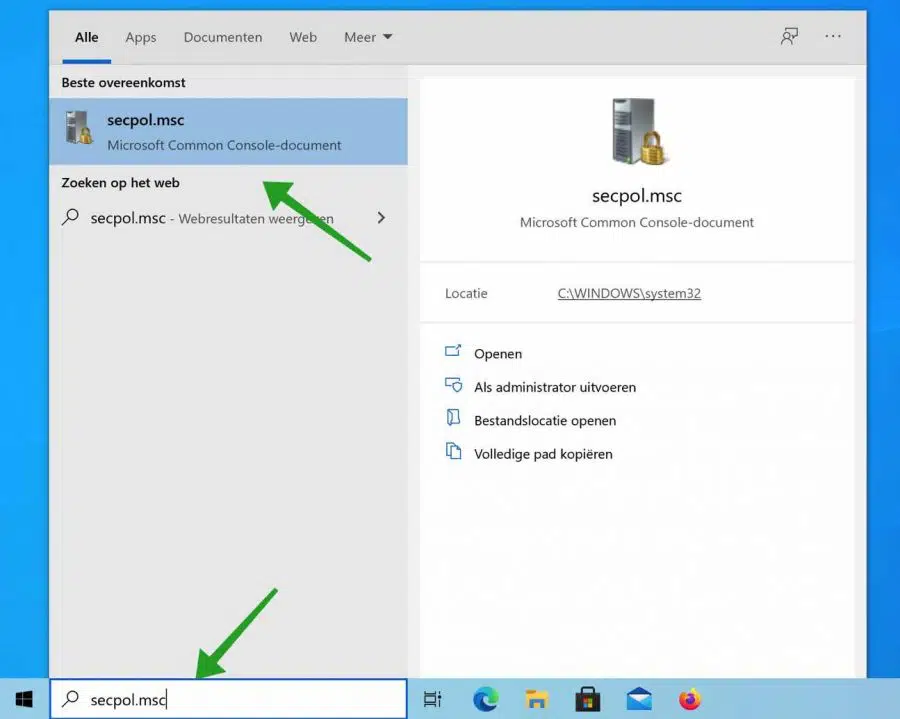
In the Windows search bar or via the magnifying glass, type in the search box: secpol.msc
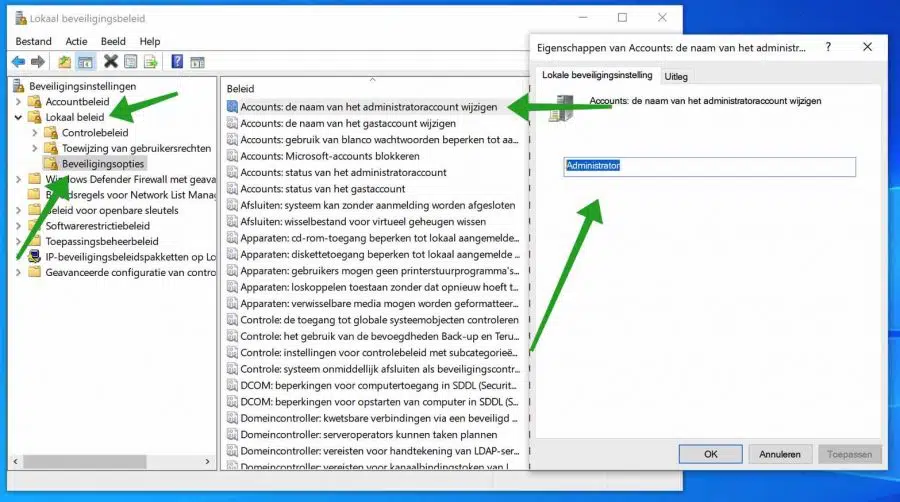
In the local security policy, open the following folders on the left. Click Local Policies and then Security Options. On the right side of the policy look for “Accounts: change the name of the administrator account”. Double-click this policy. In the tab: Local security settings, give the name Administrator a new name and click OK.
I hope this helped you. Thank you for reading!
Lees meer: