

The default font in Microsoft Word is “Calibri” or “Times New Roman” depending on the version.
If you work a lot with a certain font, you can set another font as the default font. You can then apply this choice for this default font to the current document or to any new document that you open.
It is relatively simple to change the default font. You just need to know where to find this setting. The most obvious would be the “Options” document, but no. You will find the settings for setting a default font in the font settings.
Change default font in Microsoft Word
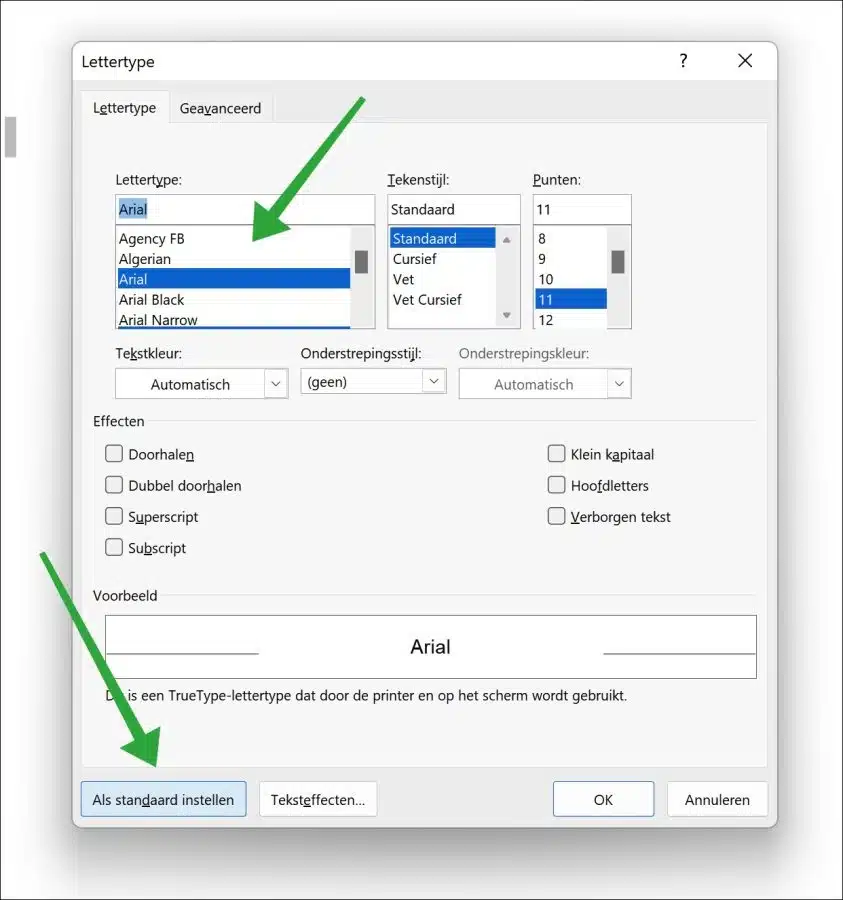
To adjust the font used when creating a new document, open the font settings.
You do this by pressing the CTRL + D key combination. This opens the font settings.
Make your choice for a standard font and then click on the “Set as default” button at the bottom left.
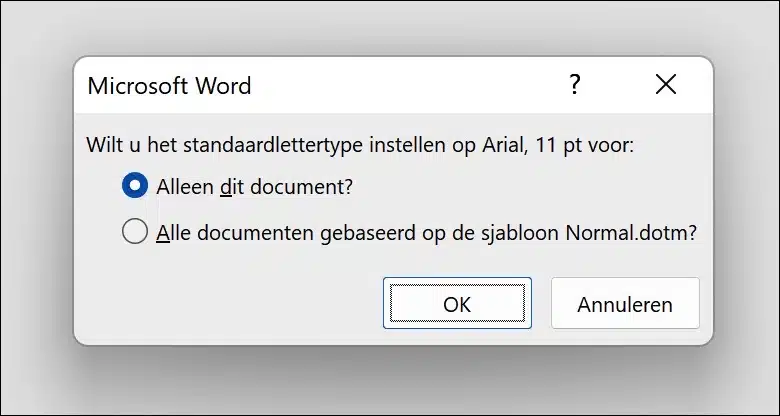
You will then be asked if you want to set this default font to “Only this document” or if you want to set this default font to “All documents based on the Normal.dotm template”.
You will then see that the font used by Microsoft Word to create this or a new document has been changed to the font you set.
Also read this 5 useful tips for Microsoft Word.
I hope this helped you. Thank you for reading!