

In general, WiFi on a Mac works out of the box. This means that you connect to a WiFi network via the settings on your Mac and the connection is immediately available.
If WiFi doesn't work on a Mac, it could be due to both hardware and software. It is therefore important that if you do not know the cause to take several steps to identify and solve the WiFi problem.
In this guide, we will go through several steps and offer several tips to resolve a WiFi connection not working on your Mac.
Wi-Fi not working on Mac
Are you connected to the good WiFi network?
When you connect your Mac to a WiFi network, the WiFi networks are preserved. In this case, your Mac can connect directly when the WiFi network is within range. If there are several WiFi networks available in your area that you have previously connected to, it may be that you are not currently connected to the correct WiFi network. Therefore, check whether WiFi is connected to the correct network.
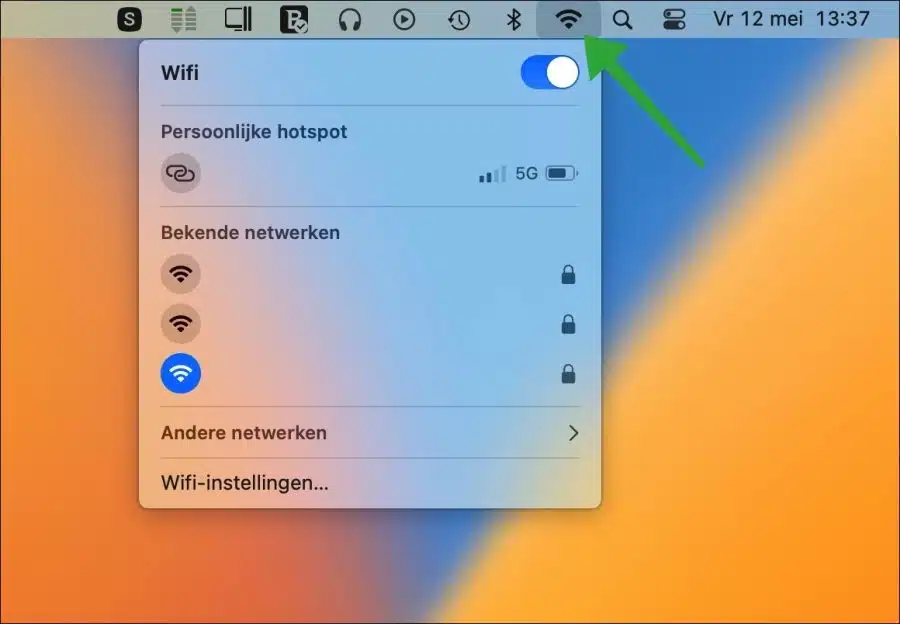
Click on the WiFi icon in the menu bar and check whether WiFi is connected to the network you expect to be connected to. If not, click on the correct WiFi network to connect to it.
Remove WiFi network and reconnect
If you are still experiencing problems with WiFi, it may help to remove the WiFi network from the list of available networks and reconnect to it. The network settings will then be reset and this may solve any WiFi network problems.
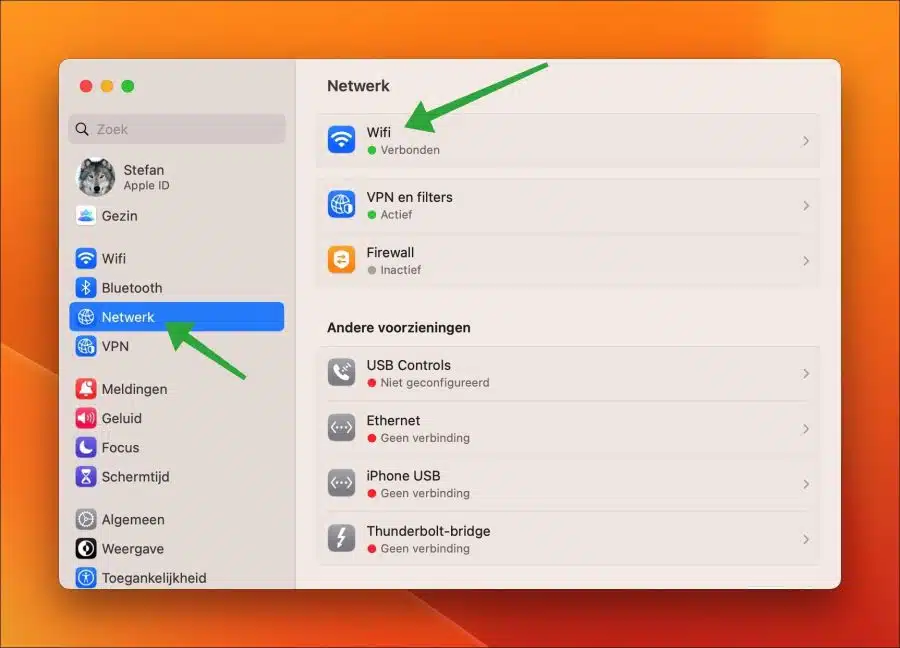
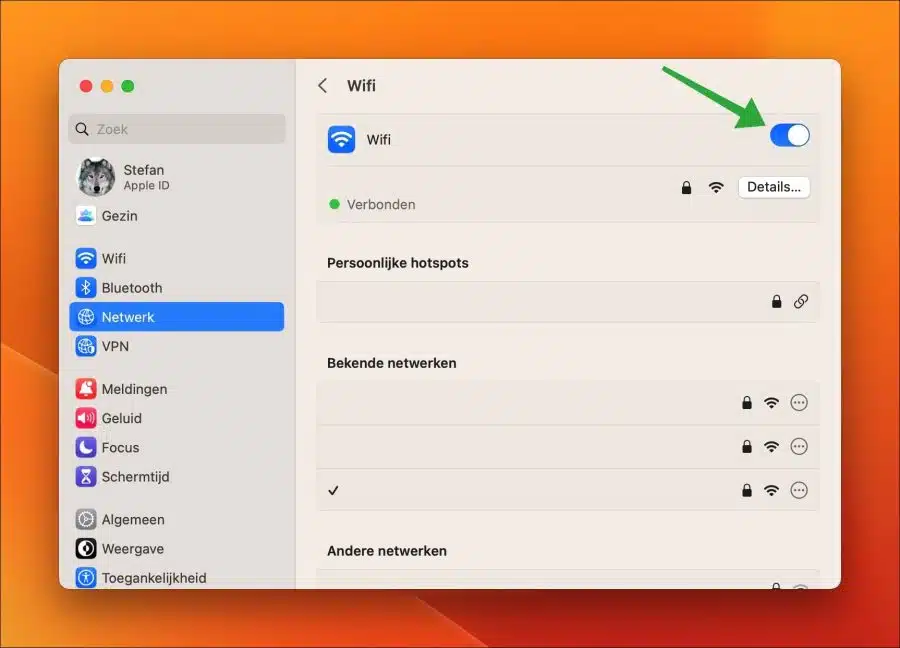
Click on it at the top left Apple icon to open the menu. Click on “System Settings”. Click on “Network” in the menu and then on “Wi-Fi”.
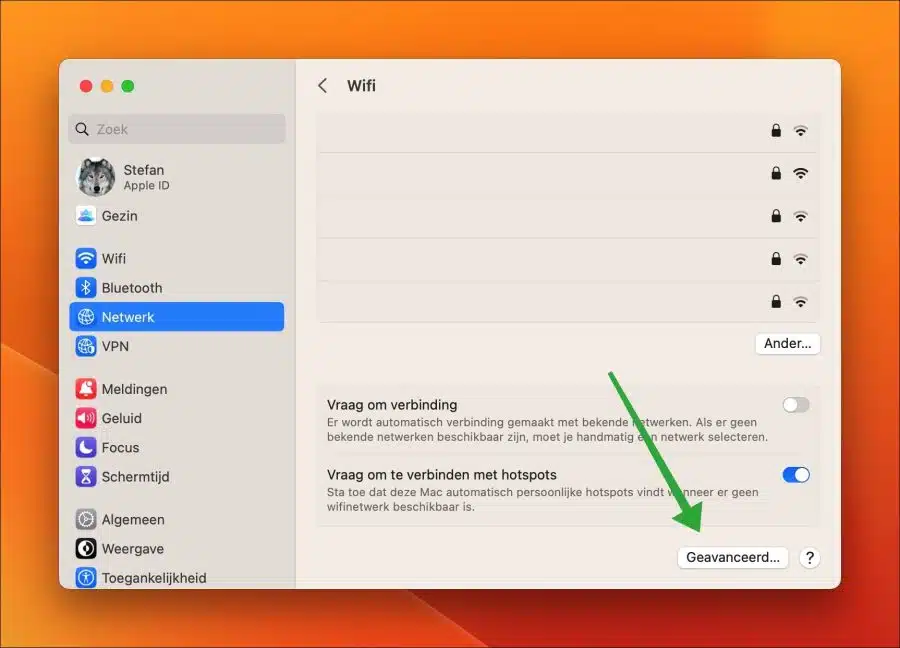
Click on the “Advanced” button at the bottom right.
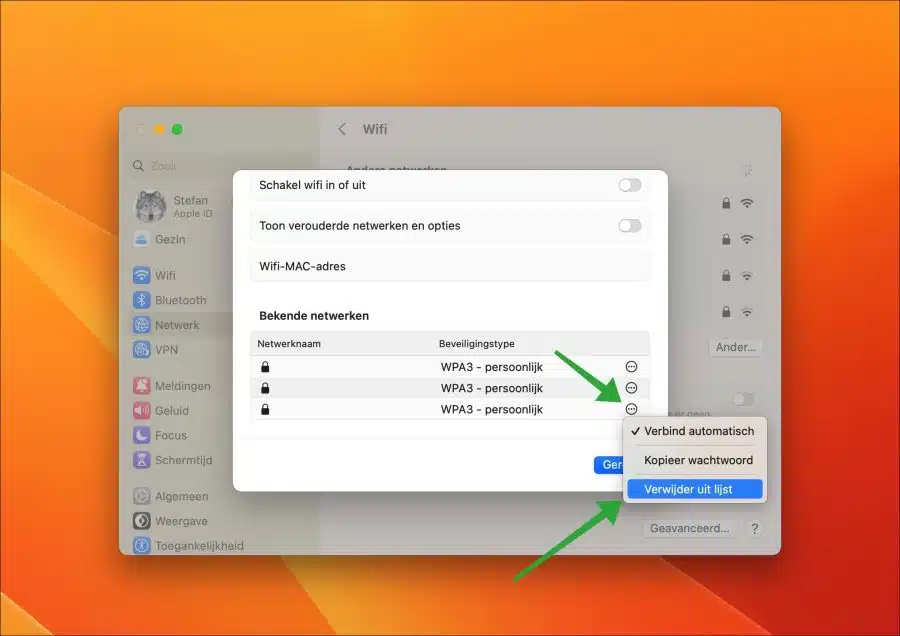
In the list of “known networks”, click on the three dots to the right of the WiFi network you want to delete. Then click on “remove from list”.
Turn off WiFi by toggling the switch. Wait 30 seconds and turn Wi-Fi back on by clicking the button again.
In the “Other networks” section you will now see the WiFi network you were connected to appear, click on “Connect” to connect to it by entering your WiFi password.
Once you are connected, WiFi should work again. If not, continue to the next tip.
Perform WiFi troubleshooting
Wi-Fi Troubleshooting is a tool in macOS that allows you to help macOS troubleshoot wireless network connection issues. This tool will go through several steps on its own and will do the troubleshooting on its own. In addition, it can make recommendations to solve WiFi problems.
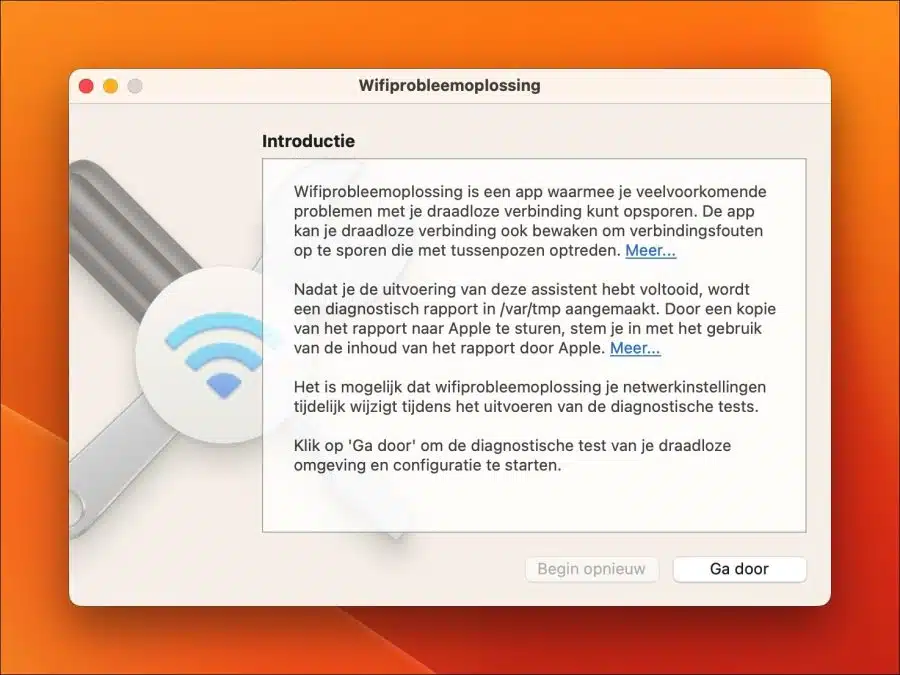
Press the Spacebar + CMD button on your keyboard. In the Spotlight search box type: WiFi troubleshooting

Wi-Fi Troubleshooting is an app that helps you diagnose common problems with your wireless connection. The app can also monitor your wireless connection to detect connection errors that occur intermittently.
After you complete running this wizard, a diagnostic report will be created in /var/tmp. By sending a copy of the report to Apple you agree to the use of the contents of the report Apple.
Wi-Fi troubleshooting may temporarily change your network settings while running the diagnostic tests.
Renew DHCP lease
To solve WiFi problems, it can sometimes help to renew the DHCP lease. A DHCP lease is a temporary assignment of an IP address to your Mac on the network. By renewing this lease, your Mac will receive a new IP address from the DHCP server on your network.
Click on it at the top left Apple icon to open the menu. Click on “System Settings”. Click on “Network” in the menu and then on “Wi-Fi”.
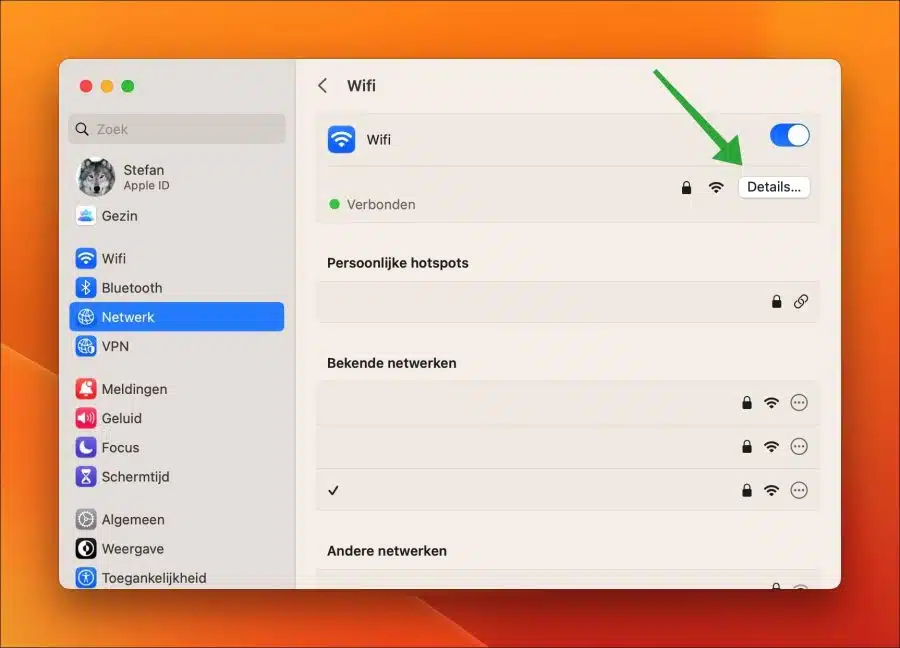
Click on the “Details” button to the right of the WiFi network you are connected to.
Click on “TCP/IP” on the left in the menu and then on the right in the settings on the “Renew DHCP lease” button.
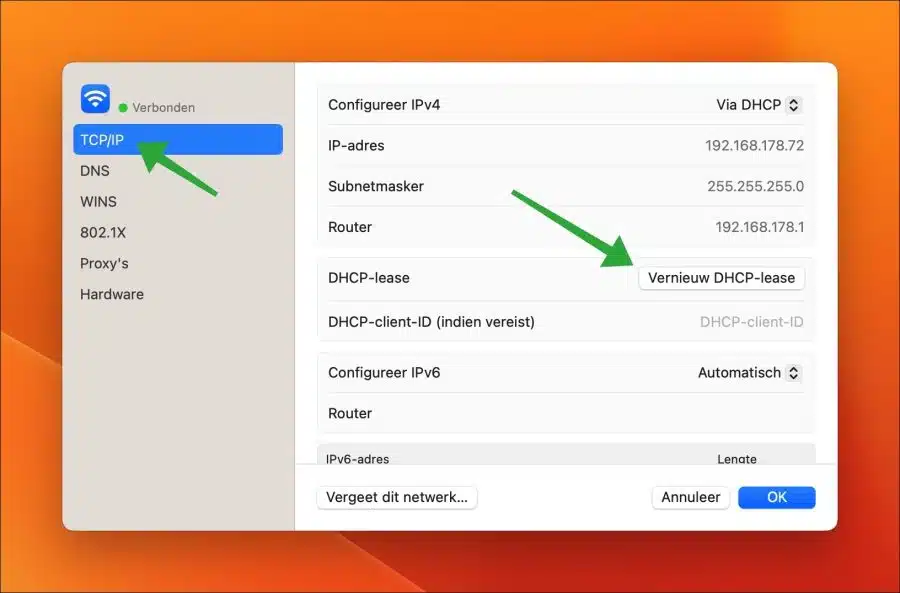
Click “apply” to confirm. After 30 seconds, check whether WiFi is now working.
Check DNS settings
If you are connected to your WiFi network, you will be assigned DNS settings. These are usually the DNS server of your internet provider. If there are problems with these DNS servers, your WiFi will not work. You will then not be able to visit websites via the browser, this will give an error message.
It is therefore advisable to temporarily change the DNS settings to ensure that WiFi works afterwards.
Click on it at the top left Apple icon to open the menu. Click on “System Settings”. Click on “Network” in the menu and then on “Wi-Fi”.
Click on the “Details” button to the right of the WiFi network you are connected to.
Then click on “DNS” on the left in the menu and then on the “[+]” icon to set up a DNS server. I recommend saving the current DNS settings as a backup.
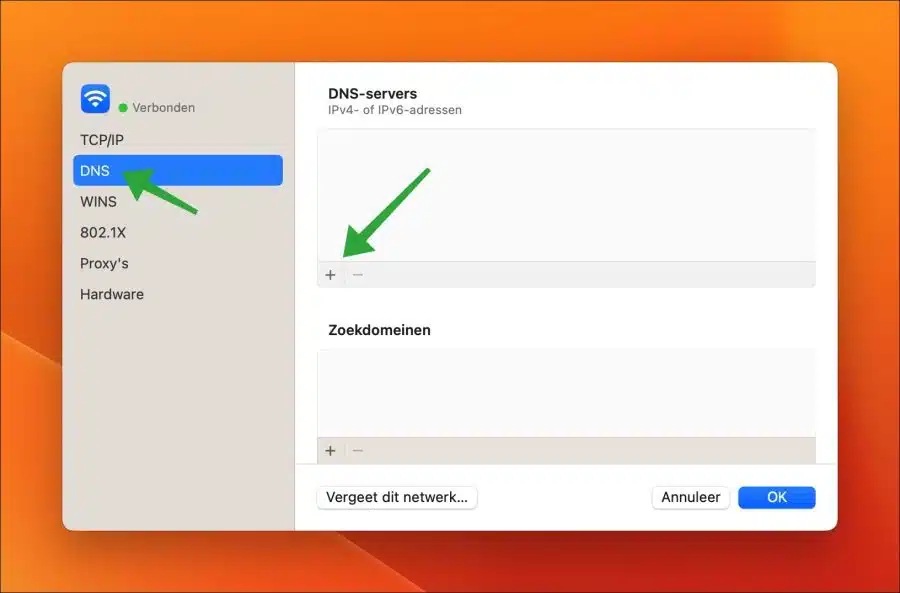
Enter two DNS servers:
8.8.8.8
1.1.1.1
Click “OK” to confirm.
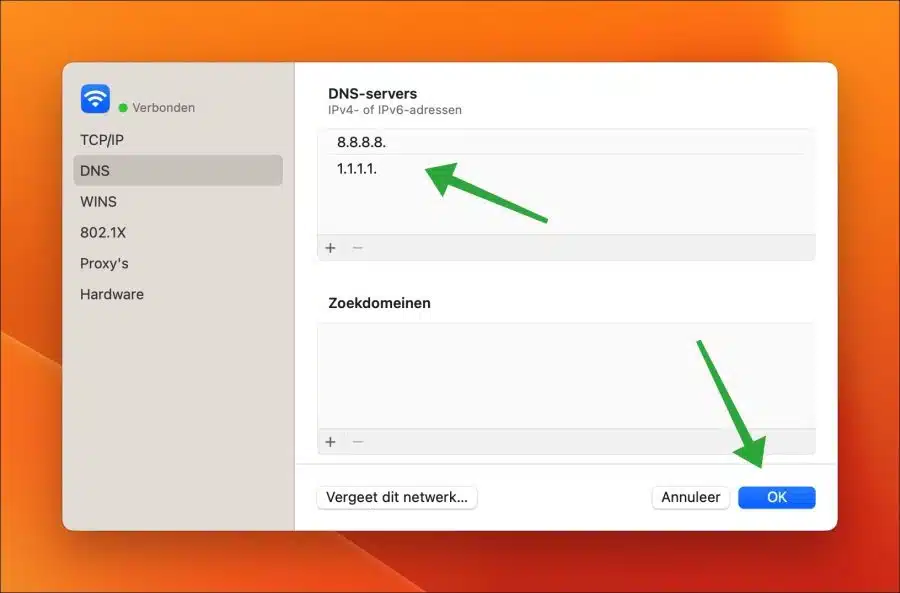
Now check whether WiFi works. If not, delete the DNS servers by selecting them one by one and clicking the “-” button. The DNS servers you received from your internet provider are now back.
Make sure you are not connected to a VPN server
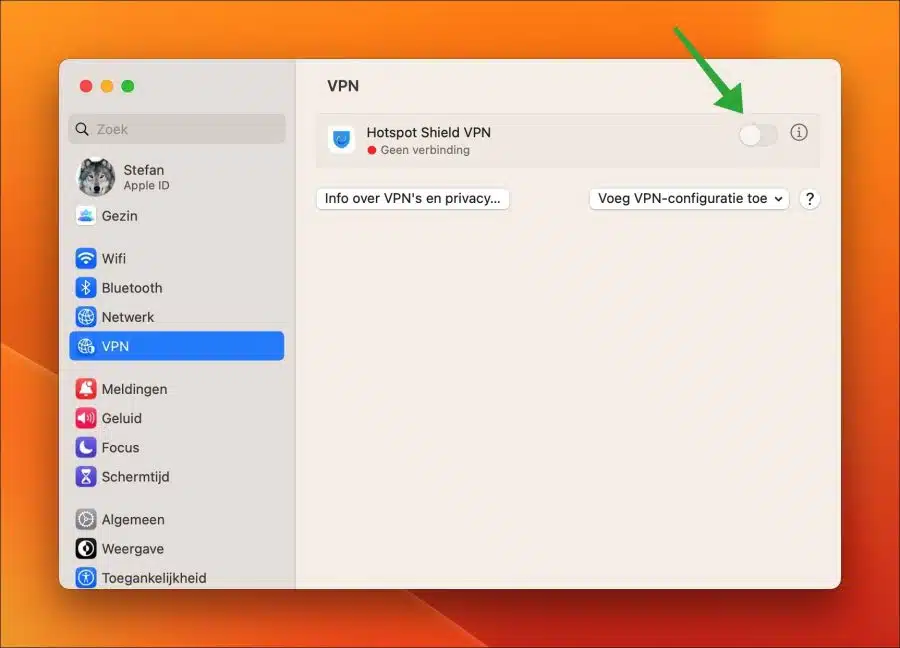
If you use a VPN and you forget to turn it off, you will remain connected to it. If there are problems with this VPN server and you are still connected, you can no longer use the internet, WiFi no longer works is a frequently sought error message. So check whether or not you are accidentally connected to a VPN.
Click on it at the top left Apple icon to open the menu. Click on “System Settings”. Click on “VPN” in the menu. Make sure you are not connected to a VPN by disconnecting from the VPN.
I hope this helped you. Thank you for reading!
Also read this 30 tips to speed up your Mac.