Extern bureaublad stelt Windows-gebruikers instaat om verbinding te maken met het bureaublad van uw computer. Extern bureaublad is standaard functionaliteit in Windows en kan worden ingeschakeld via het configuratiescherm.
Echter, als u om wat voor reden dan ook Extern bureaublad wilt inschakelen via Opdrachtprompt lees dan verder.
Extern bureaublad inschakelen via Opdrachtprompt is aan te bevelen als u gebruikt wilt maken van scripting of als systeembeheerder.
Meld u dan aan voor onze nieuwsbrief.
Extern bureaublad inschakelen via Opdrachtprompt
Om extern bureaublad in te schakelen in Windows via het command-prompt (ook wel bekend als Opdrachtprompt) dient u eerst een registersleutel toe te voegen in het Windows-register.
Na het toevoegen van de registersleutel om extern bureaublad (remote desktop) in te schakelen dient u een uitzondering toe te voegen aan de Windows Firewall instellingen.
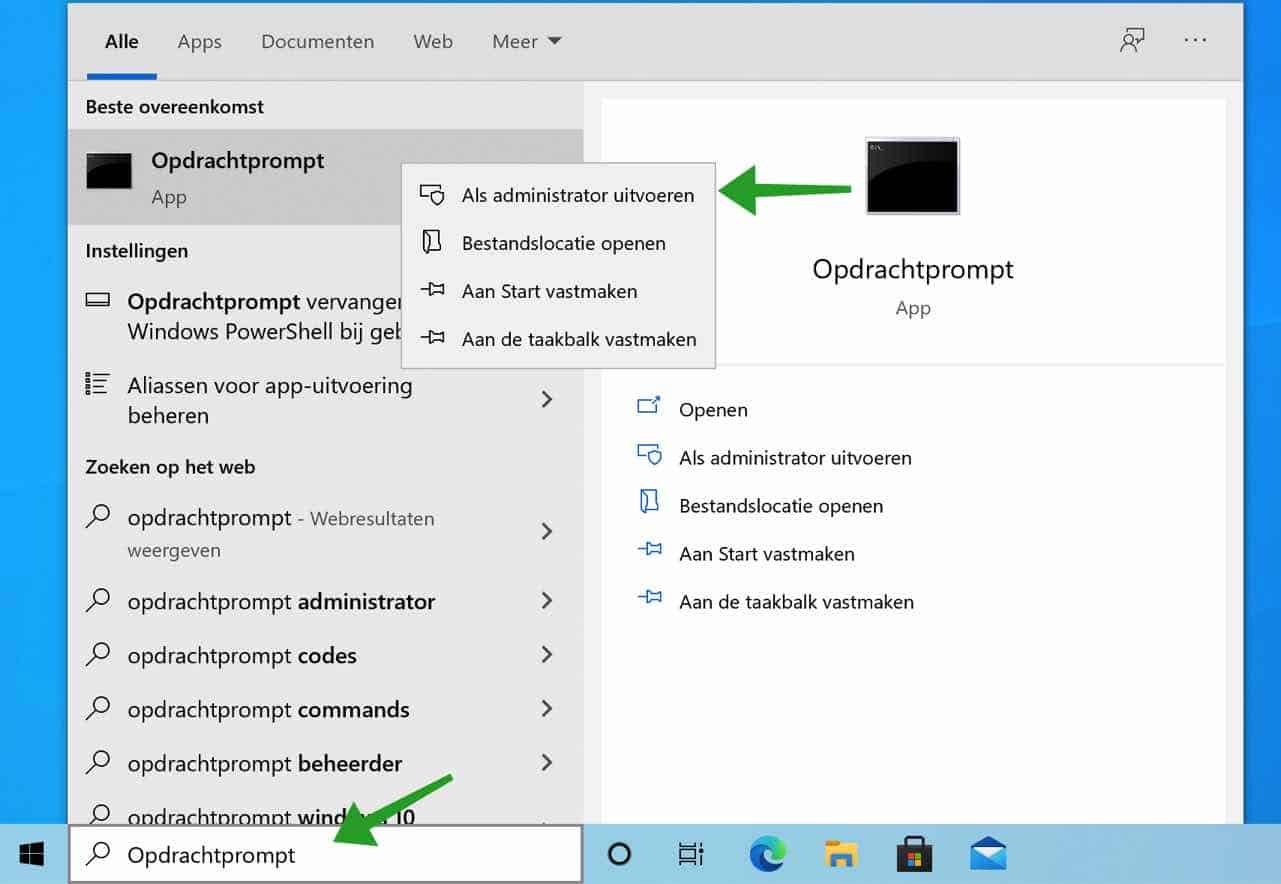
Om te beginnen opent u een Opdrachtprompt als administrator.
In het Windows zoekvenster type: Opdrachtprompt. Klik met de rechtermuisknop op het Opdrachtprompt resultaat en kies voor Als Administrator uitvoeren.
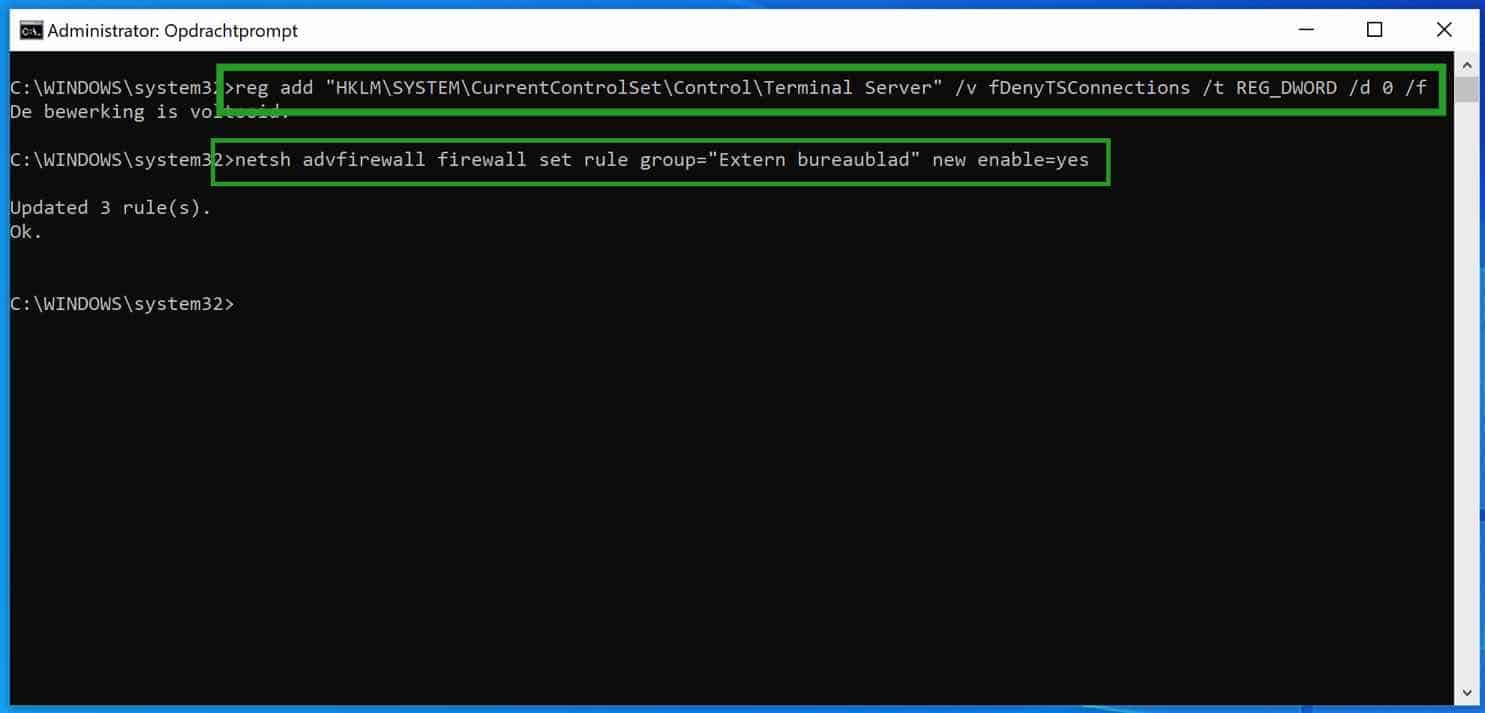
In het Opdrachtprompt venster typt u het volgende commando:
reg add "HKLM\SYSTEM\CurrentControlSet\Control\Terminal Server" /v fDenyTSConnections /t REG_DWORD /d 0 /f
Druk op Enter om het commando te bevestigen. Type daarna het volgende commando:
netsh advfirewall firewall set rule group="Extern bureaublad" new enable=yes
U heeft zojuist een sleutel toegevoegd aan het Windows-register om extern bureaublad in te schakelen en een exceptie gemaakt in de Windows Firewall om extern bureaublad toe te staan.
Ik hoop u hiermee geholpen te hebben. Bedankt voor het lezen!
Help mee
Mijn computertips zijn gratis en bedoeld om andere mensen te helpen. Door deze pc-tip te delen op een website of social media, helpt u mij meer mensen te bereiken.Overzicht met computertips
Bekijk ook mijn uitgebreide overzicht met praktische computertips, overzichtelijk gesorteerd per categorie.Computerhulp nodig?
Loopt u vast met uw pc, laptop of software? Stel uw vraag op ons computerforum en krijg gratis computerhulp van ervaren leden en experts.