
A known problem in Windows is that the task manager shows that the disk usage is 100% in use. Because disk usage places maximum demands on the Windows system, the computer becomes slow and in some cases applications can hardly be started or used.
In most cases, there are two issues that can cause 100% disk usage in Windows. These are search indexing and SuperFetch.
Search indexing is a Windows service used to index files on the computer, allowing you to find an application or file faster using Windows search.
SuperFetch is a Windows component that keeps track of which applications are used most often and these applications are then preloaded into memory to start faster.
However, both can slow down the system significantly initially. If something goes wrong with indexing files or with superfetch, the Windows system will become slow and disk usage in Windows will remain at 100%.
How to Fix 100% Disk Usage in Windows
Stop SuperFetch
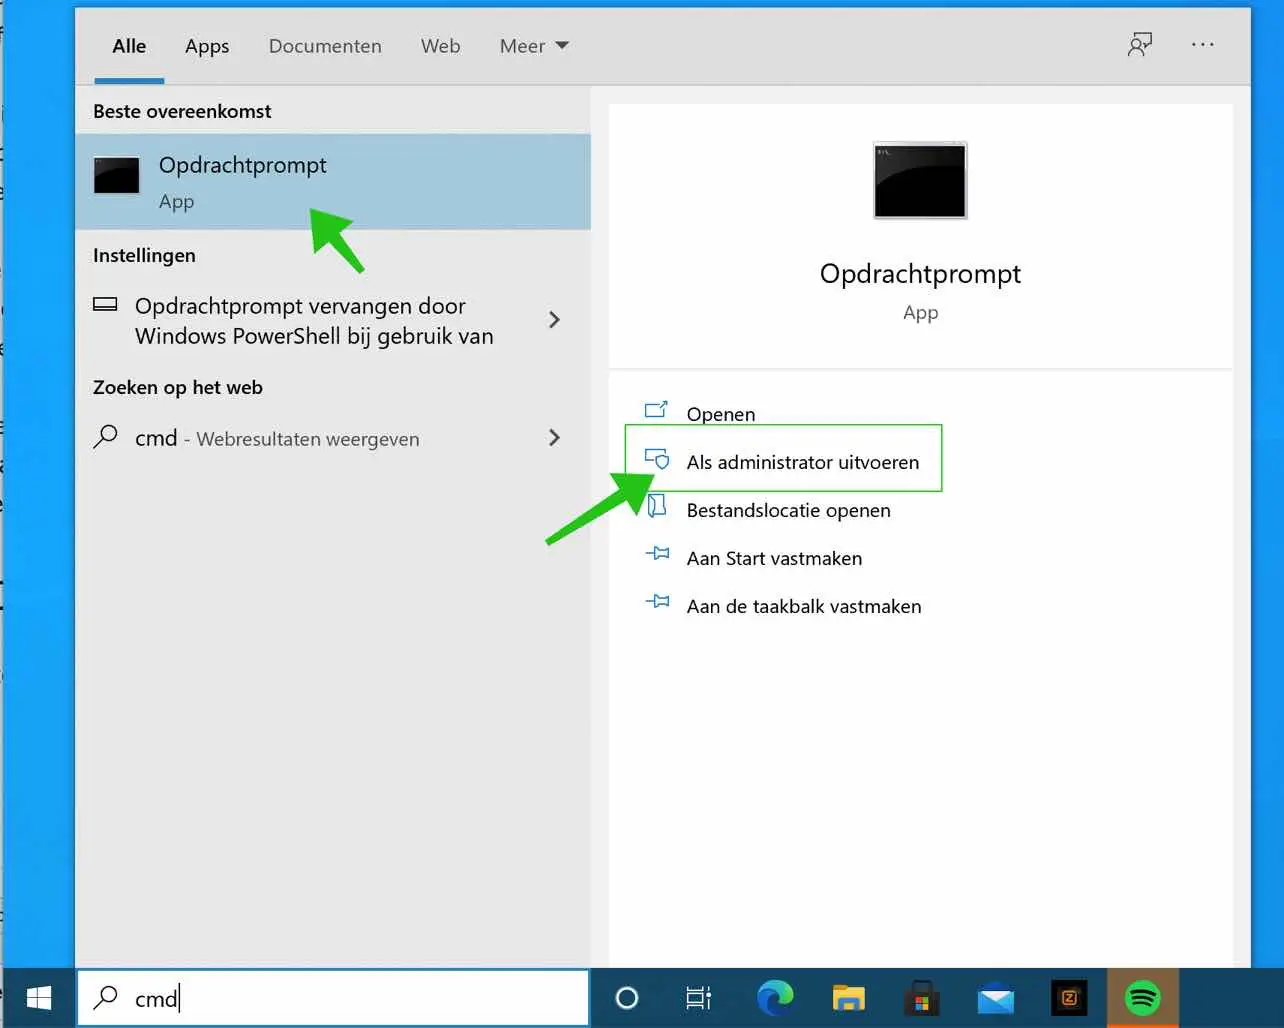
To start, let's see if SuperFetch is the problem. In the Windows search bar search for: cmd.exe. Click on Command Prompt and open Command Prompt as Administrator.
In the Command Prompt window type:
net stop sysmain
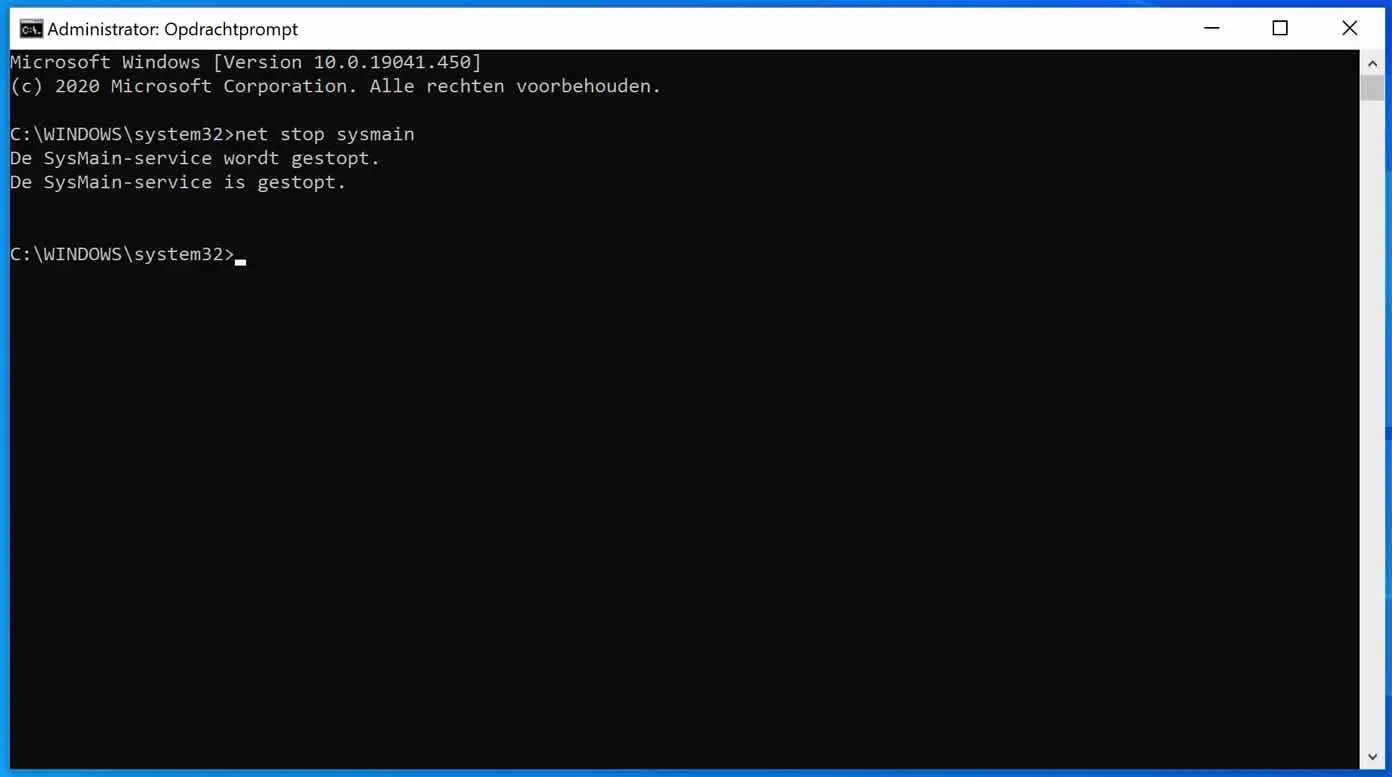
Now check the disk usage task management has decreased. If it has decreased then the SuperFetch service in Windows was the problem.
Now type the following again
net start sysmain
Check again that disk usage is not increasing. If all goes well, no. If 100% disk usage increases again, go to the next step to completely block SuperFetch.
Completely block SuperFetch service
If you have found SuperFetch to be the problem causing 100% disk usage in Windows, you can also disable and block the SuperFetch service.
In the Command Prompt window, type the following:
sc stop sysmain
You have now stopped the service. Type the following to then block the service during Windows startup.
sc config "sysmain" start=disabled
If the problem is not resolved, continue to the next step to identify the 100% disk usage problem.
Stop search indexing
Another feature in Windows, search indexing, can also cause disk usage problems. I recommend that you also check if stopping search indexing resolves the problem.
To start, let's see if Search Indexing is the problem. In the Windows search bar search for: cmd.exe. Click on Command Prompt and open Command Prompt as Administrator.
In the Command Prompt window type:
net stop "Windows Search"
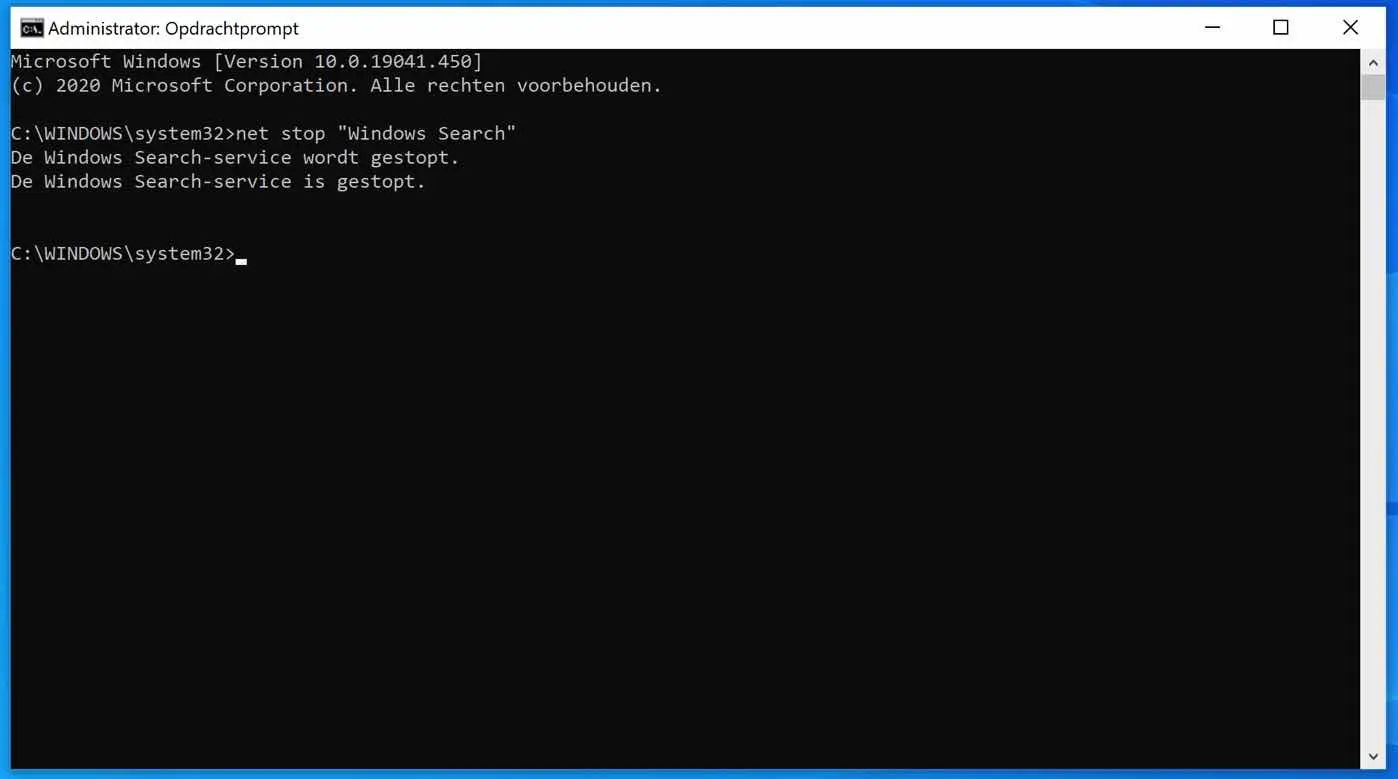
Now check if the disk usage in task manager has decreased. If it has decreased then the Search Indexing service in Windows was the problem.
Now type the following again
net start "Windows Search"
Check again that disk usage is not increasing. If all goes well, no. If 100% disk usage increases again, go to the next step to completely block Search Indexing.
Completely block search indexing service
If you have found search indexing as the problem causing 100% disk usage in Windows then you can also disable and block the search indexing service.
In the Command Prompt window, type the following:
sc stop Wsearch
You have now stopped the service. Type the following to then block the service during Windows startup.
sc config Wsearch start=disabled
You have now customized the Superfetch service and the Search Indexing service to resolve disk usage in Windows.
I hope this helped you. Thank you for reading.
read more:
- 10 tips to make Windows faster.
- More tips to Make Windows faster.
Thank you!
Very helpful and clear tips!
Thanks for your response. Glad I could help!