
In this instruction we will explain how to create a new Virtual Machine in VMWare Fusion on the macOS operating system. VMWare Fusion is the macOS version of VMware Workstation for Windows.
The program is intended to start a Windows or Unix operating system as a Virtual Machine under macOS. Useful if, for example, you want to start Windows applications on a macOS computer. VMWare Fusion contains advanced technology to Install Windows so smoothly on a macOS operating system and turn.
VMware Fusion lets anyone run Windows and hundreds of other operating systems on a Mac without rebooting. Simple enough for new users and powerful enough for IT professionals, developers and businesses, Fusion delivers flexibility, productivity and security every day.
With more than 15 years of virtualization leadership, millions of satisfied customers and more than 50 awards, VMware offers the most stable and secure desktop virtualization platform in the industry.
VMWare Fusion (Mac OS) – Create a new Virtual Machine
 Download VMWare fusion from the official website
- Open the just downloaded DMG file.
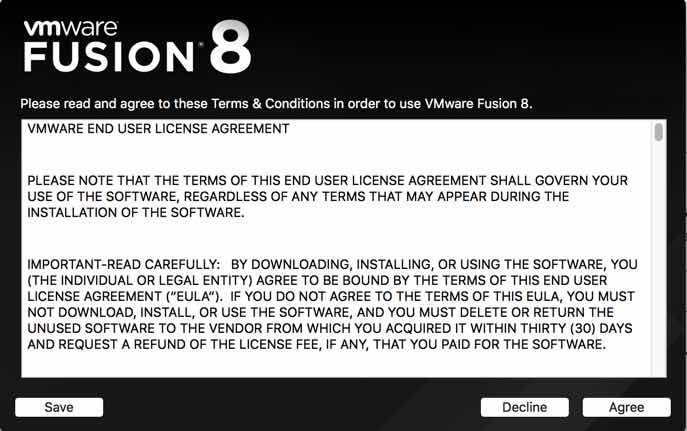
- Accept their Terms and Conditions with the Agree button
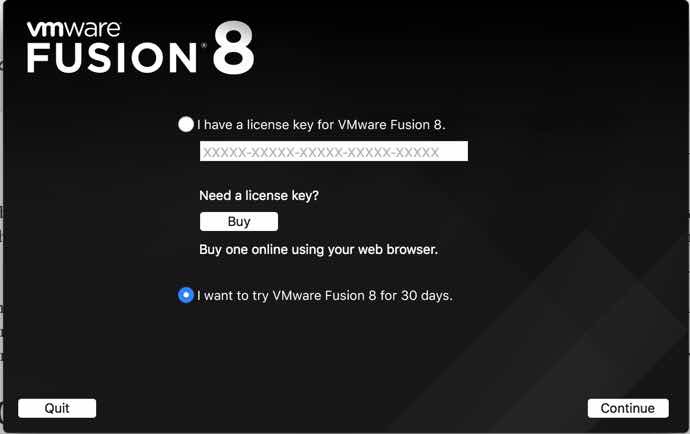
- Select “I want to try VMWare Fusion {version} for 30 days.” and click Continue
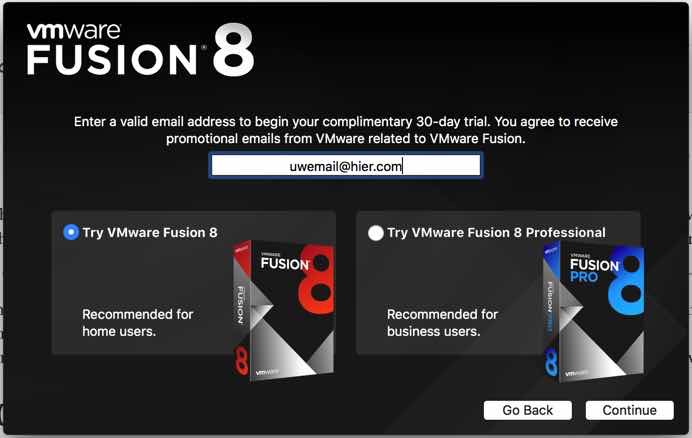
- Enter your email address and select “Try VMWare Fusion 8” and click Continue
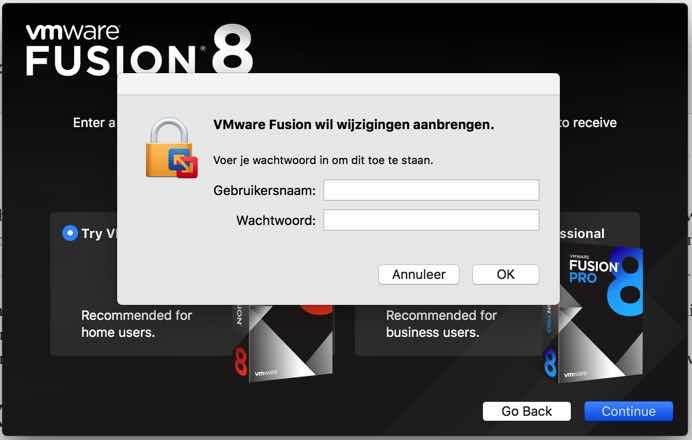
- Allow VMWare Fusion to make changes to your MacOS operating system and click Continue.
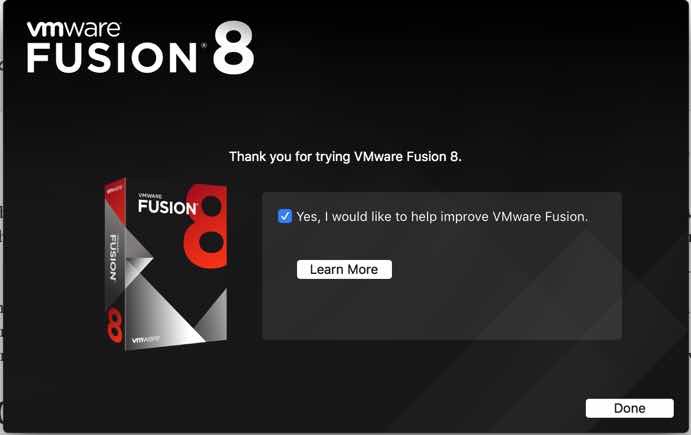
- Select whether or not you want to help VMWare Fusion, and click Done.
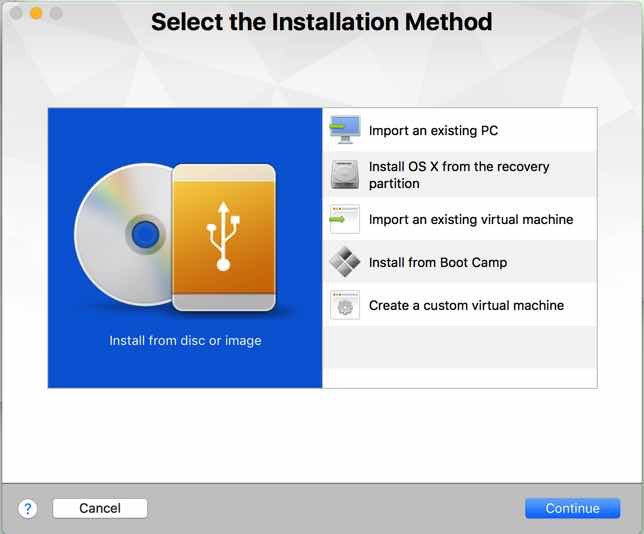
- In this instruction we assume that you want to install Windows from an ISO file.
- Select “Install from disc or image” and click Continue.
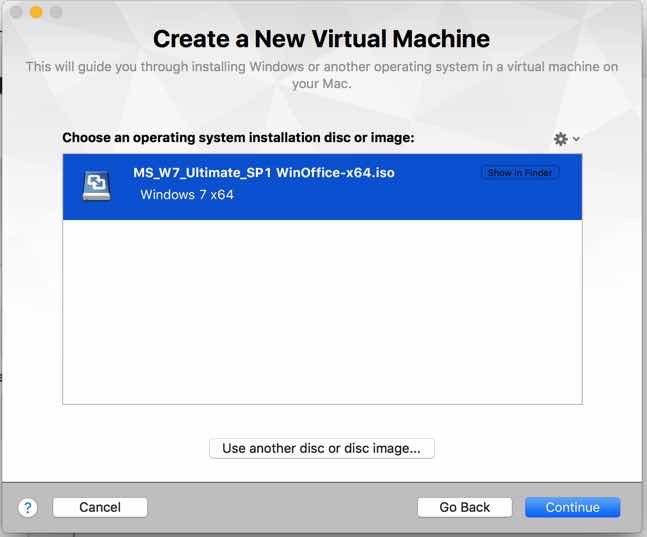
- Select your ISO file here, VMWare Fusion will discover which one itself Windows version it concerns in your ISO file.
- Select Continue
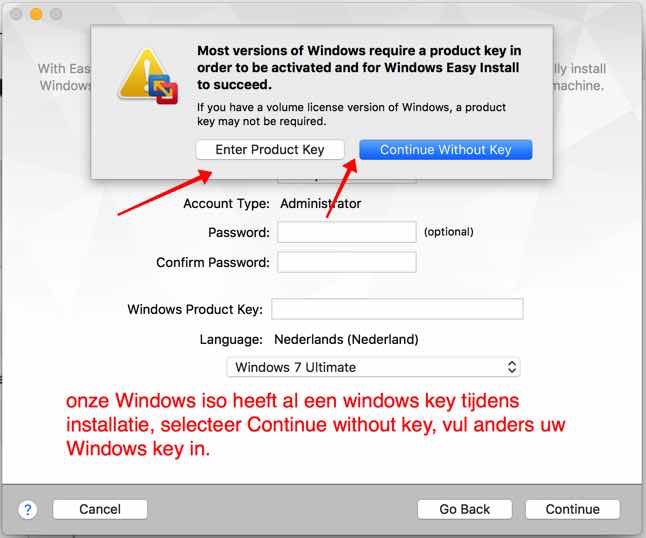
- VMWare Fusion offers a “Microsoft Windows Easy Install”. Enter the requested information here.
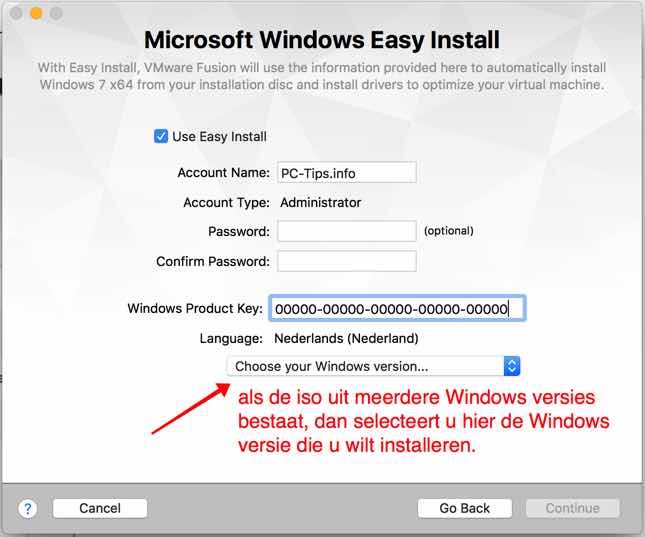
- If, like us, you have an ISO file with pre-installed Windows including a key, leave the Windows product Key empty and select “Continue Without Key”. If different, enter your Windows license key.
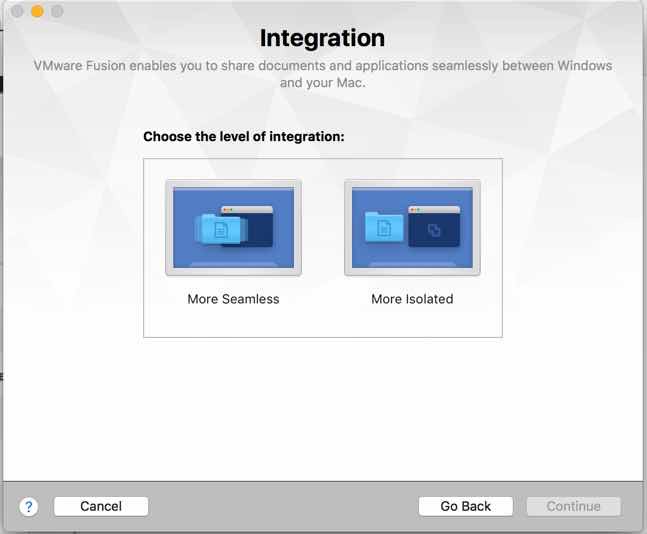
- At Integration you can choose whether you want to install Windows as “More Seamless” or “More isolated”. If you want to install Windows, for example to run Windows programs on your Mac, we recommend that you choose “More Seamless”. We also choose this in our instructions.
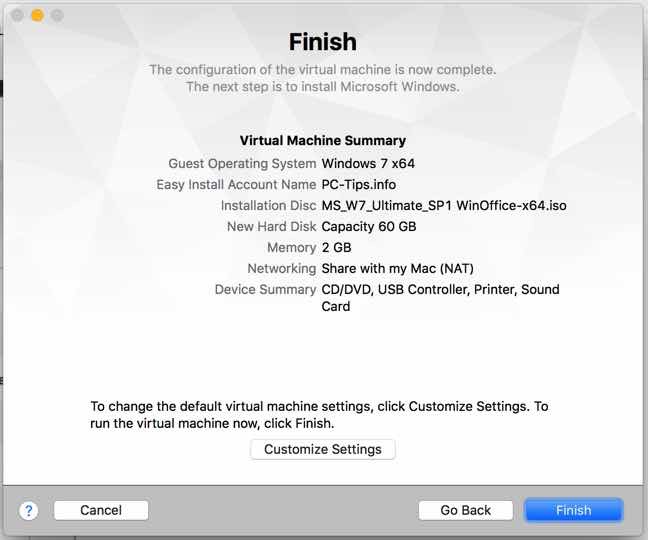
- To complete the installation process, you will be presented with a final screen showing the specifications of your Virtual Machine. In general this can be left as default. If you wish to make exceptions to this, select “Customize Settings”.
- Select Finish.
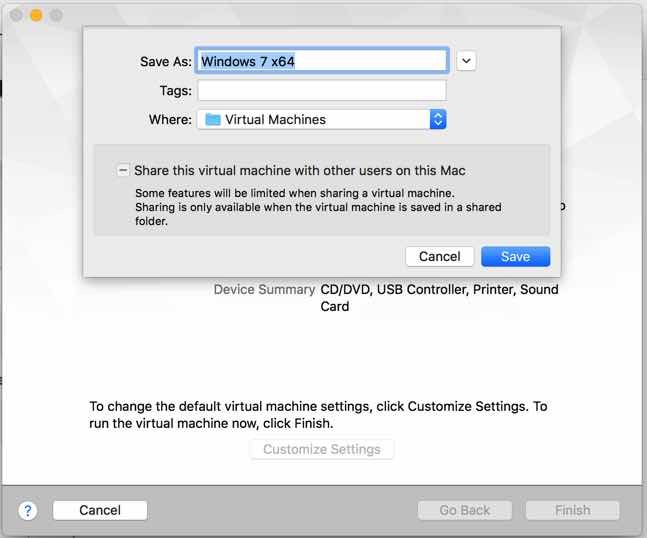
- Now select where you want to save the vmdk “Virtual Machine” file. The default directory is “Virtual Machines”.
- Give it a name and select Save.
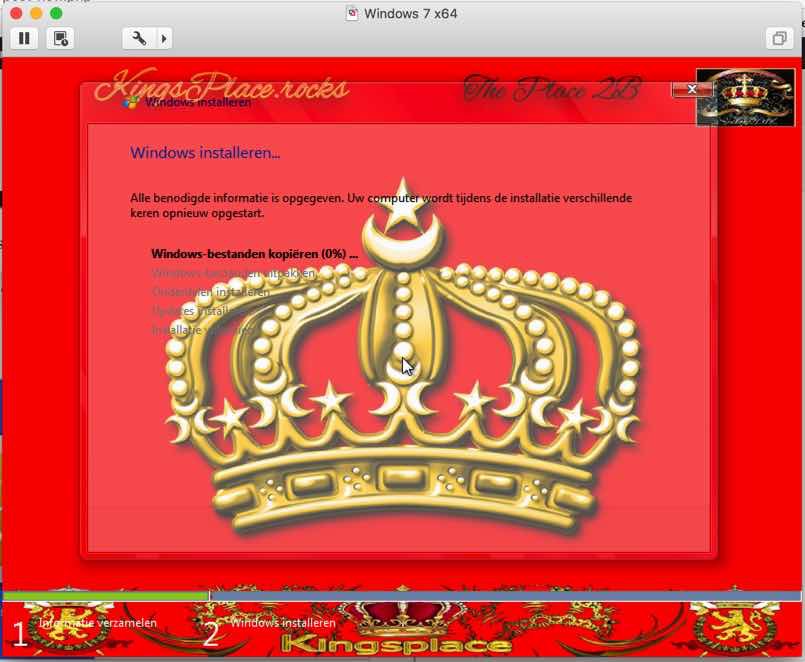
- Windows will now be installed automatically. The subsequent installation process follows the installation of Windows. In these instructions we use a test version of Windows 7. This is the same for Windows XP, Windows Vista, Windows 8 or Windows 10.
a good morning,
I am also trying to install Windows via VM fusion... quite a task for me 🙂
Question: Do I need to purchase a Windows license before proceeding with the procedure you described? I don't really understand how I get those windows integrated and the procedure
thanks for your answer
manu
Hello Manu, you indeed need a Windows license and a license for VMWare Fusion.
Greetings, Stefan