

iTunes has recently been replaced by a new one Apple app called “Apple devices”. Where iTunes was a collection with different functions, these functions are now divided into three different apps. Via the "Apple devices” app you can now back up your iPhone and in this step by step guide I explain how this works.
Apple devices is a free app that you can use to manage your iPhone on a Windows 11 computer. Apple devices is not only useful for backups, but can do more.
- You can transfer photos, files, music, movies, and more between your Appledevice and Windows PC. This is especially useful if you don't use iCloud for your photos or want to transfer certain files directly between devices.
- The app provides options for backing up your Appledevices and recovering this data when necessary. This ensures that your important data is safe and easy to recover.
- The app allows you to update your device, create backups and restores, and sync specific content such as music or movies if you have a Apple Music of Apple has a TV+ subscription. However, it has been noted that the app offers fewer options compared to iTunes, such as no option to sync your device over Wi-Fi.
To backup your iPhone, follow the steps below.
iPhone backup with Apple Devices in Windows 11
To get started, open the Microsoft Store on your computer. Search the Microsoft Store for: Apple Devices and download and install this app.

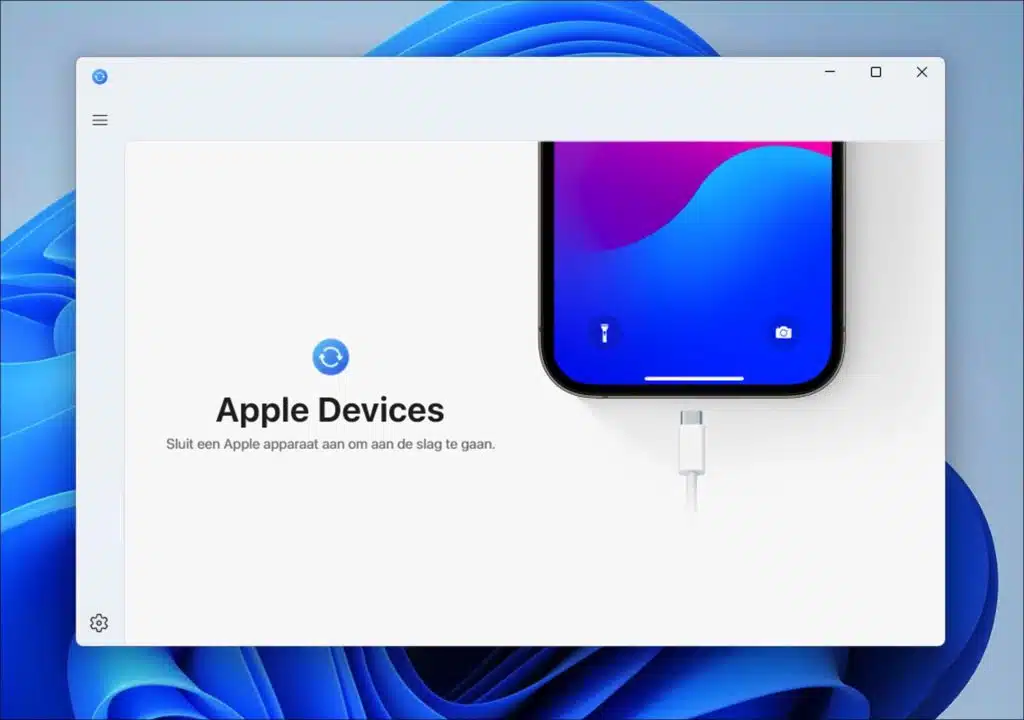
Now connect your iPhone to your Windows 11 computer using the original cable.
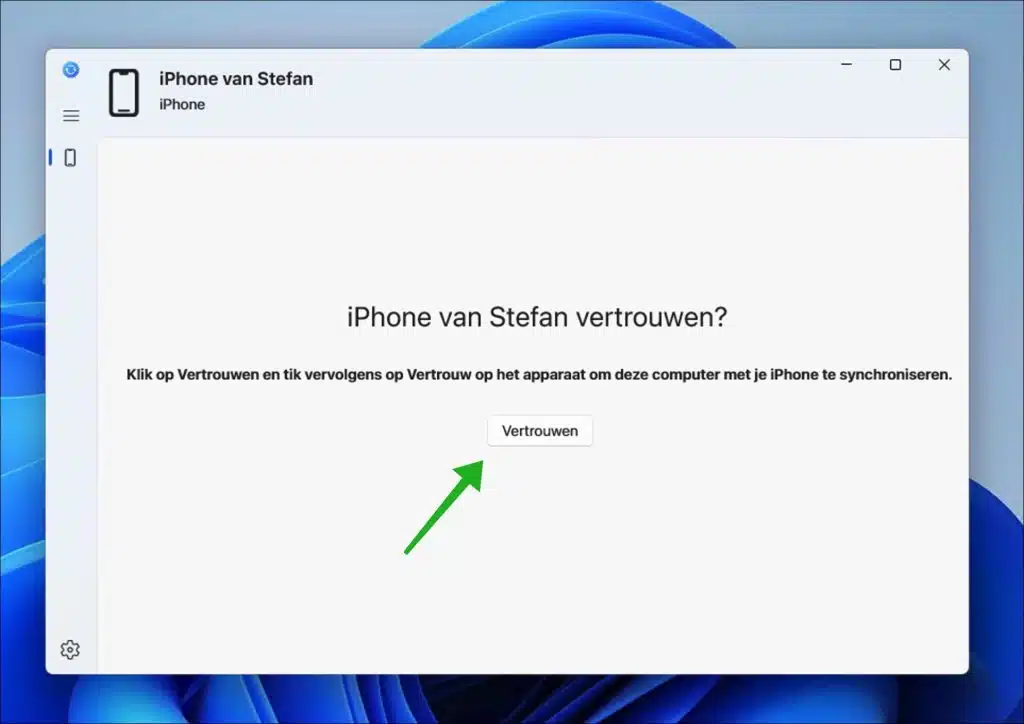
On your computer, click trust when the connection is successful and follow the steps on your iPhone to successfully connect to your computer.
Once the connection has been successfully established, you can make a backup of your iPhone.
You can back up your data on your iPhone by selecting the option “Back up all the data on your iPhone to this computer.”
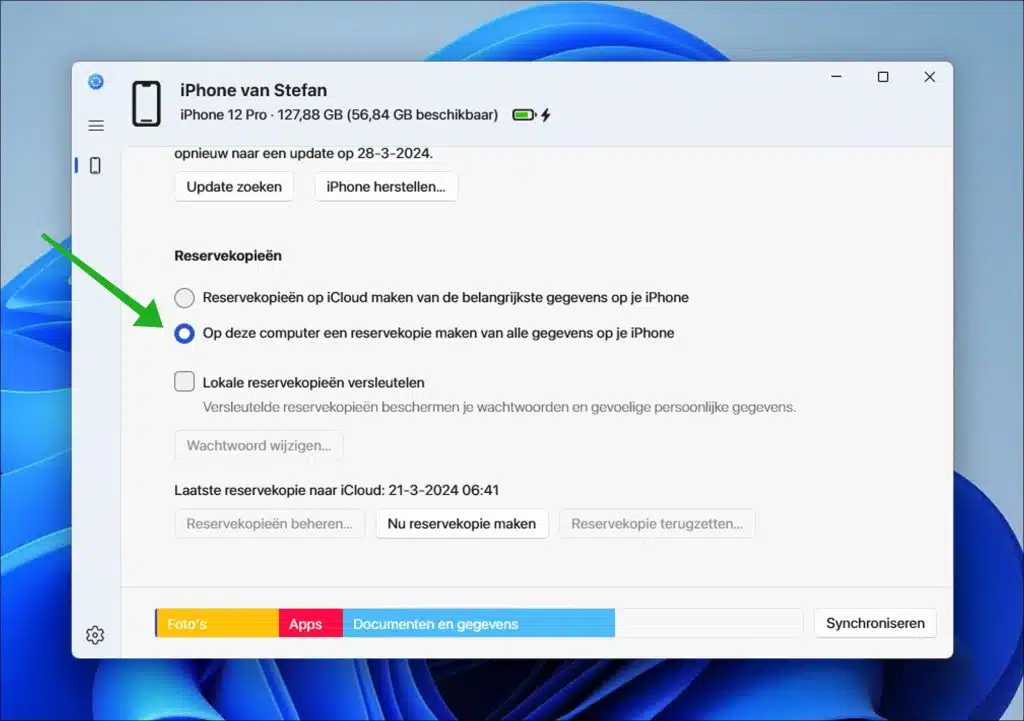
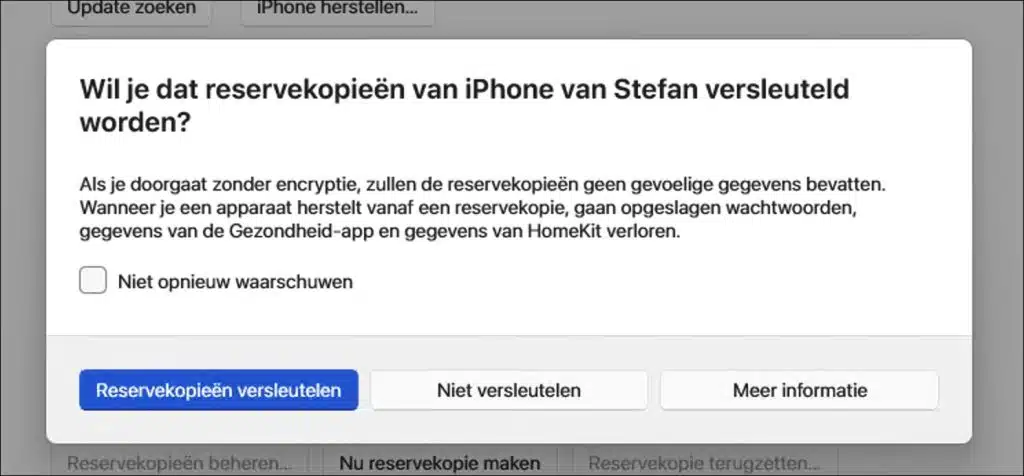
Consider encrypting the local backup with a password if you share the computer with other users or want to protect personal information. To do this, enable the “Encrypt local backups” option and enter a password for this encrypted backup.
When you are ready to backup, click “Back Up Now” to create a local backup of your iPhone to Windows 11.
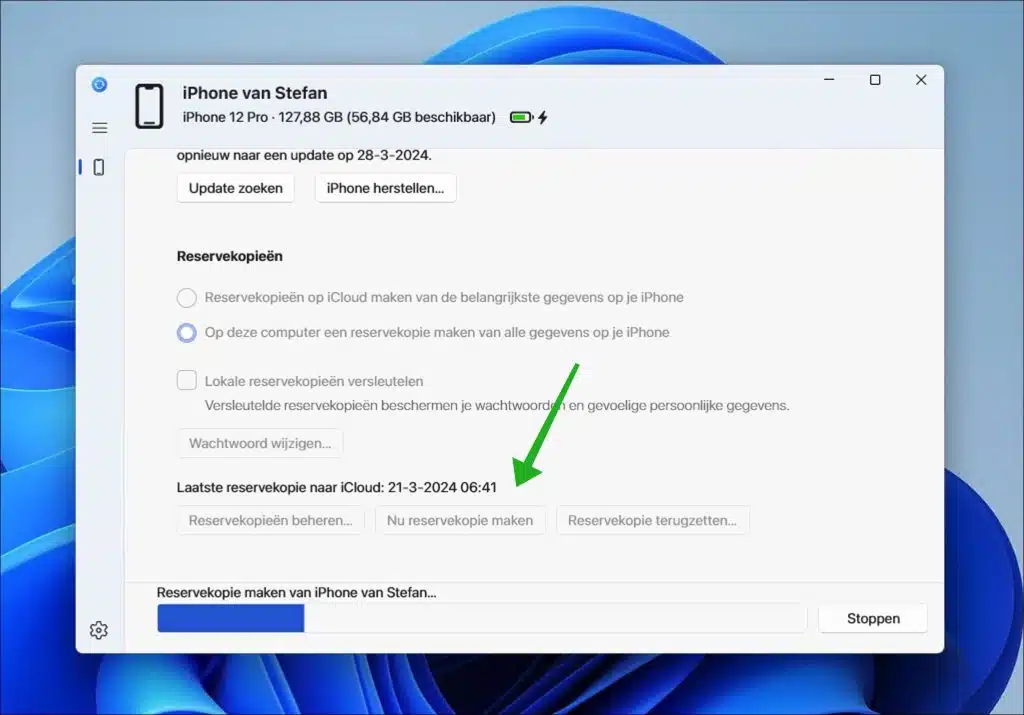
You can then manage backups by clicking the “Manage Backups” button. Here you can delete backups and with this free up disk space.
I hope to have informed you with this. Thank you for reading!