
Installing Windows on a Mac can be done in several ways. One of these ways is via Parallels desktop for Mac.
Parallels Desktop is a so-called Virtual Machine. A virtual machine is a software application that mimics a computer.
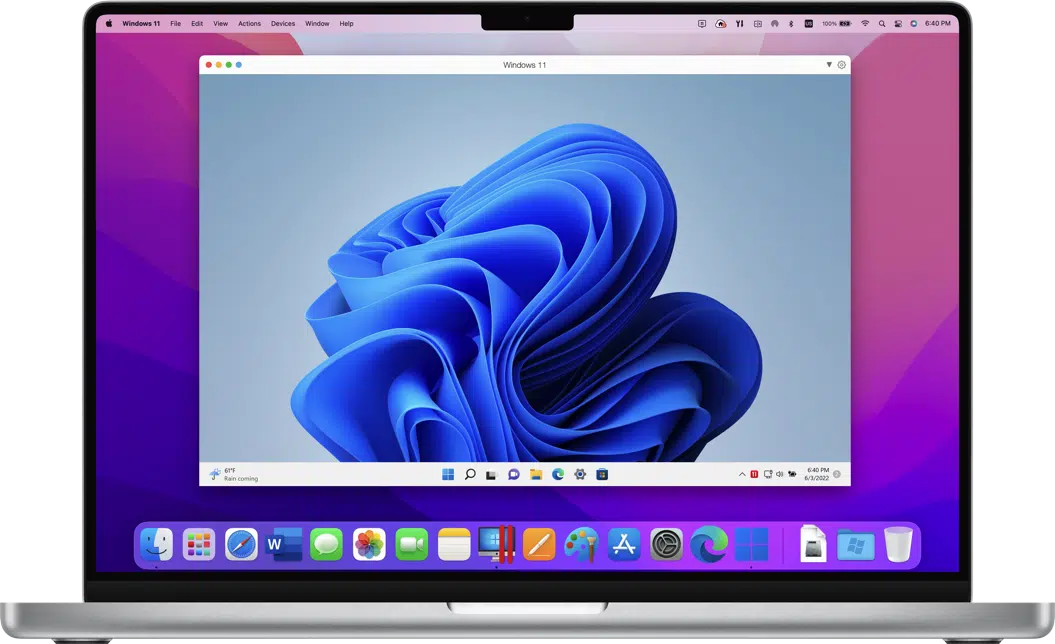
Because you can create a virtual machine with Parallels Desktop, you can use Windows 10 or Windows XNUMX on this machine Install Windows 11. That ultimately makes it possible to start Windows on a Mac. Not just Windows, Parallels Desktop also allows you to install Mac, Linux or Android on your Mac.
Parallels Desktop is so simple to use that anyone without any technical knowledge can use it.
In this article I will show you step by step how to install Windows on your Mac with Parallels Desktop 18 and later.
Install Windows on a Mac via Parallels desktop
To start with, you should Parallels Desktop Mac download. Install Parallels Desktop as you would install any application on your Mac.
If you don't have a Windows ISO file yet, but you do have a Windows license code, you can do it Download Windows ISO file.
Don't have a Windows license yet? Buy a Windows license safely and directly via Bol.com.
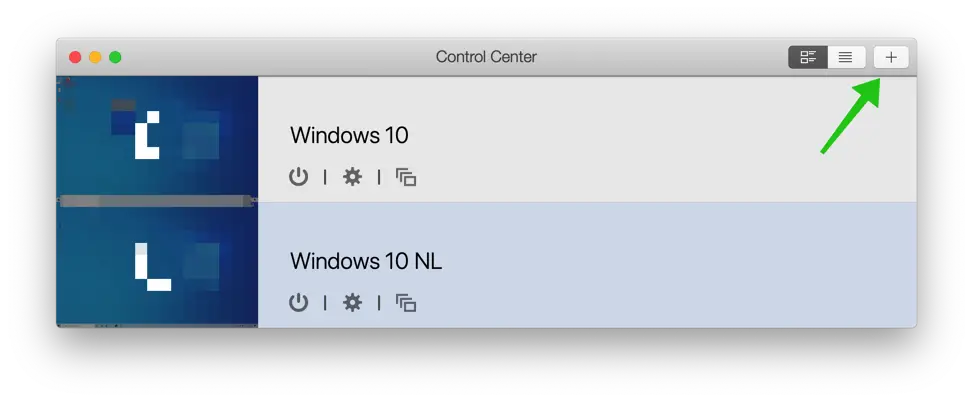
Open Parallels Desktop. In the Control Center, click the + to create a create a new virtual machine.
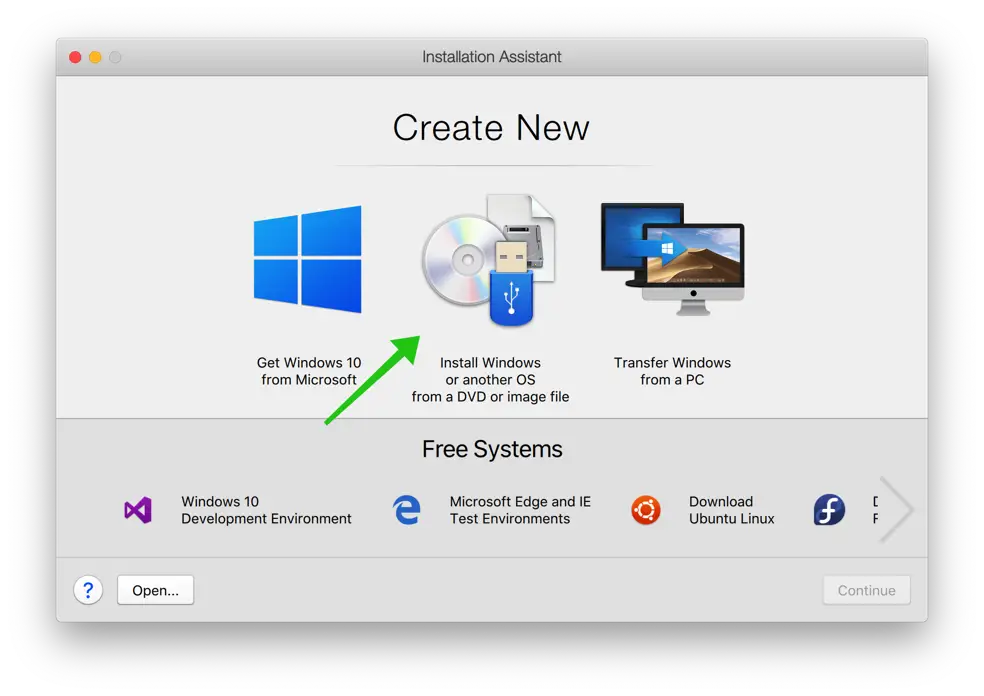
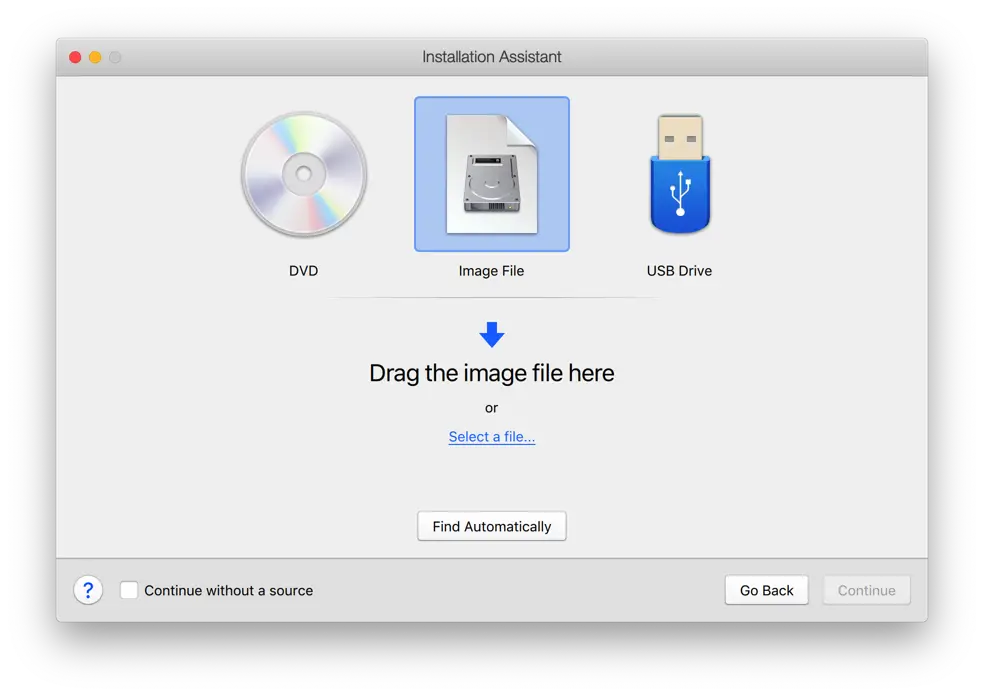
Click: Install Windows or another OS from a DVD or image file. Then click the Continue button.
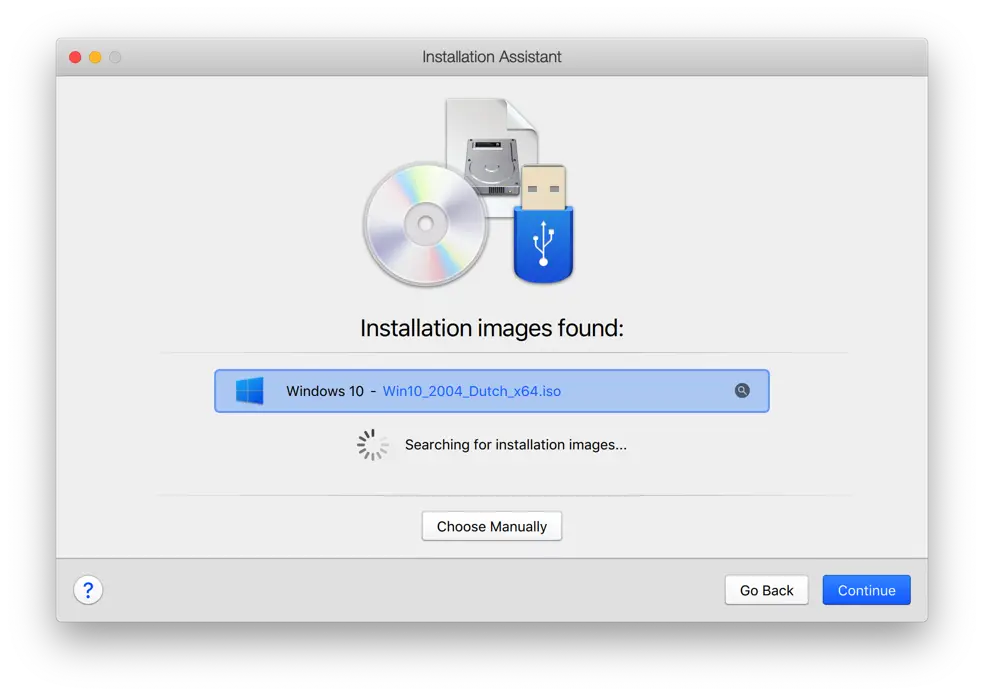
Parallels Desktop finds an ISO file automatically. If not, click: Choose manually.
If you have chosen: Choose manually you have the choice of installing Windows from a USB, image or DVD. Click Continue once you have selected the Windows installation media.
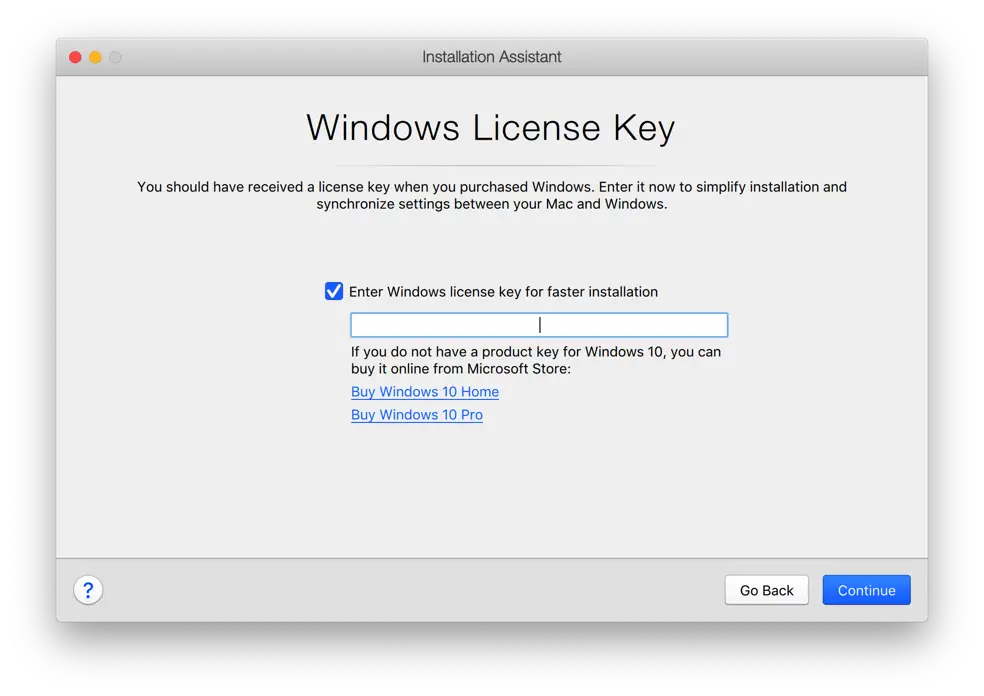
In the next window you can enter the Windows license code Windows faster to install. The installation of Windows will then automatically continue to the end and you will no longer be asked to enter a license code during the installation of Windows.
Uncheck this option if you do not want Windows to be installed with a code or if you do not yet have a license code. Click the Continue button to continue.
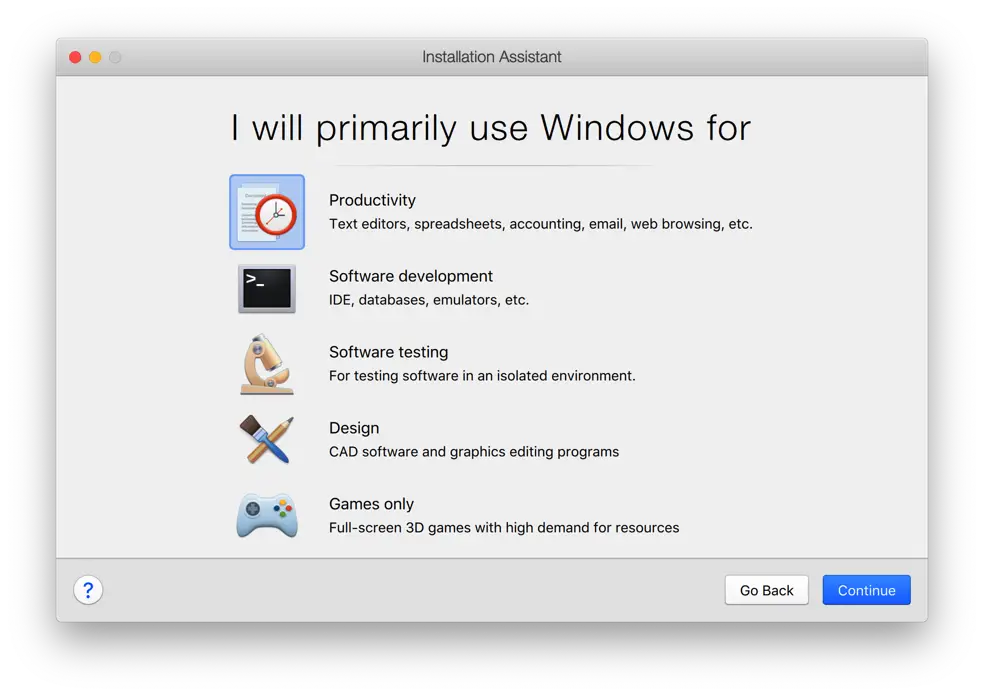
In the next window you can indicate what you will mainly use Windows for. Parallels Desktop then applies the optimal settings in the Windows virtual machine, adapted to your Mac computer specifications.
Click the Continue button to continue.
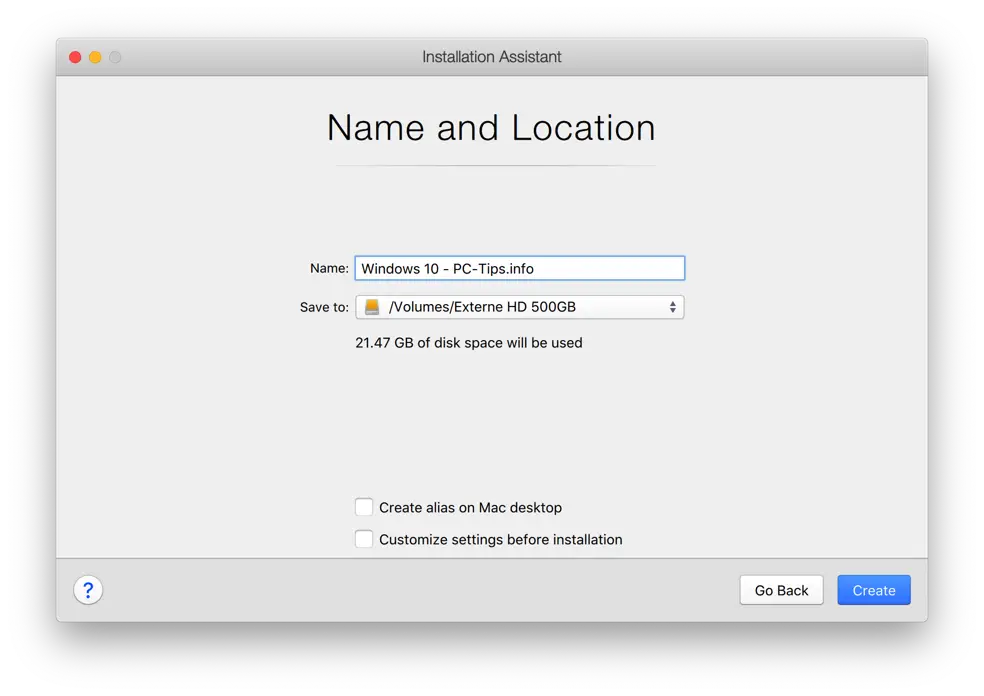
Name the Windows installation on your Mac. Select the location of the Parallels desktop file. Depending on the size of the Windows source file, it is determined how much disk space your Mac should have free for installation.
At the bottom you can indicate whether you want to obtain a shortcut to it Mac desktop and/or you want to adjust the Windows virtual machine settings before installation.
In this installation process I assume that you want to adjust the settings before installation. This is to give you an idea of what you can adjust.
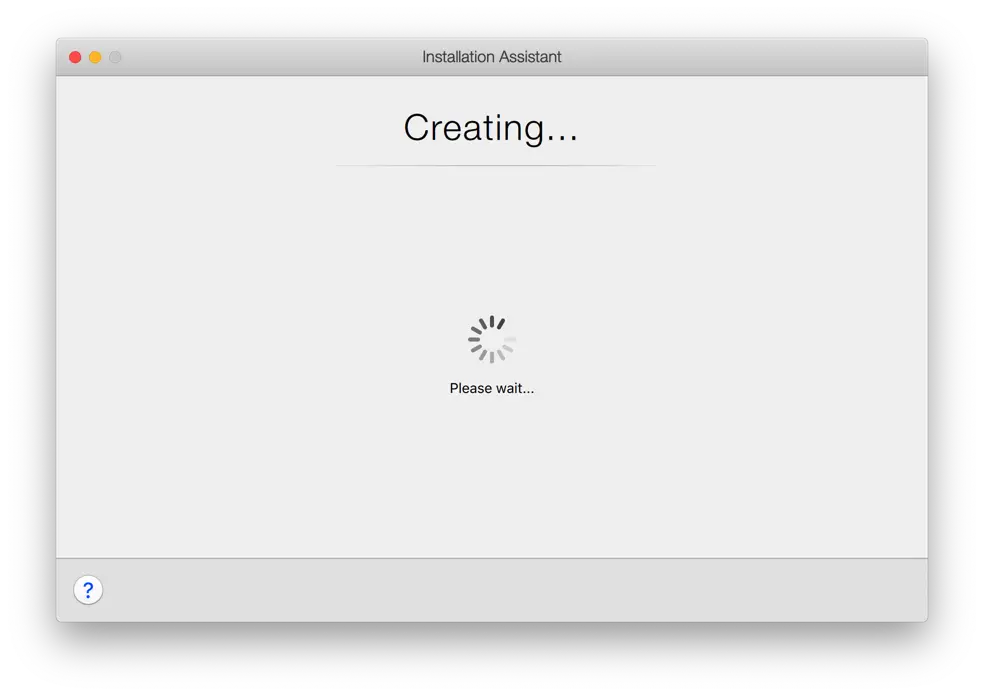
Click the Create button to create a Windows virtual machine on your Mac using Parallels Desktop.
The Windows virtual machine is now created on your Mac.
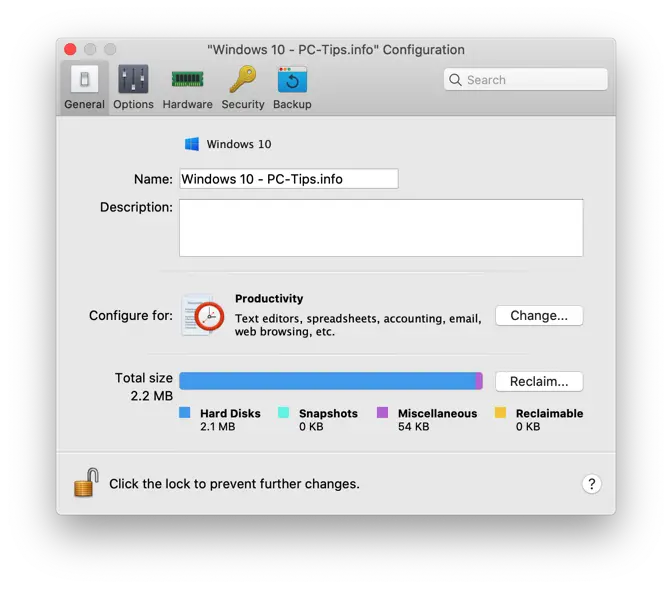
 Once the virtual machine has been created, options will be shown to allow you to customize the Windows virtual machine on your Mac.
In the tab: General you will find the settings to adjust the virtual machine name and description. You will also see what you installed the machine for “Productivity” in this example and the total disk space that the Parallels Desktop virtual machine takes up on your Mac.
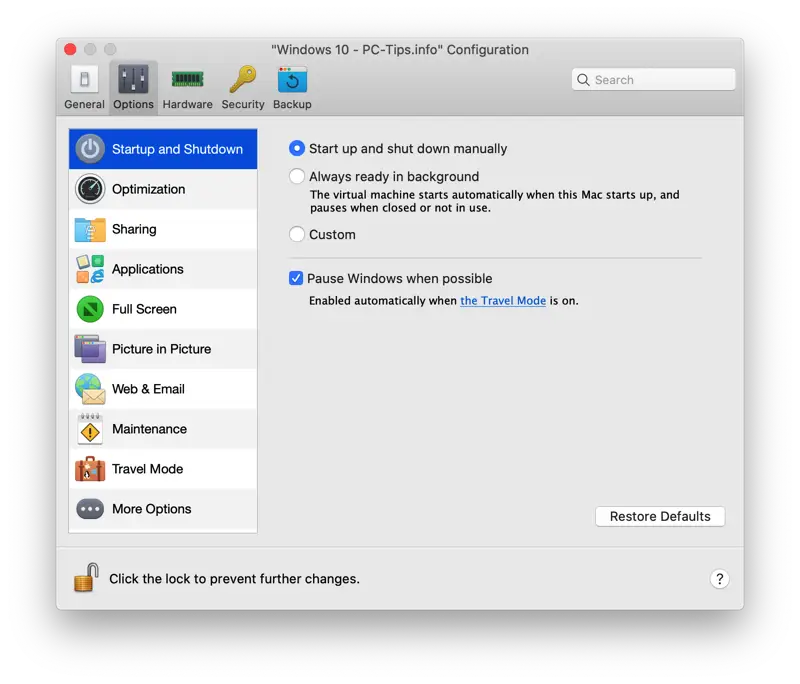
The next tab: Options. All kinds of options to adapt the virtual machine to the user's wishes. Consider which folders you want to share with the virtual machine, which e-mail program should be used, whether the virtual machine can automatically pause, etc. I recommend that you view these options one by one yourself and adjust where necessary. necessary.
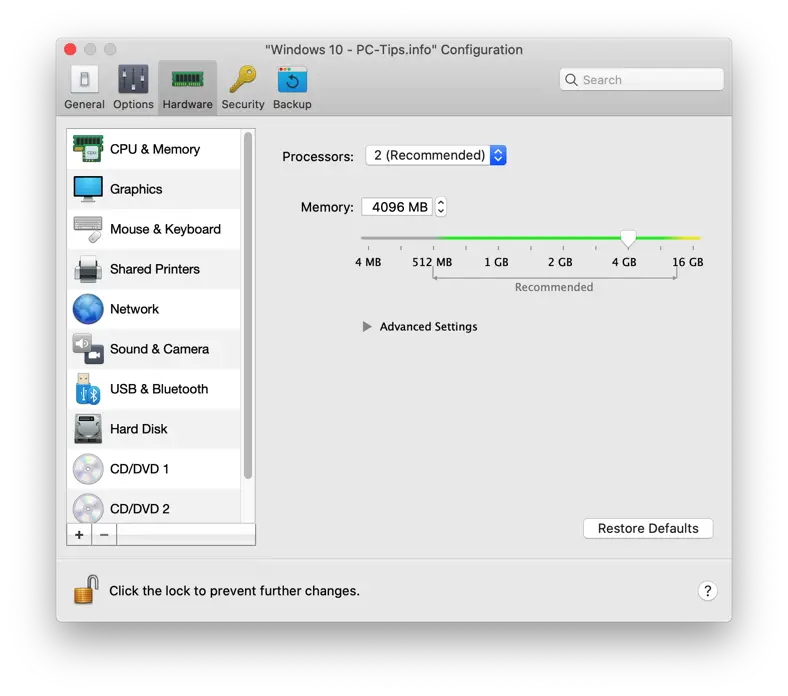
Tab: Hardware. These are settings you can adjust for the virtual hardware that the Windows machine uses. In principle you do not have to adjust anything here, the best settings are taken from your selection "what you are going to use the machine for". For example, if you have selected “Gaming”, the best settings from your Mac will be applied to the virtual machine for gaming.
The hardware settings are a bit advanced for the average user. Here too, it is advisable to adjust the virtual hardware settings to your wishes where necessary.
Parallels Desktop also provides security settings to protect your virtual machine (file). You can apply a password to the virtual machine, which will prevent other users of your Mac from starting and modifying the virtual machine.
You can also isolate all Windows settings on your Parallels virtual machine from your Mac. For example, if you share folders or other settings and you enable the option: Isolate Windows from Mac, no link will be created between the virtual machine and your Mac.

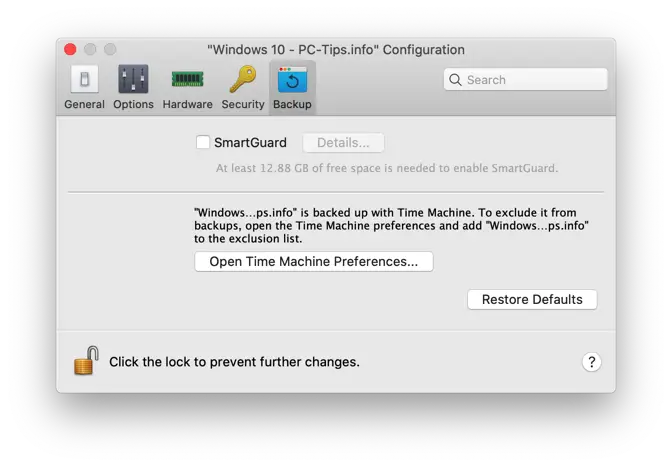
You can add another backup settings to automatically backup the Parallels virtual machine. If you time Machine has already been set, the virtual machine is already automatically included in the backup.
If you activate Smartguard in Parallels, snapshots are automatically taken every so often (which you set). Snapshots are temporary copies of the current state of the virtual machine, this way you can always restore a temporary backup of the virtual machine.
Once you have checked all settings and adjusted them where necessary, you can close the configuration by clicking on the red button in the configuration window. The installation of Windows will then continue automatically.
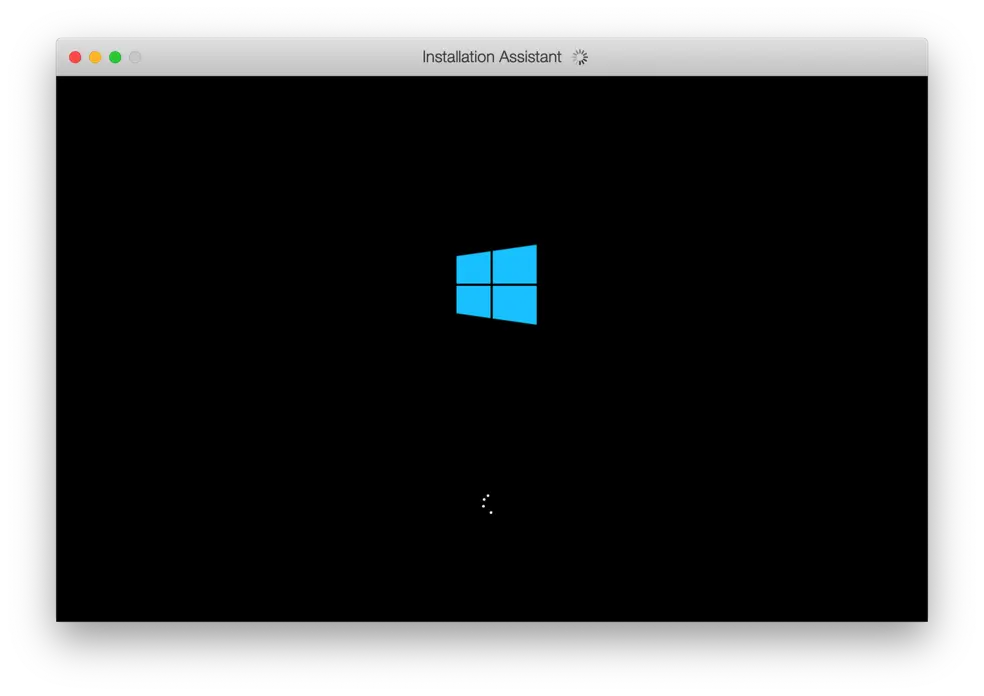
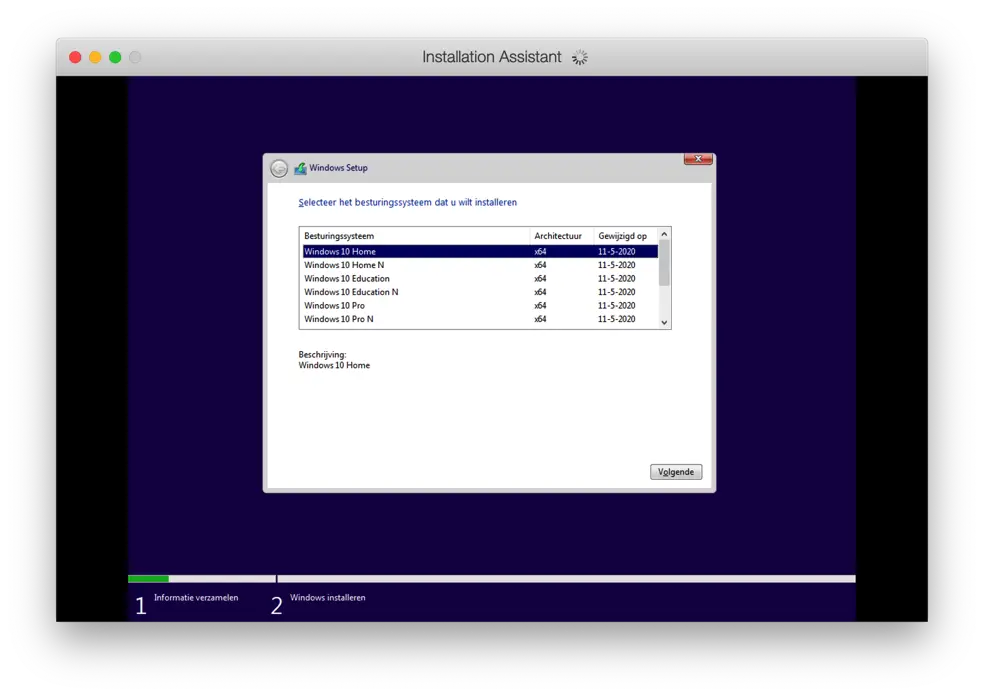
Follow the complete Windows installation process and you have successfully installed Windows on your Mac.
If you have any questions, please use the comment field below. I am happy to help you further. Thank you for reading!
Read also: Clean up Mac and make Mac faster.