
Als u Windows 11 of Windows 10 gebruikt en u heeft geen alternatieve antivirus ingesteld dan gebruikt u Windows-beveiliging. Windows-beveiliging is een set van beveiligingsfuncties die standaard in Windows is ingebouwd.
Windows-beveiliging omvat de volgende beveiligingsfuncties om Windows te beschermen. Dit is een antivirus, accountbeveiliging, firewall, app- en browserbeheer, en apparaatbeveiliging. Elke bescherming bevat ook weer sub-functies.
Als er wijzigingen plaatsvinden of er wordt een bedreiging waargenomen in Windows dan stuurt Windows-beveiliging een melding naar de aangemelde gebruiker. Dit is een melding die u ziet in de rechter benedenhoek in Windows 11 of Windows 10. Deze meldingen komen daarna terecht in het actiecentrum waar u ze terug kunt lezen.
Meld u dan aan voor onze nieuwsbrief.
In Windows kunt u de meldingen of kritieke informatie die u van een van de beveiligingsfuncties van Windows-beveiliging kunt ontvangen aanpassen. Zo kunt u per beveiligingsfunctie instellen of u er wel of geen meldingen van wilt ontvangen.
Meldingen die u ontvangt van Windows-beveiliging beheren
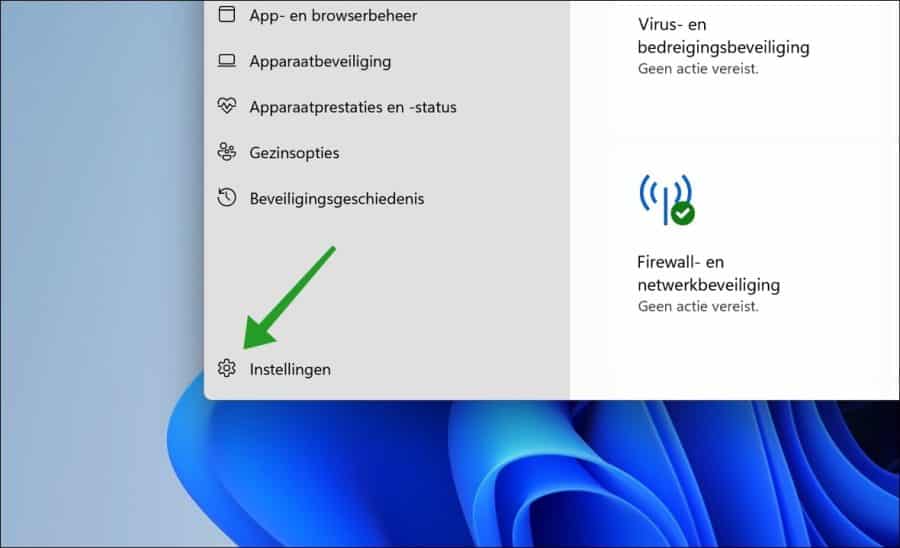
Om te beginnen dient u Windows-beveiliging te openen. Dit doet u door met de rechtermuisknop op de Startknop te klikken. In het menu klik vervolgens op Instellingen.
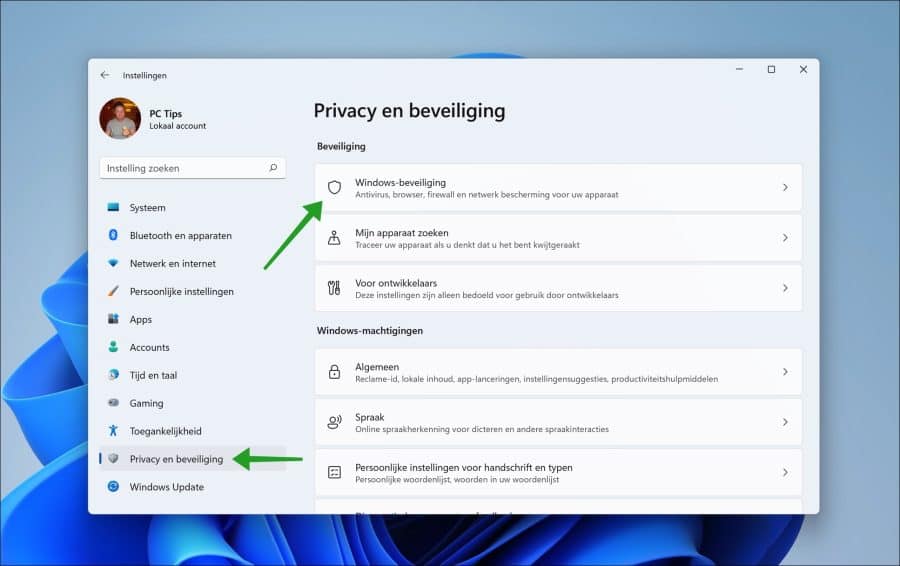
Aan de linkerzijde in het menu klikt u op “Privacy en beveiliging” en daarna op “Windows-beveiliging”.
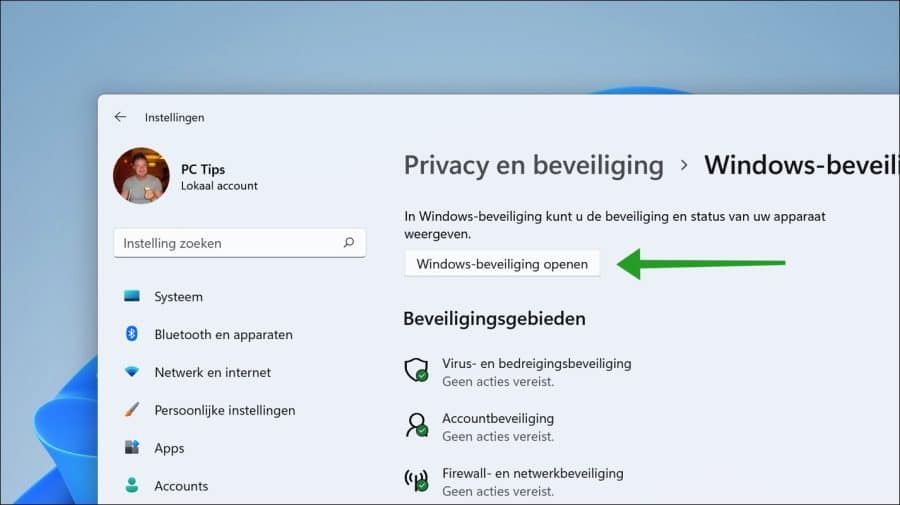
Klik vervolgens op de “Windows-beveiliging openen” knop.
Klik links onderin in Windows-beveiliging op het tandwielpictogram “Instellingen”.
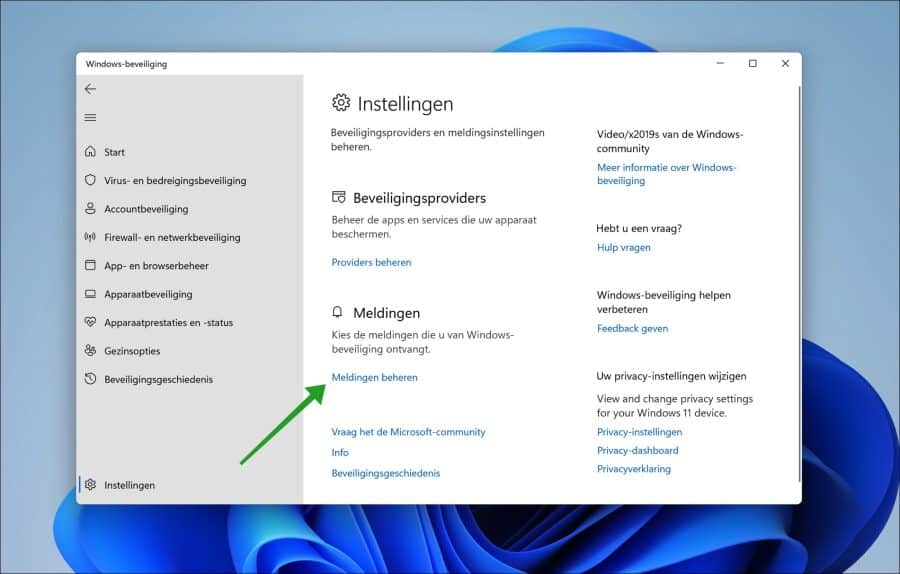
In de “Meldingen” instellingen klikt u op de “Meldingen beheren” link.
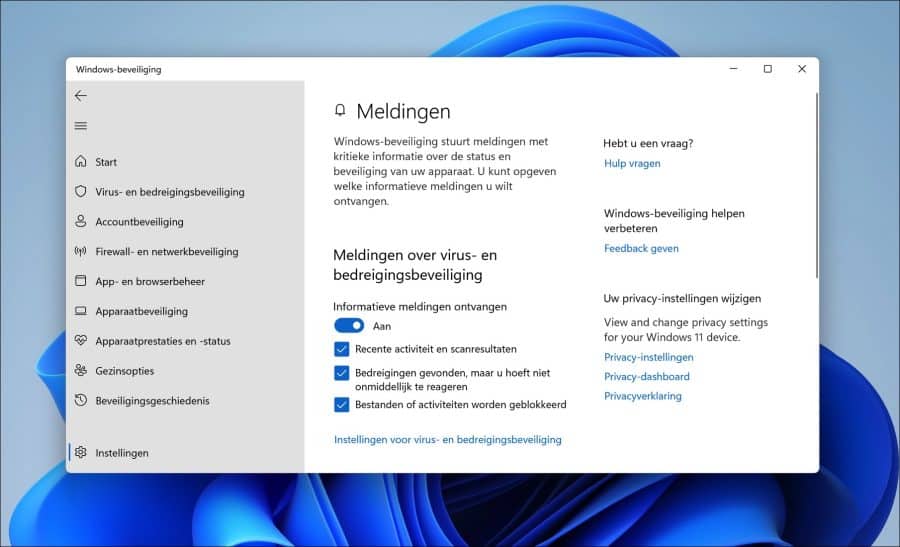
U kunt hier de meldingen beheren voor drie verschillende beveiligingsfuncties in Windows. Dit zijn de melding voor virus- en bedreigingsbeveiliging, meldingen over accountbeveiliging en meldingen die gerelateerd zijn aan de Windows firewall.
U kunt ervoor kiezen om per beveiligingsfunctie informatieve meldingen in- of uit te schakelen. Om alle meldingen per beveiligingsfunctie direct uit te schakelen klikt u op “Informatieve meldingen ontvangen” en wijzigt u de functie naar “Uit”. U ontvangt geen meldingen meer over deze beveiligingsfunctie.
Virus- en bedreigingsbeveiliging meldingen beheren
Ook kunt u per soort beveiligingsfunctie activiteit beheren of u er meldingen van wilt ontvangen of niet. U wijzigt dan de “informatieve meldingen ontvangen” naar “Aan” en kunt daarna de volgende melding selecteren die u wel wilt ontvangen. Dit zijn voor de virus- en bedreigingsbeveiliging, de volgende meldingen.
- Recente activiteit en scanresultaten.
- Bedreigingen gevonden, maar u hoeft niet onmiddellijk te reageren.
- Bestanden of activiteit worden geblokkeerd.
Accountbeveiliging meldingen beheren
Naast meldingen van de virusbescherming in Windows worden er ook meldingen getoond van andere beveiligingsfuncties. Dit zijn de accountbeveiliging en meldingen over firewall en netwerkbeveilinging.
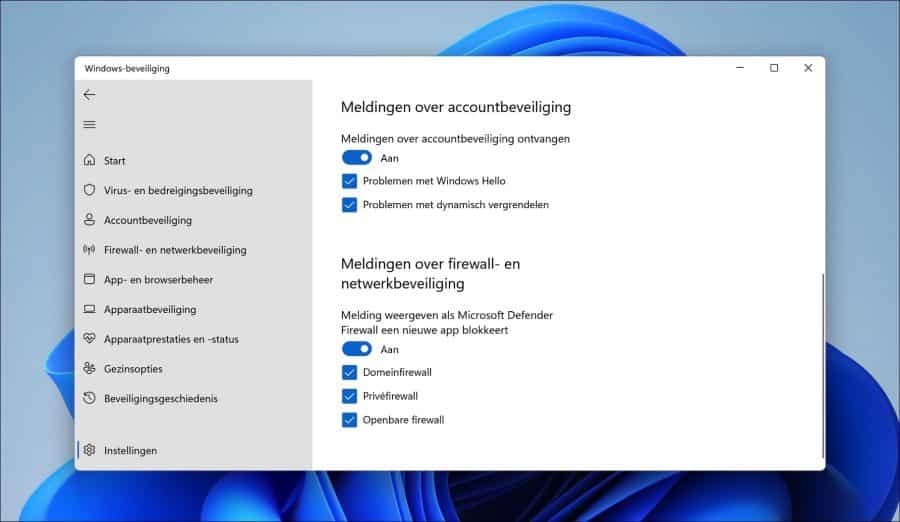
Om alle meldingen over accountbeveiliging uit te schakelen wijzigt u de optie “Meldingen over accountbeveiliging ontvangen” naar “Uit”. Als u de melding over accountbeveiliging instelt op “Aan” dan kunt u aangeven of u een melding wilt ontvangen bij de volgende activiteit.
- Problemen met Windows-hello.
- Problemen met dynamisch vergrendelen.
Windows firewall meldingen beheren
Als de Windows firewall een app blokkeert op een specifiek netwerkprofiel dan ziet u hiervan een melding. U kunt in de “Meldingen over firewall- en netwerkbeveiliging” aangeven of wel of geen meldingen wilt ontvangen. Mocht u wel meldingen willen ontvangen dan kunt u instellen voor welk firewall profiel u een melding wilt ontvangen.
Lees ook: Windows firewall resetten.
Ik hoop dat hier hiermee is gelukt om de meldingen van Windows-beveiliging te beheren op een Windows 11 of Windows 10 PC. Bedankt voor het lezen!
Help mee
Mijn computertips zijn gratis en bedoeld om andere mensen te helpen. Door deze pc-tip te delen op een website of social media, helpt u mij meer mensen te bereiken.Overzicht met computertips
Bekijk ook mijn uitgebreide overzicht met praktische computertips, overzichtelijk gesorteerd per categorie.Computerhulp nodig?
Loopt u vast met uw pc, laptop of software? Stel uw vraag op ons computerforum en krijg gratis computerhulp van ervaren leden en experts.