

In Windows 11 it is possible to edit the HOSTS file. A hosts file is a local file stored on the computer that translates domain names or NetBIOS names into an IP address.
When an IP address is looked up, the computer first looks in the hosts file to resolve the name. If the name is not in the local hosts file, it tries to resolve it using a DNS (Domain Name Service), and if the name is also not found, the lookup fails.
The hosts file is located in the c:\windows\system32\drivers\etc\ folder and can only be edited by an administrator. A normal user account cannot edit the hosts file.
By default, editing the hosts file is not necessary. It can help with transferring a domain name, or with the blocking an app or website. It is relatively simple to edit the hosts file. This is how it works.
Edit HOSTS file on a Windows 11 PC
To edit the hosts file you need to open a text editor as administrator. In this example I am using “Notepad”.
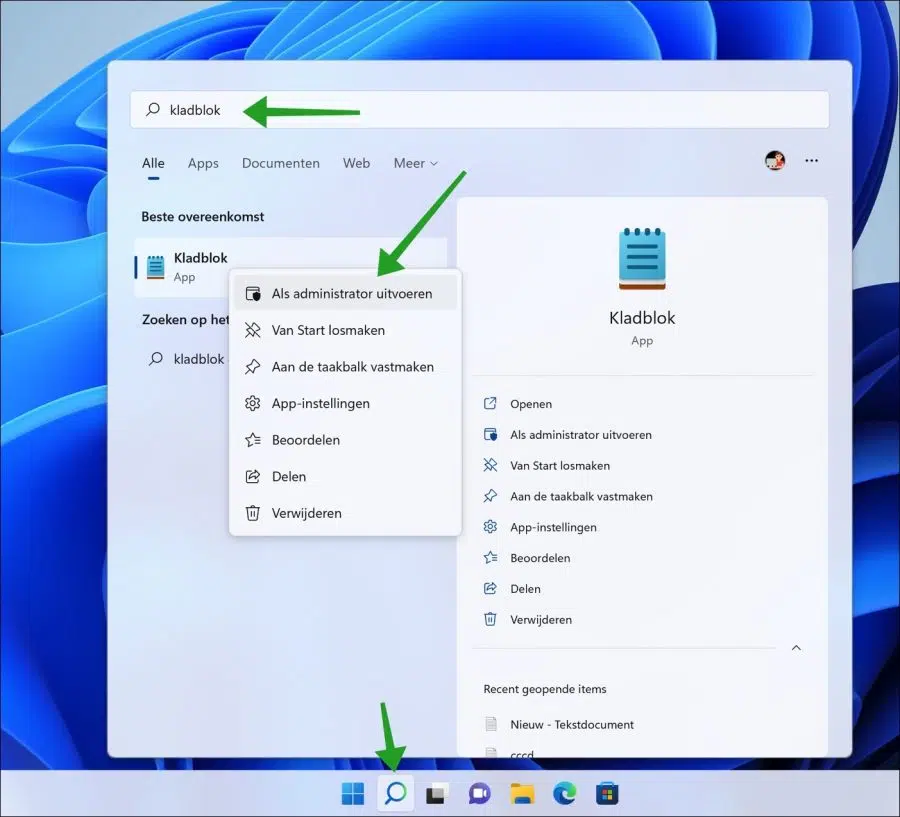
Click Search in the taskbar. Then search for the “Notepad” app and right-click on it. Then click on “Run as administrator” in the menu.
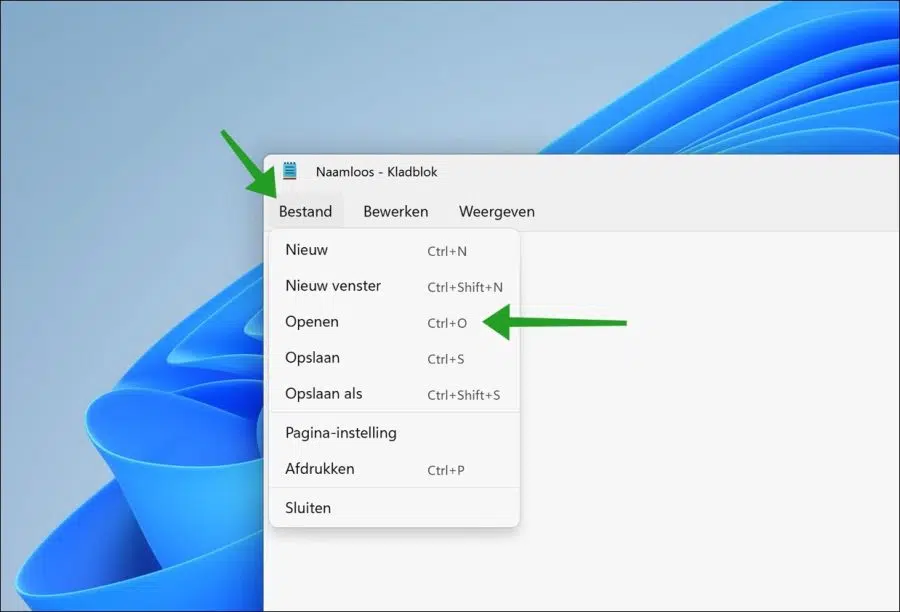
Click “File” and then “Open” in notepad.
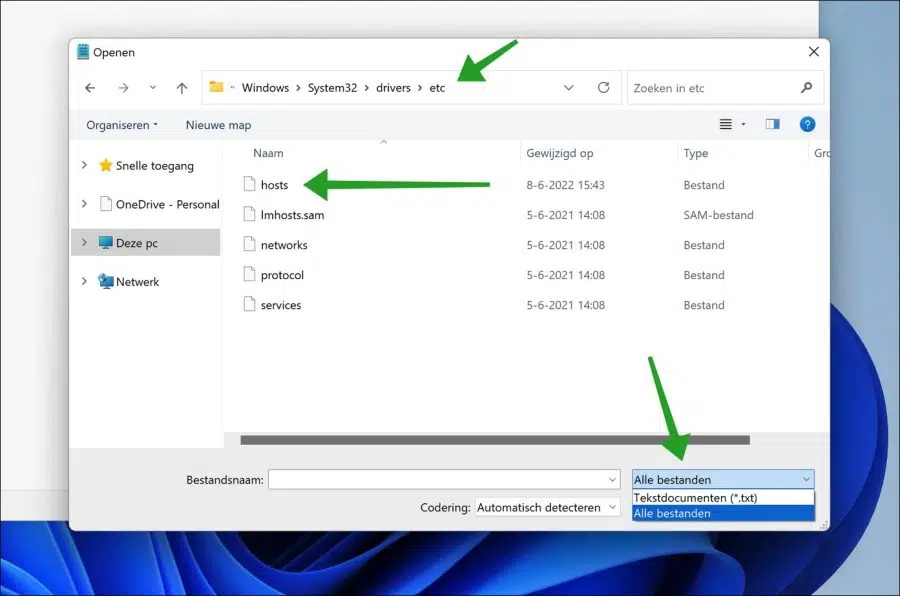
Go to the location:
C:\Windows\System32\drivers\etc
Then, in the opening window, change the option “Text documents (*.txt)” to “All files”.
You will now see the “hosts” file. Click on it and open the file so you can edit it.
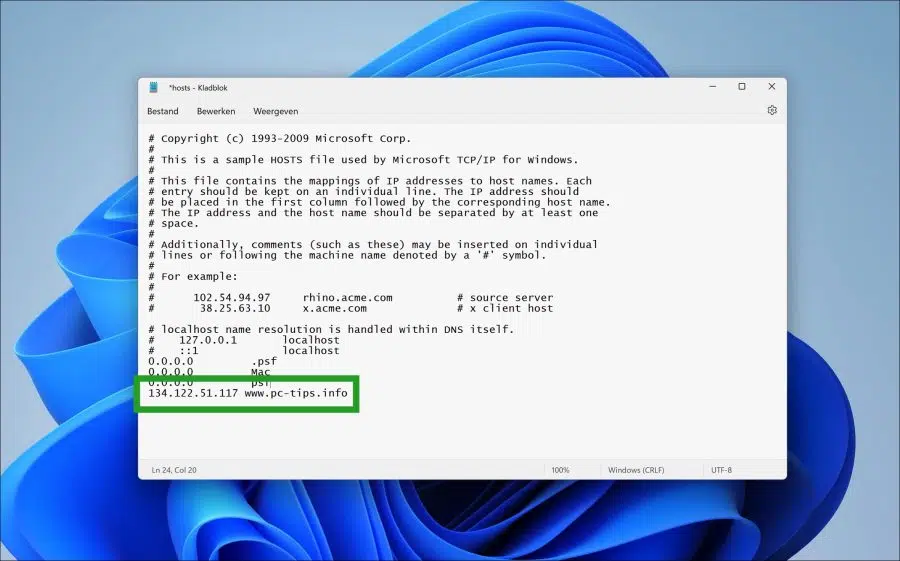
At the very bottom on a new line, enter what you want to fill in. This could, for example, be an IP address that refers to a domain name.
When you're done, press CTRL + S to save the hosts file. Do you receive an error message? Then you have not opened the notepad as an administrator. Close Notepad if successful.
I hope this helped you. Thank you for reading!