De prestaties en indexeerfunctie in Windows biedt gebruikers de mogelijkheid om CPU beperken en daarmee de prestatie van de computer te verbeteren. De prestaties en indexeerfunctie doet dit door de zoek indexeer functie te beperken als de computer in energiebesparende modus of in gaming mode gaat.
Windows maakt een zoek index aan om gebruikers makkelijker en sneller te laten zoeken naar bestanden en mappen op de computer. Dit proces dat draait op de achtergrond zorgt ervoor dat Windows de zoek index constant opbouwt. Het constant zoeken naar nieuwe bestanden om te indexeren neemt nogal wat CPU processen in beslag en kan de computer langzaam maken op het moment dat deze service gestart is.
Om de processen van deze zoek index service te beperken kunt u de prestaties en indexeerfunctie inschakelen. Niet alleen verbeterd deze functie de computer bronnen consumptie, maar het verbeterd in laptops ook de accu-duur. Dit is hoe u de prestaties en indexeerfunctie functie in Windows inschakelt of uitschakelt.
Meld u dan aan voor onze nieuwsbrief.
Indexeren en zoeken beperken in Windows om CPU te besparen
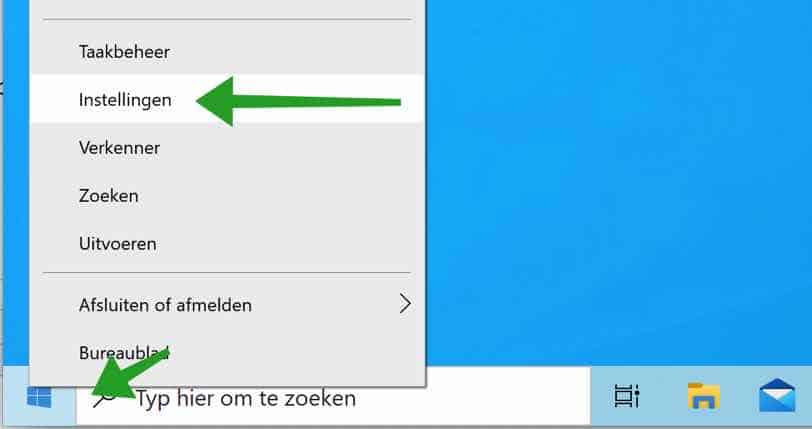
Klik met de rechtermuisknop op de Windows startknop. Klik op Instellingen in het startmenu.
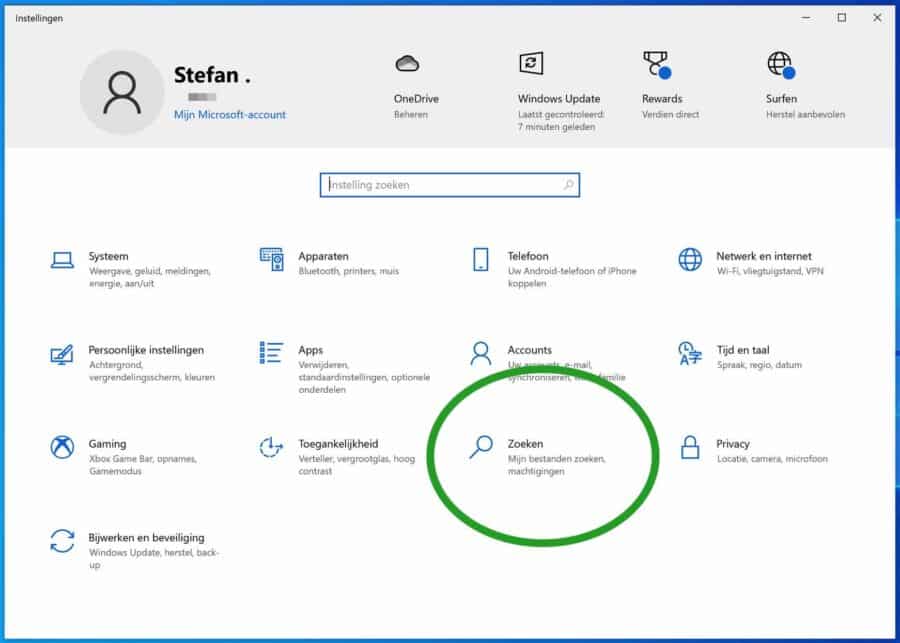
In de Windows-instellingen klik op Zoeken om de zoekinstellingen in Windows te openen.
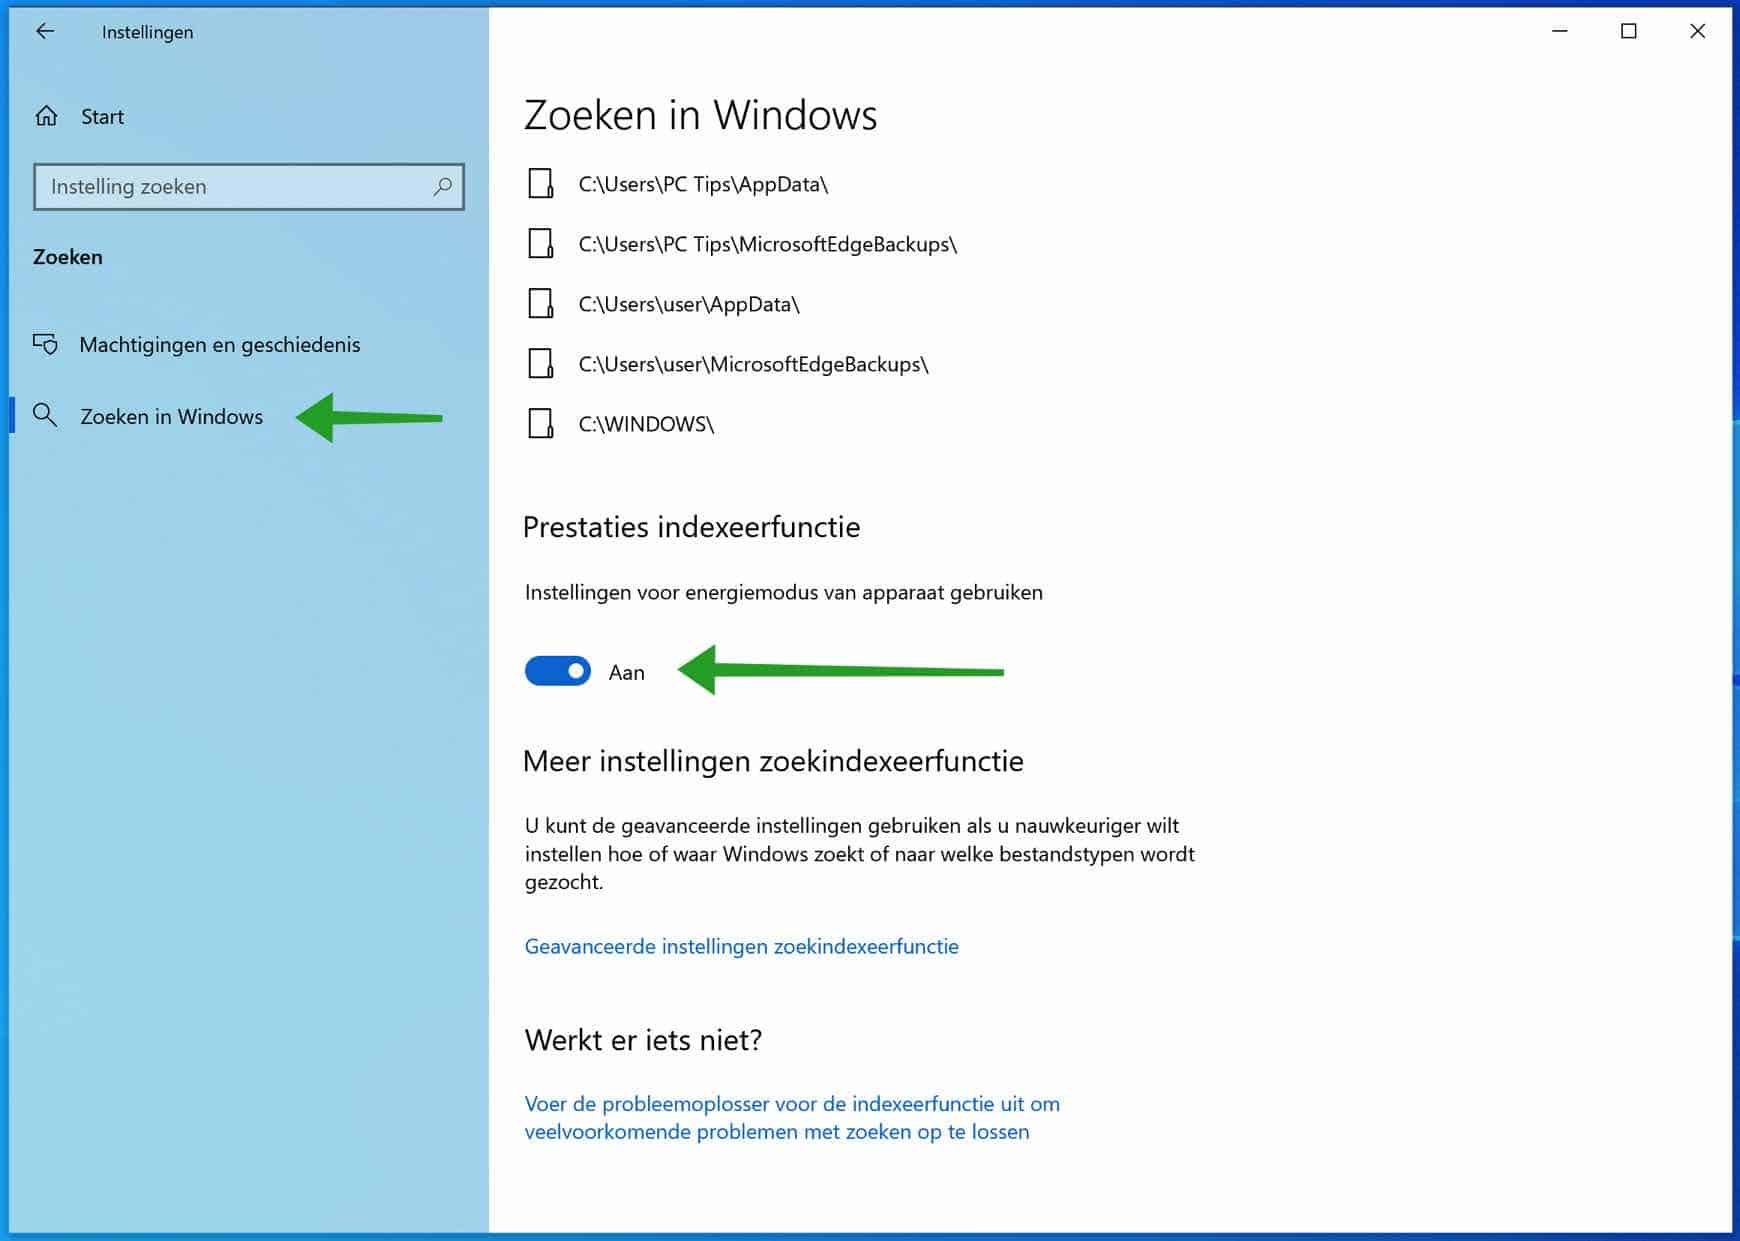
In het linkermenu klik op Zoeken in Windows. Navigeer een stukje naar beneden tot u bij Prestaties en indexeerfunctie bent. Schakel de Prestaties en indexeerfunctie in door op de blauwe schuif te klikken. Door nogmaals op dezelfde schuif te klikken schakelt u de Prestaties en indexeerfunctie in Windows weer uit.

Windows 10 build 18965 introduceert een nieuwe optie voor de zoek indexeer functie die het mogelijk maakt om de energiemodus instellingen van het apparaat te respecteren.
Deze nieuwe instellingen veranderen de prestaties van de indexeer service. Windows 10 komt met de mogelijkheid om je bestanden te indexeren zodat het Windows startmenu, De Windows verkenner en Cortana bestanden en mappen sneller kunnen doorzoeken.
Ik hoop u hiermee geholpen te hebben. Bedankt voor het lezen!
Help mee
Mijn computertips zijn gratis en bedoeld om andere mensen te helpen. Door deze pc-tip te delen op een website of social media, helpt u mij meer mensen te bereiken.Overzicht met computertips
Bekijk ook mijn uitgebreide overzicht met praktische computertips, overzichtelijk gesorteerd per categorie.Computerhulp nodig?
Loopt u vast met uw pc, laptop of software? Stel uw vraag op ons computerforum en krijg gratis computerhulp van ervaren leden en experts.