

It is simple to connect peripherals such as headphones (headphones) etc. in Windows 11. In general, headphones work immediately when you connect them to your PC.
In case the headphones do not work immediately in Windows 11, then something is wrong. Learn how to identify and resolve this problem in this article.
It's important that before you start making changes to Windows, you check a few things. For example, I recommend that you first connect the headphones to another device, if the headphones work then you can continue. If the headphones do not work on another device, check the following. Some headphones have a button that can adjust the volume. Check that the volume is not muted, so enable all functions on the headphones and check that the device is not muted.
I also recommend checking the connections. Are you using original cables, are the connections not damaged? Also remove any intermediate piece, for example an adapter. These types of cables can cause problems that cause the headphones to stop working.
If you are sure that the headphones work, but not on your Windows 11 computer, then you can apply the following changes.
Headphones not working in Windows 11
The first thing you should check in Windows 11 is whether the correct output device is selected. An output device is the device that Windows uses to play sound through. If the wrong output device is selected here, no sound will come from your headphones.
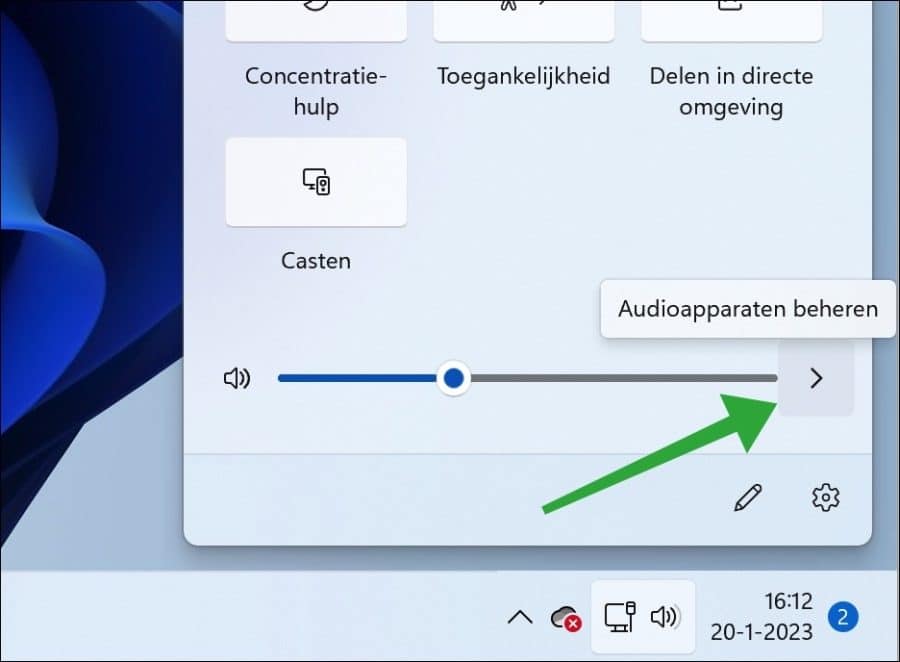
Press the Windows key + A. The action center will now open. In the action center, click the right arrow next to the volume.
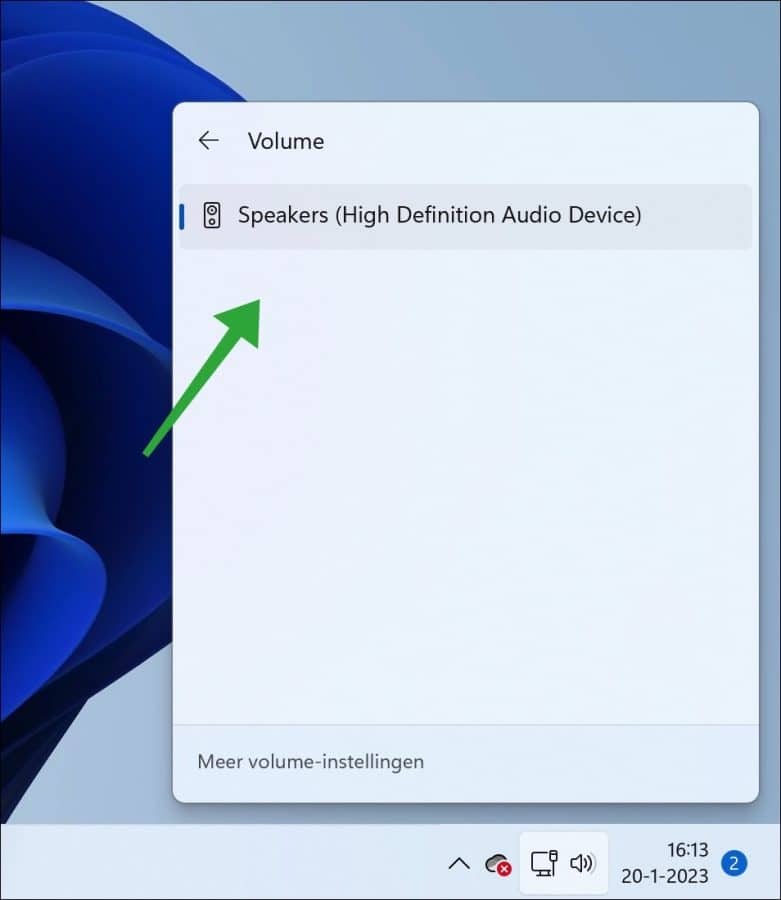
Select the headphones as the output device. If the headphones are not listed, they are not connected or are not detected.
If the headphones are selected and you still cannot hear, or the headphones do not work, open the settings.
In the settings, first click on “System” then on “Sound” and then on the name of the headphones, this is a device name and varies per brand and model. Click on it to open the settings.
Make sure the “Allow apps and Windows to use this device for audio” setting is visible as “Don't allow”. If you see “Do not allow” this means that it is allowed, the label of this button indicates that if you click on it it will not be allowed, so “do not allow” is correct.

The last thing you can try is to reset the device, the headphones to default values.
In the settings, click on “System”, then on “Sound” and then on “more sound settings” at the bottom.

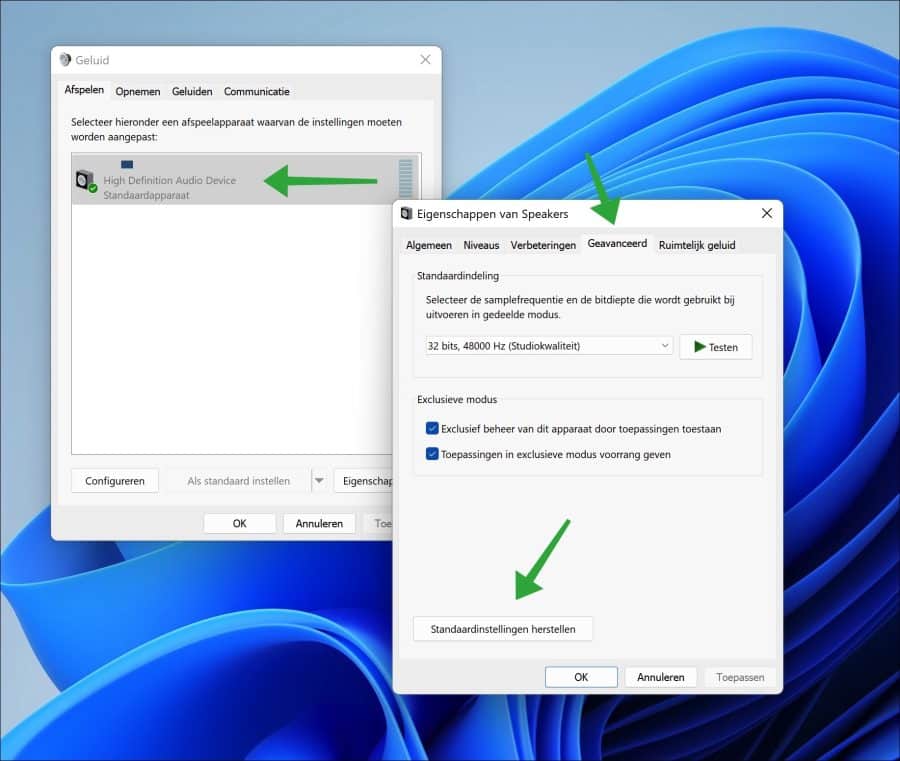
Right-click on the headphones in the list of audio devices. In the menu click on “properties”.
In the properties, click on the “Advanced” tab. Then click “Restore Default Settings” at the bottom to apply the headset default settings.
I hope this has helped you get the headphones working again in Windows 11. Thanks for reading!
Also read how to start the audio troubleshooter in article: Sound not working in Windows 11.