

All recent versions of Windows have multiple built-in tools to take a screenshot. Windows 11 is no exception.
While that means you can easily take a screenshot on your Windows 11 computer using the built-in features, there are several other third-party tools you can leverage for a screenshot.
These tools provide more useful saving, editing, and annotating functions. Third-party tools are also the only way to take scrolling screenshots in Windows 11 as this feature is not present in Microsoft's latest operating system.
In this article, we will look at all the methods to take screenshots on your Windows 11 PC. That includes all the screenshot tools available by default in Windows 11.
Take a screenshot in Windows 11
Print screen button on your keyboard
The easiest way to take a screenshot on your Windows 11 PC is to press the “Print Screen” key (often referred to as PrtScr or PrtScn). You'll find the Print Screen key in the upper right portion of your keyboard (usually next to the F12 key).
Now pressing the Print Screen key will take a screenshot of the entire screen, and the image file will be saved to the Windows clipboard. You can then paste this file into a photo editor or Microsoft paint.
Windows key and print screen key combination
Another easy way to take screenshots on your Windows 11 computer is to use the Windows key combination Windows key + Print Screen.
To do this, press the Windows key and the Print Screen key on your keyboard at the same time. You will see the screen dim for a moment and then brighten again, which means the screen recording was successful. The image will be automatically saved to the “Screenshots” folder within the “Pictures” folder on your computer.

ALT key and print screen key combination
While the previous two methods allow you to take screenshots of the entire desktop, Windows 11 also allows you to capture just the active window instead of the entire desktop.
To do that, you can use the Alt + Print Screen key combination. Like the first method, this one also copies the screenshot to the Windows clipboard. That means you then have to paste it into a photo editor app.
Take screenshot with Windows 11 Snipping Tool
By default, Windows 11 has several tools available to help you take and edit a screenshot. Snipping Tools is one such app.
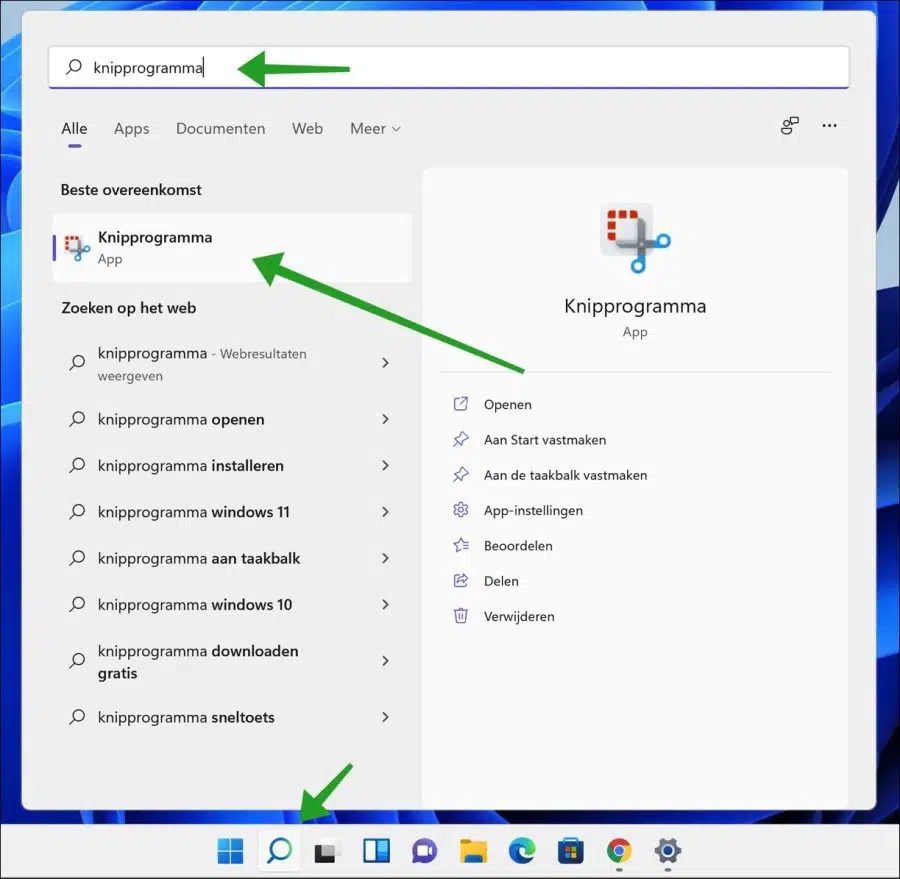
Click on the magnifying glass in the taskbar and search for “snipping tool”, then click on the result to open the app.
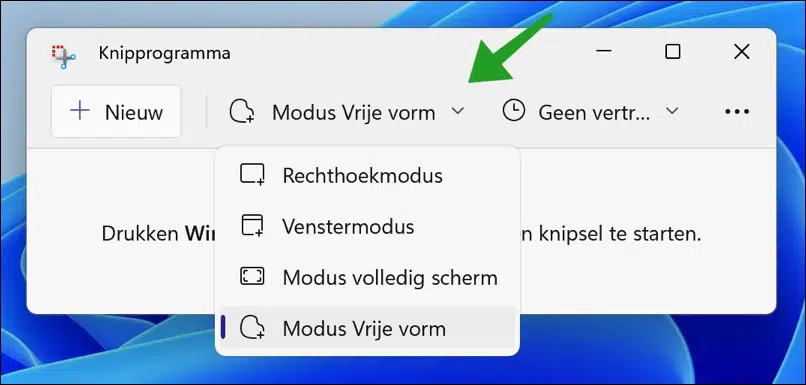
In the Snipping Tool you have several modes to choose from. Each mode involves a different method of taking a screenshot.
Rectangle mode
Using the rectangle mode, you can draw a rectangle on the screen with the mouse and capture its contents as a screenshot.
Window mode
Using windowed mode you can take a screenshot of a specific open window. You select window mode and then click on a window that lights up when you move the mouse over it. Press it and a screenshot of the window will be saved.
Full screen mode
Using full screen mode captures the entire screen as a screenshot. All outer corners are automatically selected and everything is saved as a screenshot.
Freeform mode
Using freeform mode you can draw a freeform shape with the mouse. All content within this freeform is saved as a screenshot.
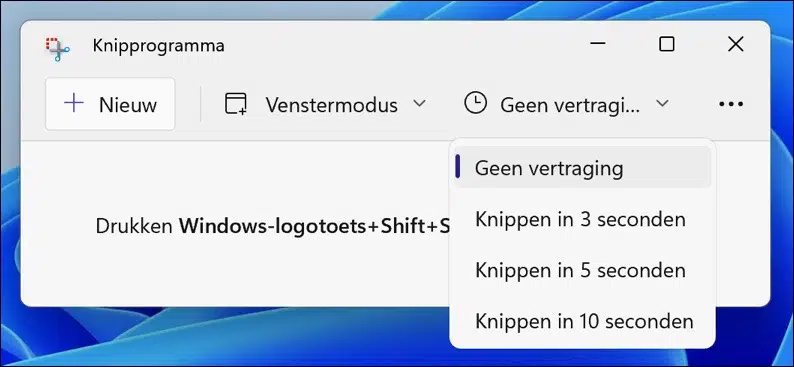
In some cases you may want to delay the screenshot by a few seconds. This is useful, for example, if you want to open another window before the screenshot is actually taken.
When you are ready to take the screenshot of the Snipping Tool app, then click the New button. You can also press Windows + SHIFT + S key combination Press to start a cut.
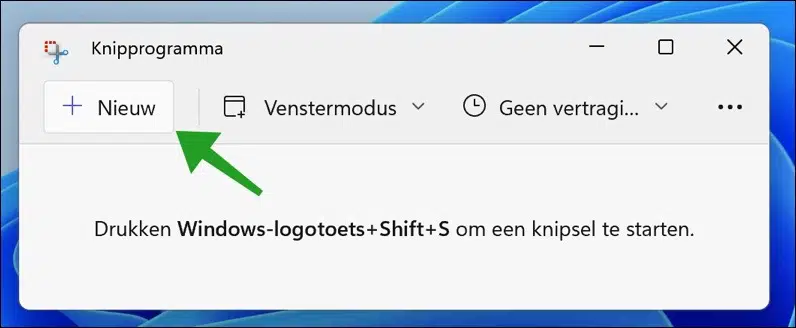
The screen will now darken and at the top you can adjust the options discussed to make a cut.
Edit screenshot in Windows 11
After taking the screenshot with Snipping Tool, you can also edit this screenshot. There are some functions to edit the screenshot directly.
You can edit the screenshot with a ballpoint pen. You can do that with different colors. By clicking on the ballpoint pen icon you can set the colors and thickness of the ballpoint pen tip.
It is also possible to highlight parts of the screenshot or text via the highlighter button. Here too, by clicking on it you can change certain settings of the highlighter, such as color and size.
There is also an eraser to undo changes made with a ballpoint pen or highlighter. Another useful tool is cropping the image. When you use cropping, you cannot reduce the size of the image, but you can emphasize one part by cropping out other parts.
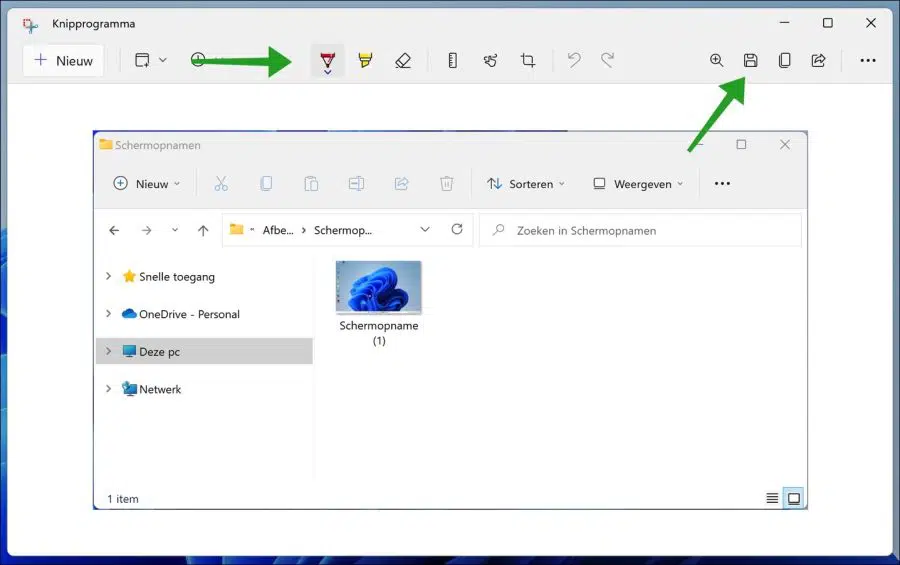
When you are done, you can copy the screenshot at the top right to the clipboard, share it or save it to your computer.
Also read:
- Take a screenshot of the entire web page.
- Take a screenshot with Microsoft Edge.
- Take screen recording with XBOX game bar.
I hope this helped you. Thank you for reading!