

You can clone your current Windows 11 computer to a new hard drive or SSD. This way you can move the operating system to a new hard drive or SSD with the same or greater capacity.
The advantage of cloning via Clonezilla is that you do not have to reinstall the operating system. All settings, personal files and apps are retained in Windows 11 and transferred to the new drive.
Clonezilla is an open-source program designed to help you make an exact copy of a hard drive or partition. It is available for both Windows and Linux systems.
Clonezilla is extremely fast and efficient, and can be used to clone both local and remote systems. It supports a wide range of file systems including XFS, ext4, ext3, ReiserFS and NTFS.
This guide shows you how to copy your current, full Windows 11 installation and move it to another HDD or SSD drive. Some technical knowledge required.
Copy Windows 11 to a new SSD or HDD via Clonezilla
There are some things you should take into account. For example, you must first connect the drive to which you want to copy the data to your Windows 11 computer. For this you must use the instructions of the respective manufacturer.
Use case no external hard drive or SSD. You cannot set an external drive as bootable media in the EUFI/BIOS. This only applies if you are going to clone, but it is possible if you are going to make a backup.
In this guide we also use a USB stick to create bootable media. So you also need a USB stick.
Create Clonezilla bootable media via ISO file
To get started, you need to download the ISO file from the Clonezilla website. You will need this ISO file to create bootable media. We place the contents of the ISO file on a USB stick via Rufus and later boot the PC with the Clonezilla boot media.
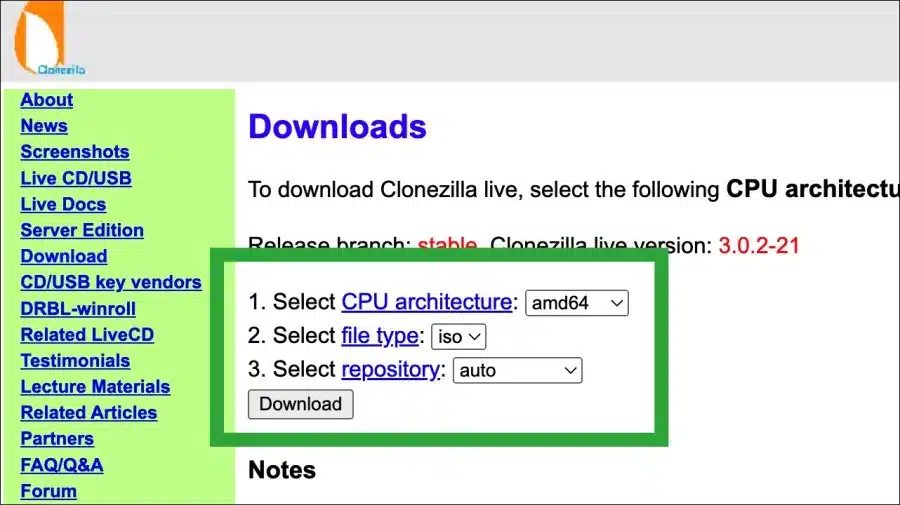
Download Clonezilla Stable ISO file. (Secure boot is supported).
Change the “CPU architecture” to “amd64”. Change “file type” to “ISO” and click “Download”.
I applied these changes to Windows 11 computers with amd64 or x64 intel processors. This is the standard. If your computer processor is different, set it according to your computer specifications.
Create Clonezilla bootable media on USB
If you have downloaded the Clonezilla ISO file, we will now download Rufus to place the ISO file on the USB. We can then use this USB to boot the PC.
Now insert the USB stick into the computer. Please note that all existing content on the USB drive will be deleted when you create the Clonezilla bootable media. So first secure any data on the USB stick.
Once you have Rufus open, click the “Select” button and then open the newly downloaded Clonezilla ISO file.
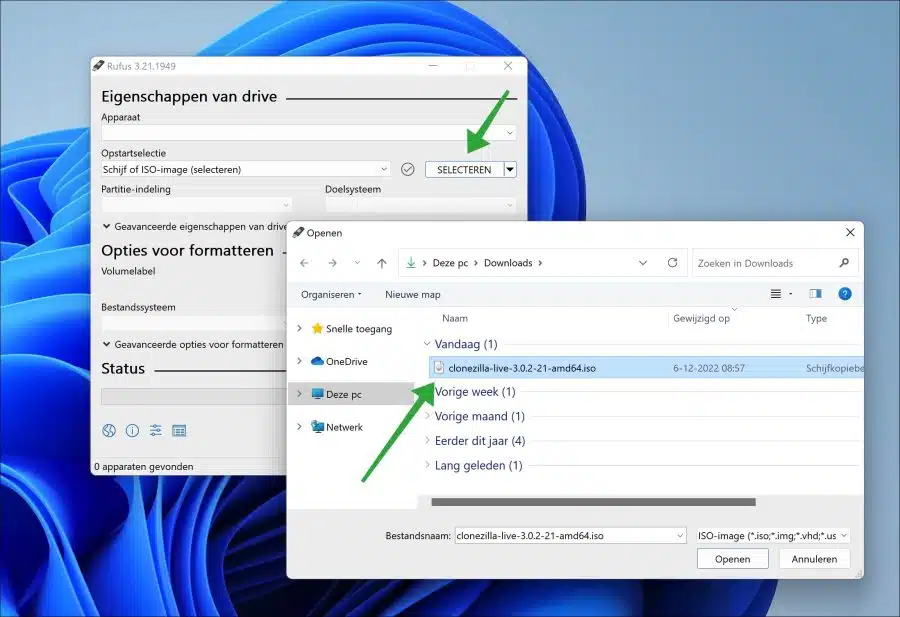
The settings are already set correctly to create the Clonezilla bootable media. Click on “Start”.
Booting computer with Clonezilla bootable media
If you have created bootable media for Clonezilla on USB, you will need to boot the computer from this USB.
→ Learn how to boot your computer from USB in the following guide (opens in new window).
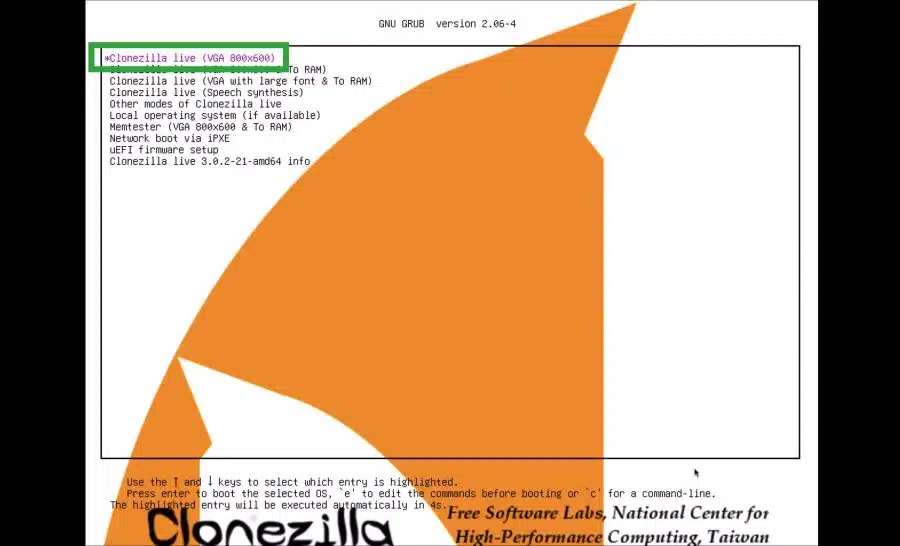
Click on “Clonezilla live (VGA 800×600)”.
Select the desired language. Dutch is not available so far.
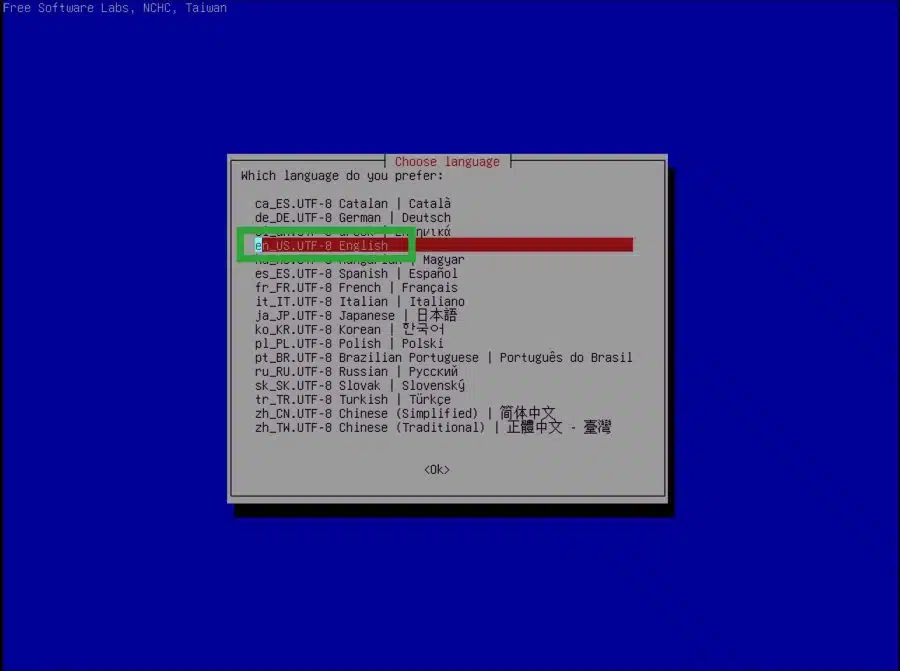
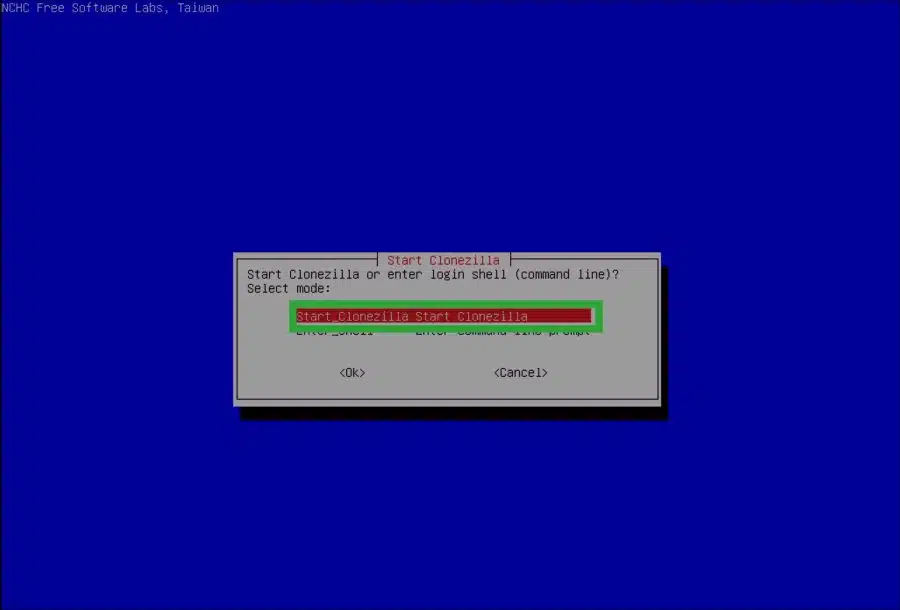
Click on “Launch Clonezilla”.
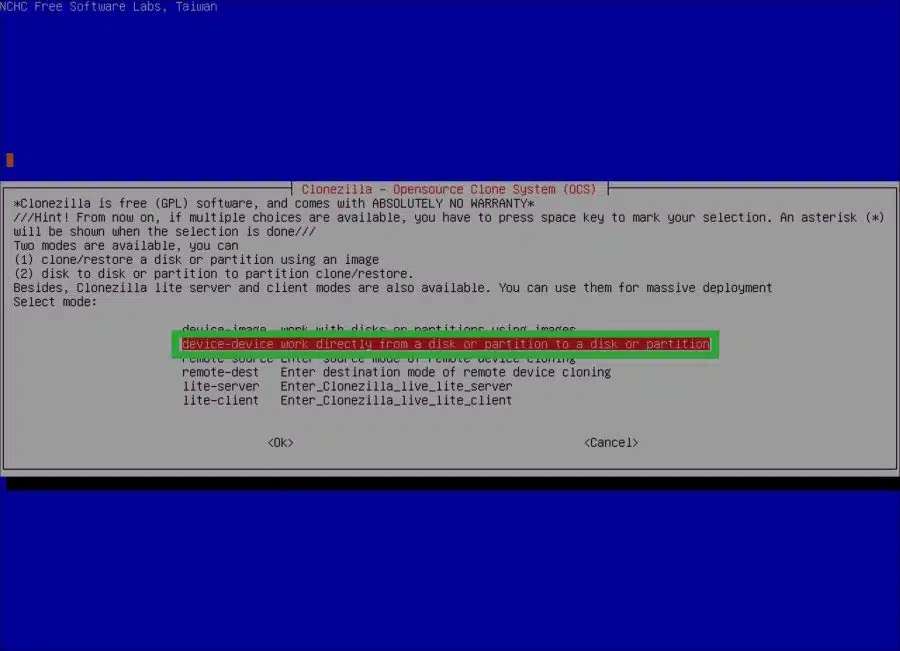
Select “device-device work directly from a disk or partition to a disk or partition”. This will make us copy from disk to disk.
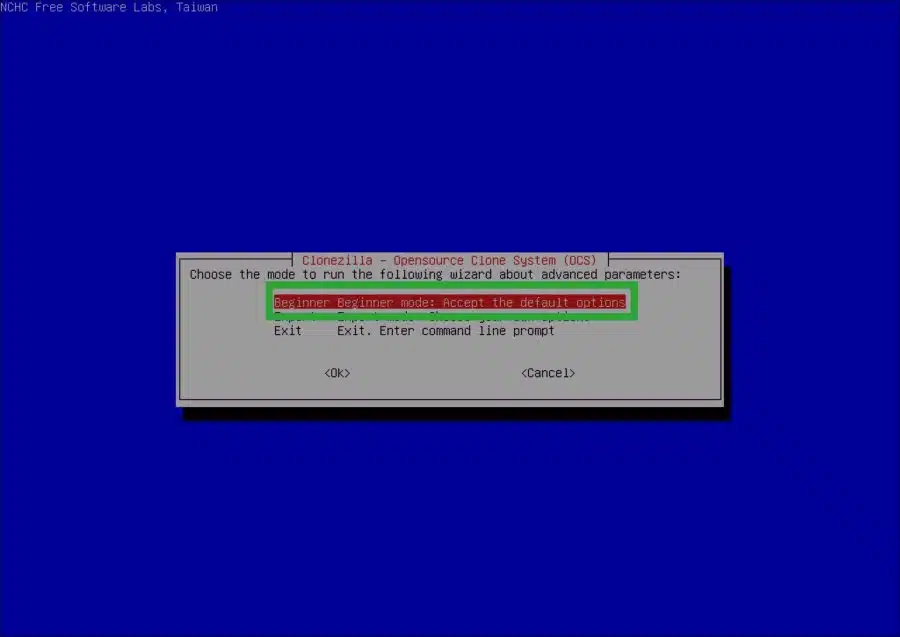
Select “Beginner mode”.
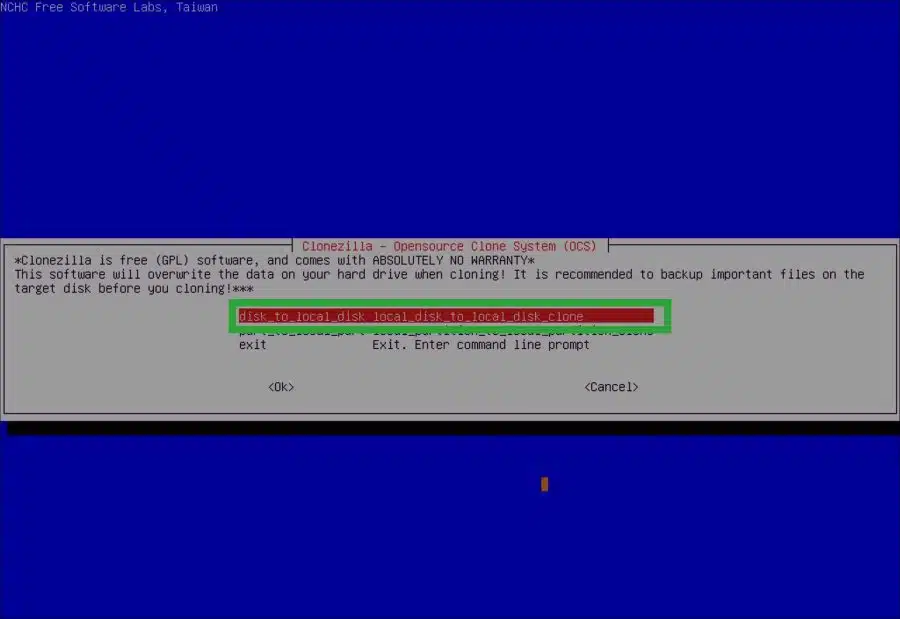
Select “disk to local disk”. The copy action then goes from locally connected disk to the other locally connected disk.
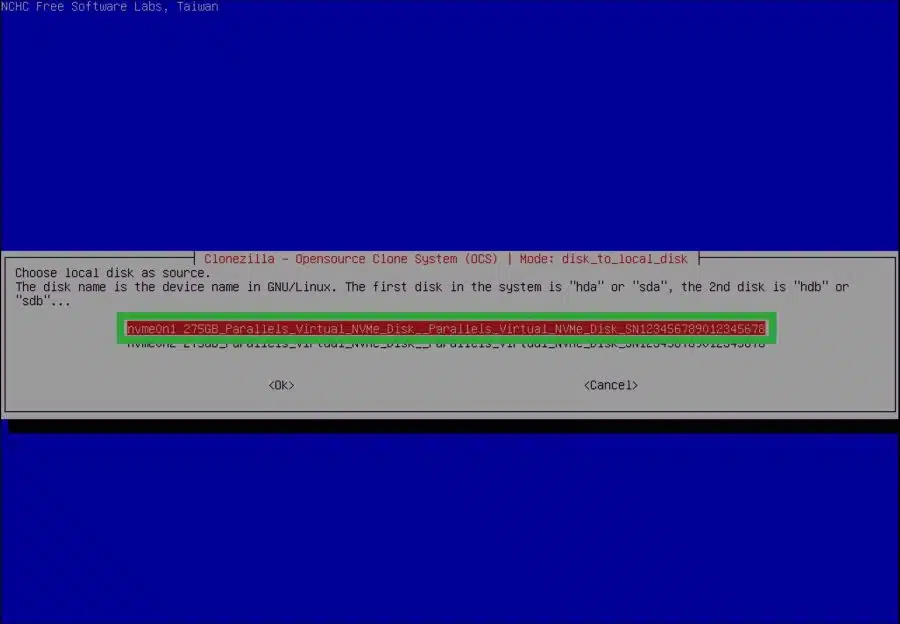
Select the “source” drive. This is the disk being copied.
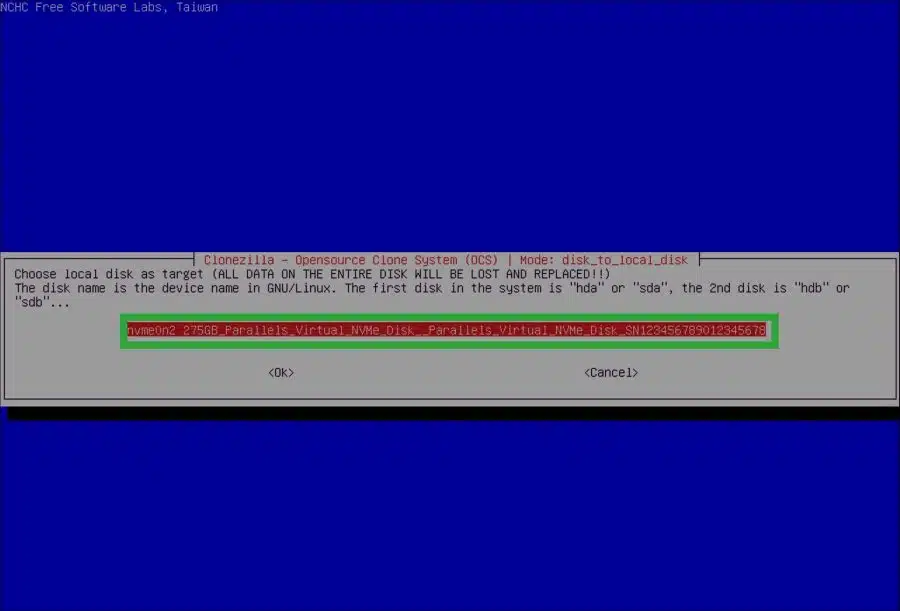
Then select the “target” disk. This is the disk that will be overwritten with the data (Windows 11 installation) from the “source” disk.
* If the “target” drive is not visible, make sure you have properly mounted the drive to your computer. Refer to the drive manufacturer's information.
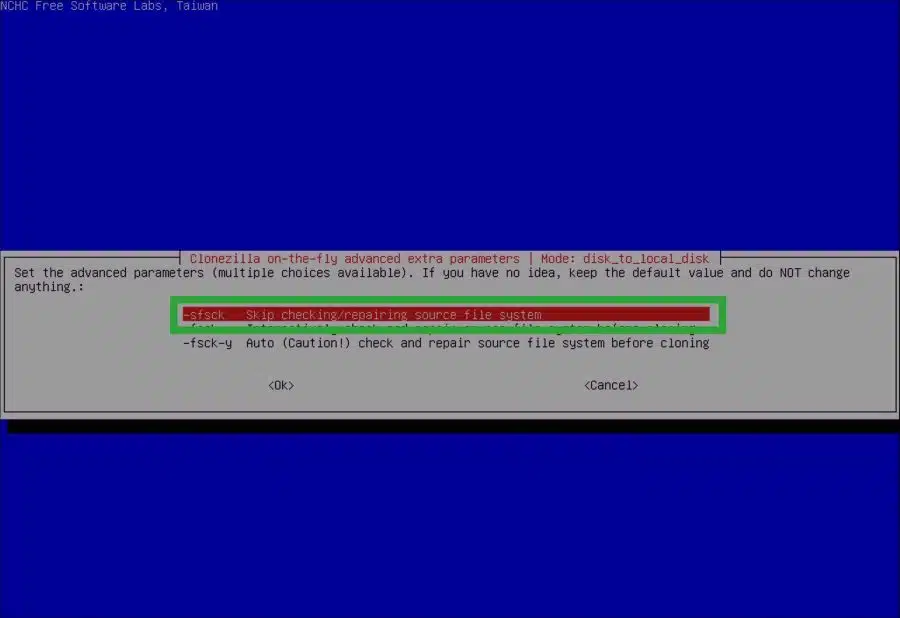
Select “Skip checking/repairing source file system”. We do not have to carry out all recovery actions.
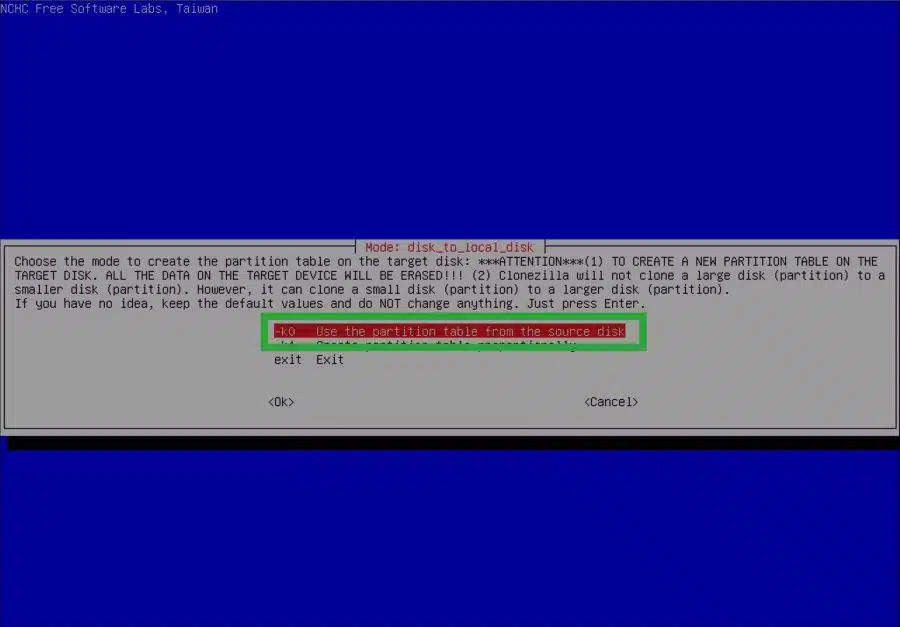
Select “Use the partition table from the source disk”. All data and partitions on the “target” disk will be overwritten.
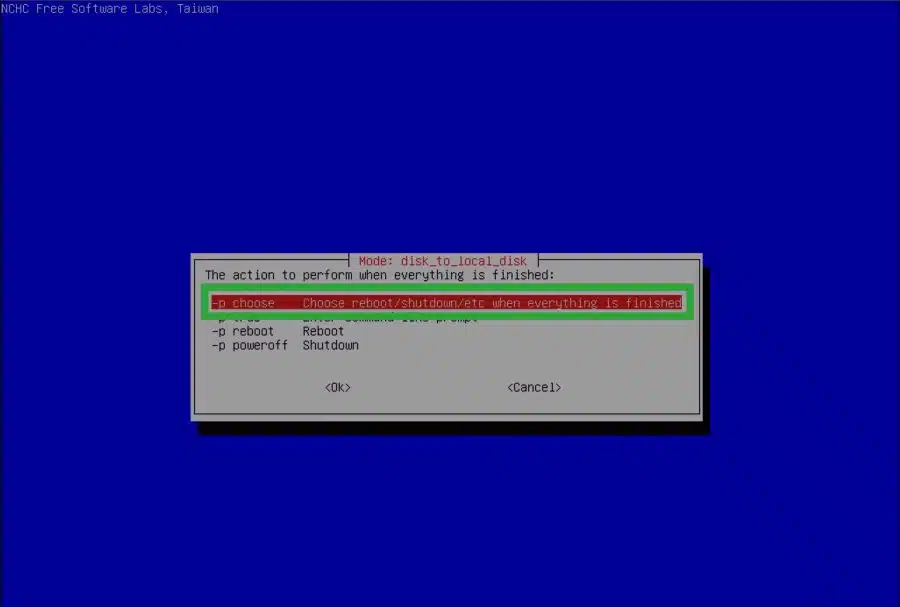
Select “Choose reboot/shutdown/etc when everything is finished”.
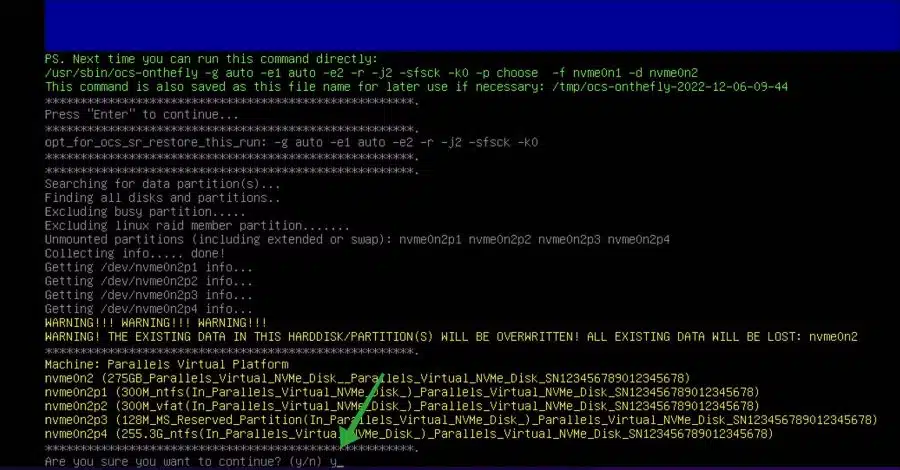
Agree by pressing “y” that all data on the “target” drive will be overwritten.
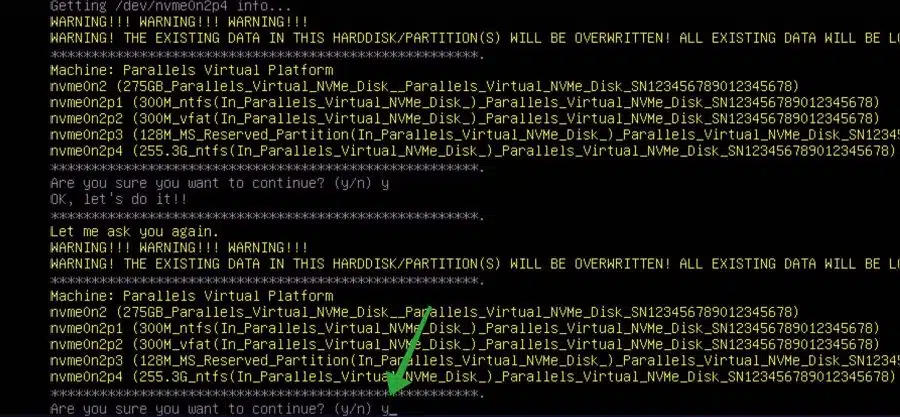
If you are sure, confirm again by pressing “y”.
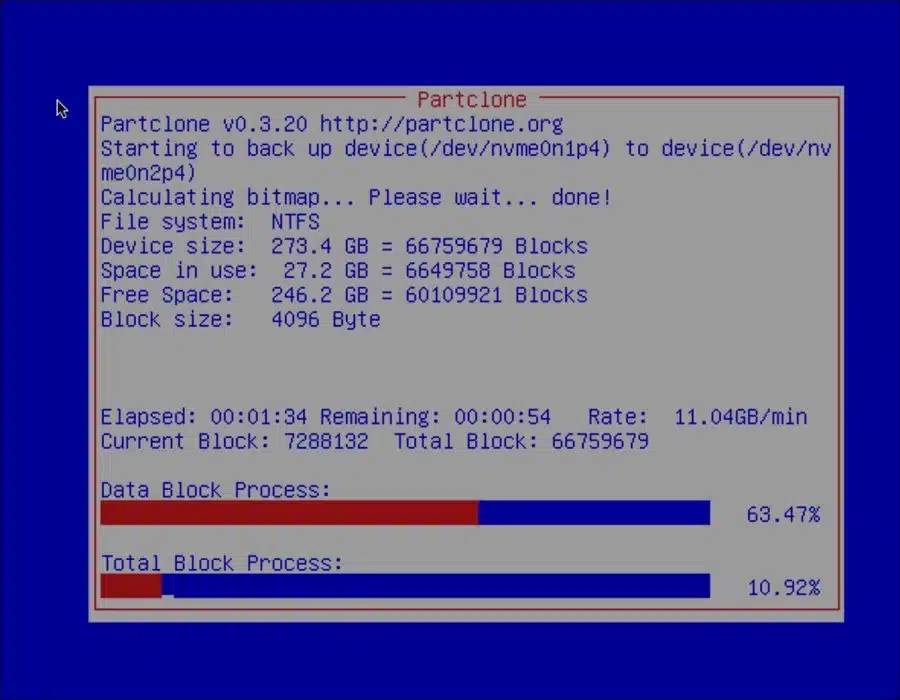
The entire contents of the source disk (the Windows 11 installation) are now copied to the target disk. Soon the same data will be available on the target disk as the source disk.
When the cloning process is completed, press the enter key.
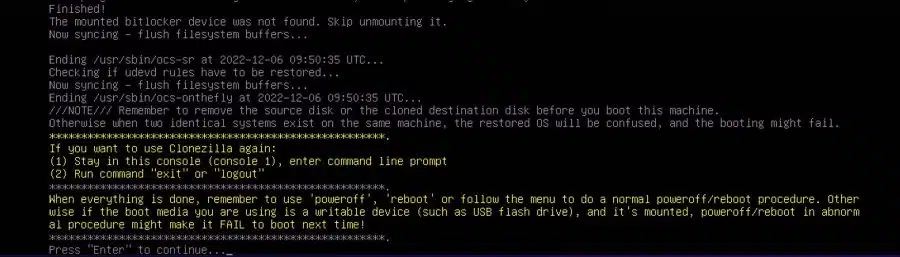
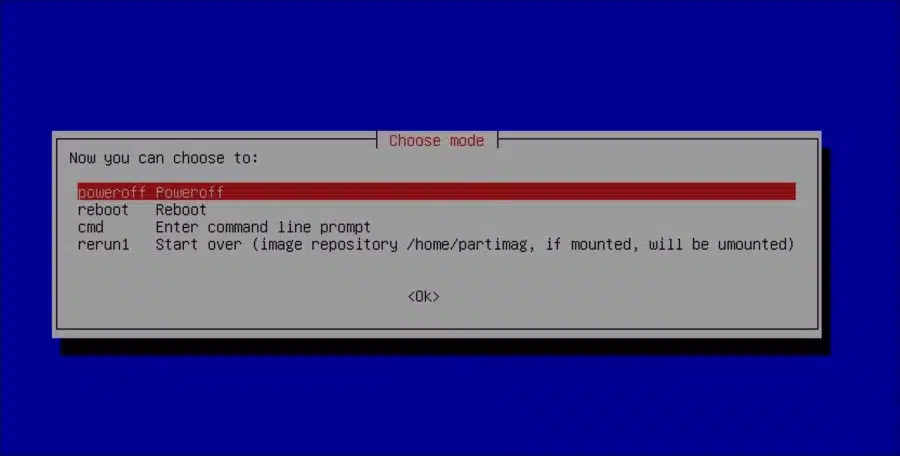
Select “poweroff” to turn off the computer.
Now remove the USB containing the Clonezilla bootable media from the USB port of your computer. Restart the computer.
You now have an HDD or SSD with the cloned Windows 11 operating system on it. You can place this in the same or another computer. You can also use it as a Windows 11 backup drive.
Please note that if the target disk has a larger capacity than the source disk, you will need to use the need to expand disk via disk management. If you do not do this, you will not have the full data capacity available in Windows 11 on the target drive.
I hope this helped you. Thank you for reading!