
Er zijn verschillende manieren om Linux te installeren. U kunt Linux installeren via USB door een opstartbare Linux USB-stick aan te maken. Echter, om kennis te maken met Linux is het aanbevolen om Linux te installeren in een virtuele machine.
Het Linux besturingssysteem wordt zo goed als in alle sectoren wel gebruikt. De meeste mensen kennen het mogelijk uit de server omgeving. In de IT wordt Linux vooral gebruikt als server platform, maar ook zeker als besturingssysteem op werkstations.
Het meest bekendste en gebruiksvriendelijkste Linux besturingssysteem voor werkstations is Ubuntu. Ubuntu wordt op dit moment door zo’n 20 miljoen actieve gebruikers dagelijks gebruikt. Daardoor is het door ontwikkeld en erg gebruikersvriendelijk.
Meld u dan aan voor onze nieuwsbrief.
In dit artikel leg ik u stap voor stap uit hoe u Ubuntu Linux kunt installeren in een virtuele machine op een Windows PC. Zowel Windows 10 als Windows 11 ondersteunt het aanmaken van een Ubuntu virtuele machine via VirtualBox. Ubuntu en VirtualBox zijn gratis software.
Linux installeren in een virtuele machine op een Windows PC
Om te beginnen dient u zowel Ubuntu als VirtualBox te downloaden. De aanbevolen systeemvereisten voor Ubuntu Linux zijn:
- 2 GHz dual-core processor of beter 4 GB systeemgeheugen.
- 25 GB vrije ruimte op de harde schijf.
- Internettoegang of een dvd-station of een USB-poort voor de installatiemedia.
Deze Ubuntu systeemvereisten gaan we ook minimaal toepassen op onze virtuele machine. Na het downloaden van Ubuntu en het installeren van VirtualBox opent u VirtualBox.
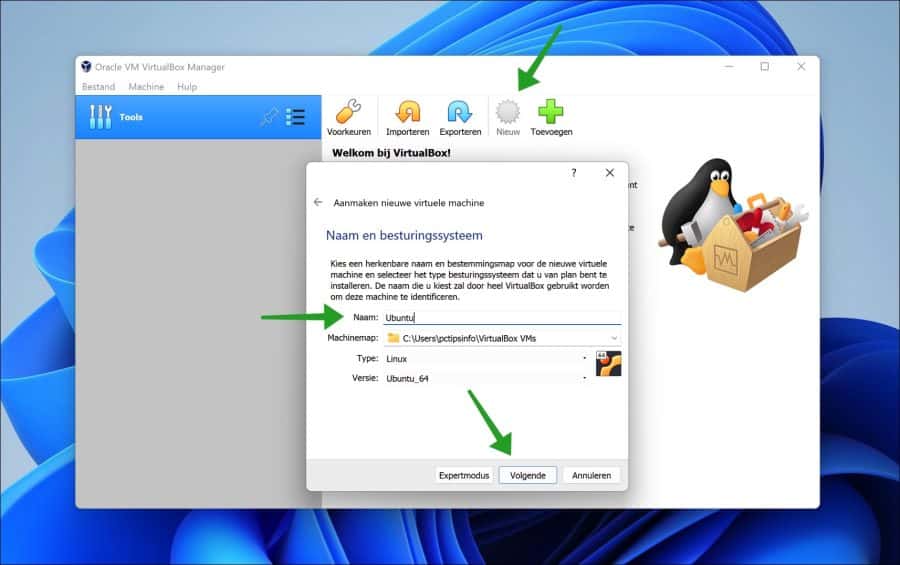
Klik bovenin op “Nieuw” en daarna geeft u als naam in “Ubuntu”. U ziet direct dat het type wordt gewijzigd naar Linux en versie wordt aangepast naar “Ubuntu_64”.
Klik op volgende.
Het geheugengrootte wordt nu ingesteld. Ik raad aan om 2048MB of meer aan RAM toe te wijzen aan de Ubuntu Linux virtuele machine.
Klik op volgende.

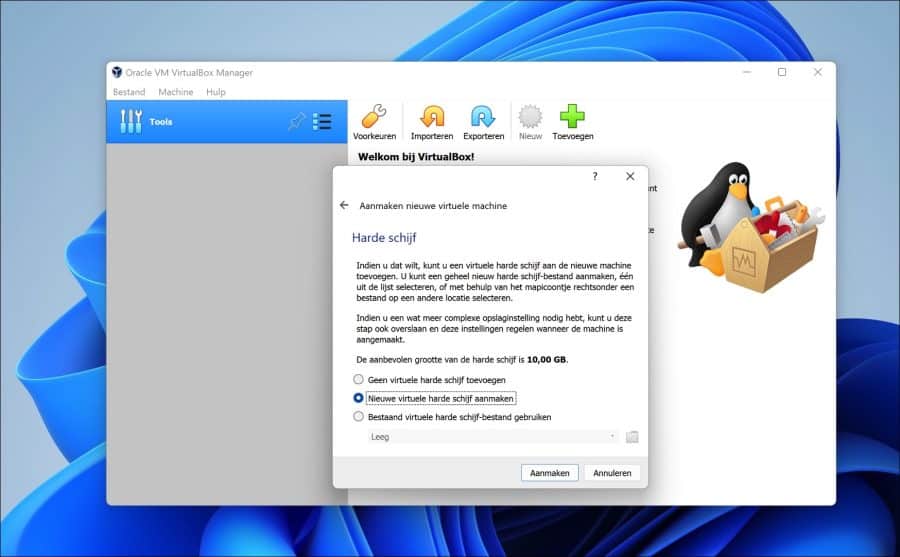
U dient nu een virtuele harde schijf aan te maken. Ik zou de optie laten staan zoals in dit voorbeeld “Nieuwe virtuele harde schijf aanmaken”.
Klik op Aanmaken.
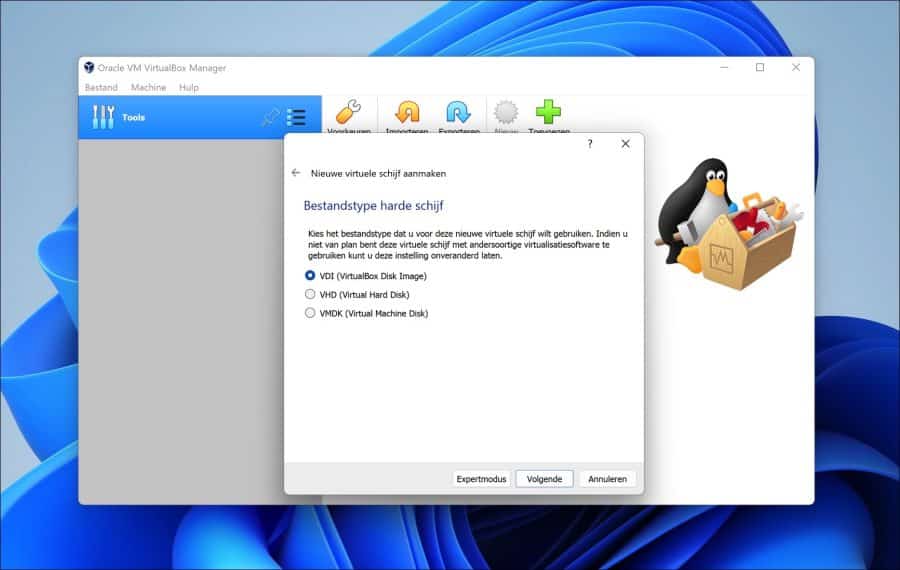
Kies het bestandstype dat u voor deze nieuwe virtuele schijf wilt gebruiken. Indien u niet van plan bent om deze virtuele harde schijf met andersoortige virtualisatiesoftware te gebruiken kunt u deze instelling onveranderd laten.
Klik op volgende.
Als u de virtuele harde schijf wilt laten groeien dan laat u deze instelling op “Dynamisch gealloceerd”. Wilt u een vaste grootte instellingen dan kiest u “vaste grootte”.
In dit voorbeeld ga ik verder met “Dynamisch gealloceerd”.
Klik op volgende.

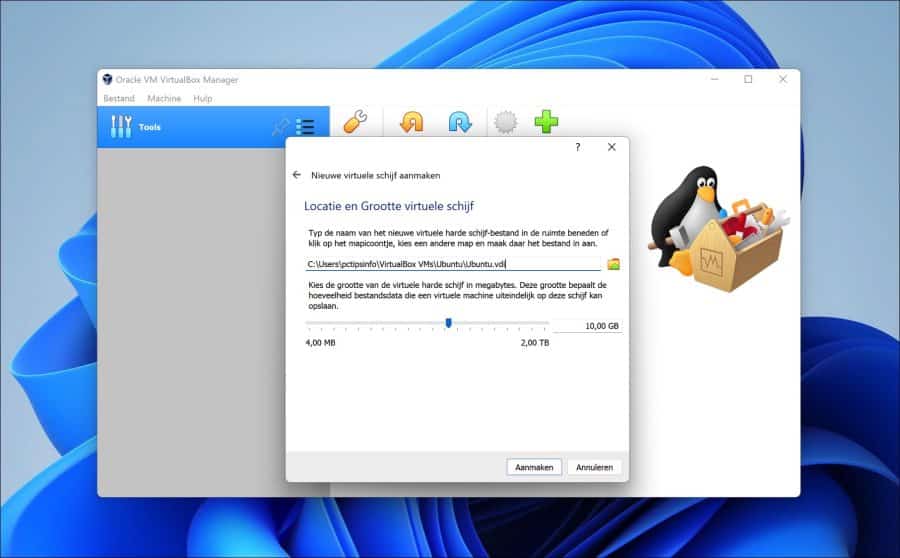
Geef een grootte in om mee te starten. Dit is standaard ingesteld op 10GB. Ik zou dit zo laten.
Klik op aanmaken.
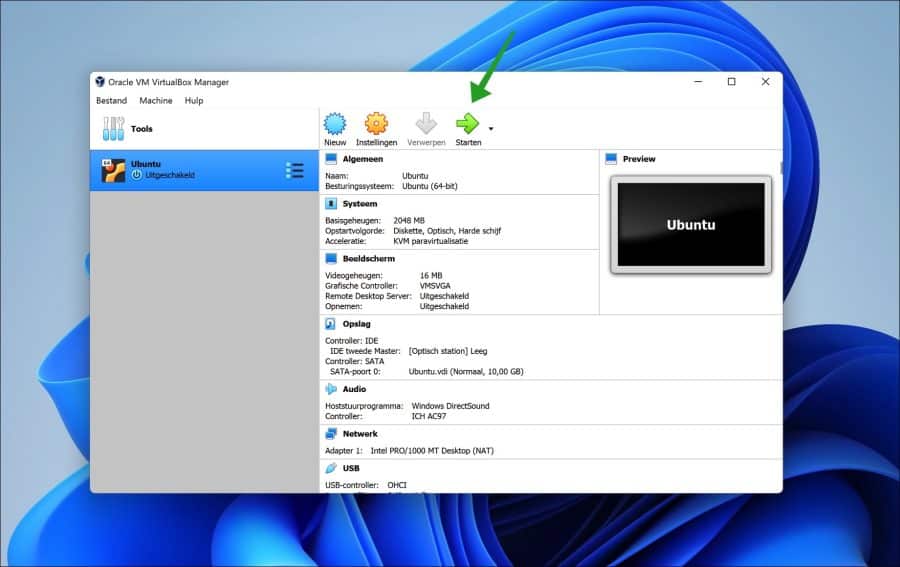
Als u de Ubuntu virtuele machine heeft aangemaakt, klikt u in het menu op “Starten”.
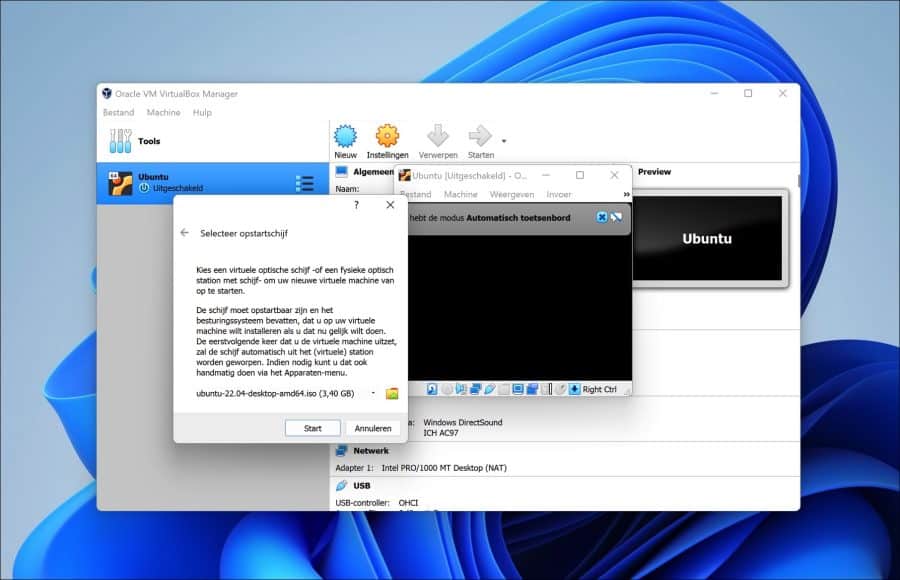
U krijgt nu de vraag om een opstartschijf te selecteren voor de installatie. Deze opstartschijf moet het besturingssysteem bevatten. Klik op het map icoon in het venster “Selecteer opstartschijf” en selecteer het zojuist gedownload Ubuntu Linux ISO-bestand.
Klik na het selecteren van het Ubuntu Linux ISO-bestand op de “Start” knop om de installatie te starten.
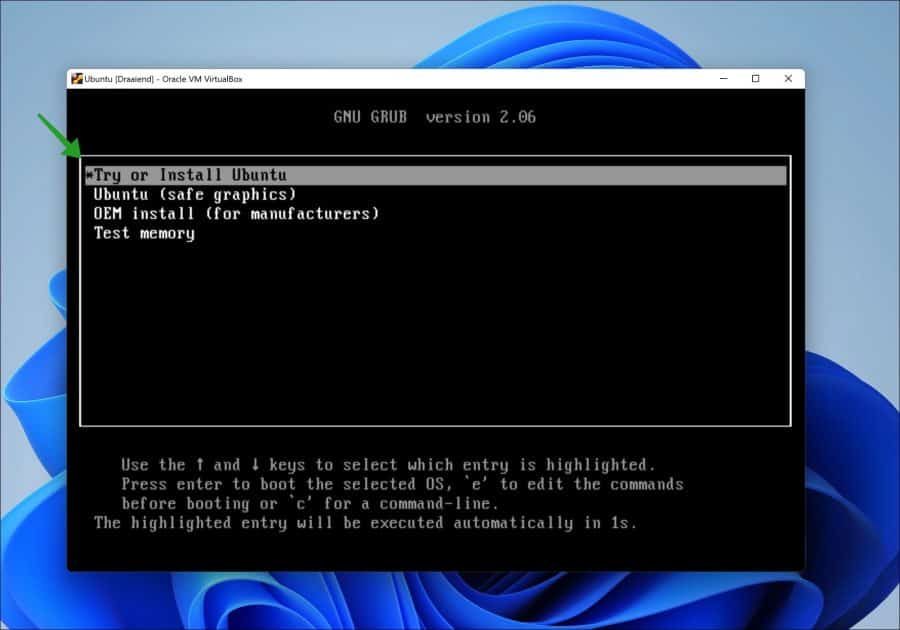
U ziet nu de “GNU GRUB”. Selecteer “Try or install ubuntu”.
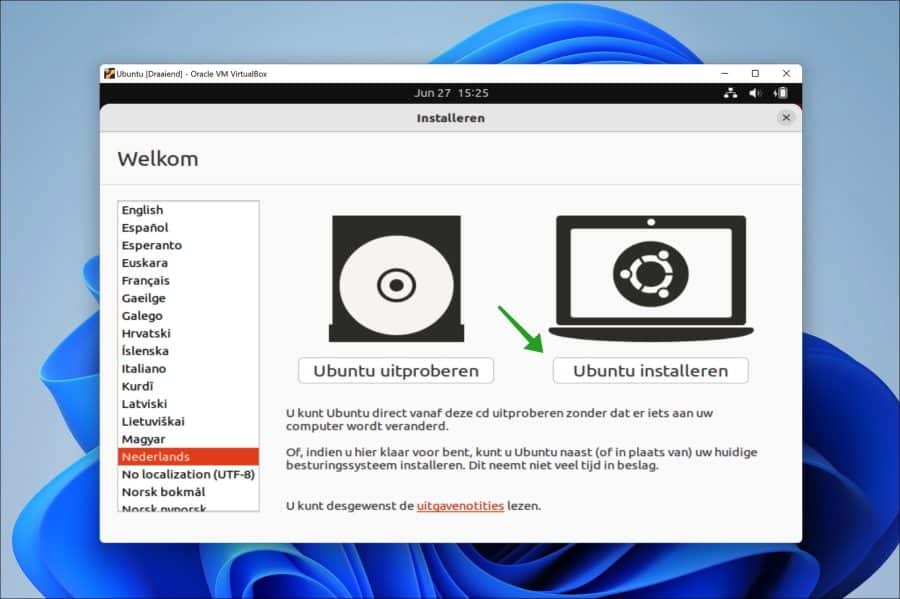
Het installeren van Ubuntu kan nu beginnen. Selecteer de gewenste taal en klik op “Ubuntu uitproberen” of “Ubuntu installeren”. Als u gaat uitproberen dan hoeft u niets te installeren. Het installeren spreek verder voor zich.
Klik op Ubuntu installeren.
Rond nu de Ubuntu installatie af. Ik hoop u hiermee geholpen te hebben. Bedankt voor het lezen!
waarom hebben de meeste mensen het over oracle en vmware. Windows zelf heeft ook een prima virtuele platform die prima en veilig werkt en waarop Linux prima draait.
Hallo, klopt. Dat is “Hyper-V”. Alleen niet iedereen kan hierover beschikken in verband met een eventuele Home licentie. Er is namelijk een Pro editie voor nodig.