

If the computer freezes several times in a row, or you press the physical power button on the computer more than three times, automatic recovery preparation will start.
Preparing the automatic recovery is a feature intended to diagnose and repair startup problems automatically. If Windows detects a problem that prevents the operating system from starting properly, it may automatically launch this repair tool in an attempt to fix the problem.

You can disable automatic recovery preparation. This is recommended, for example, if Windows is in a so-called loop gets stuck where constant automatic recovery continues to start. Also, if you want to use a third-party tool to troubleshoot problems, you can disable automatic repair preparation.
There are multiple ways you can disable automatic recovery. I explain all these ways in this article.
Disable Auto Repair Preparation in Windows 11 or 10
Disable automatic recovery preparation via Windows
It's easy to disable automatic recovery preparation in Windows 11 or 10 itself.
- Open Command Prompt as administrator.
- In the Command Prompt type:
bcdedit /set recoveryenabled No
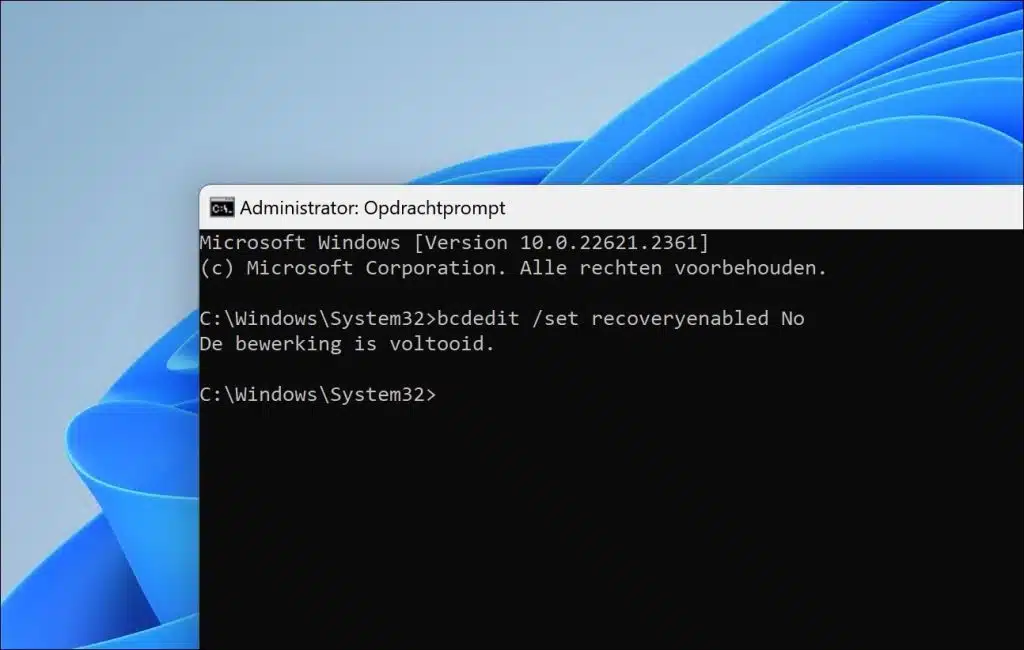
You have now disabled automatic recovery. Next time, automatic recovery will no longer be started in case of computer problems.
Disable automatic recovery preparation via WinRE
If you want to disable automatic recovery preparation, for example because it gets stuck in a loop, you cannot do this from Windows. For this you can use a make installation USB. You then start this USB installation by using your boot computer from USB.
In the first installation screen, click at the bottom left "Reset your computer".

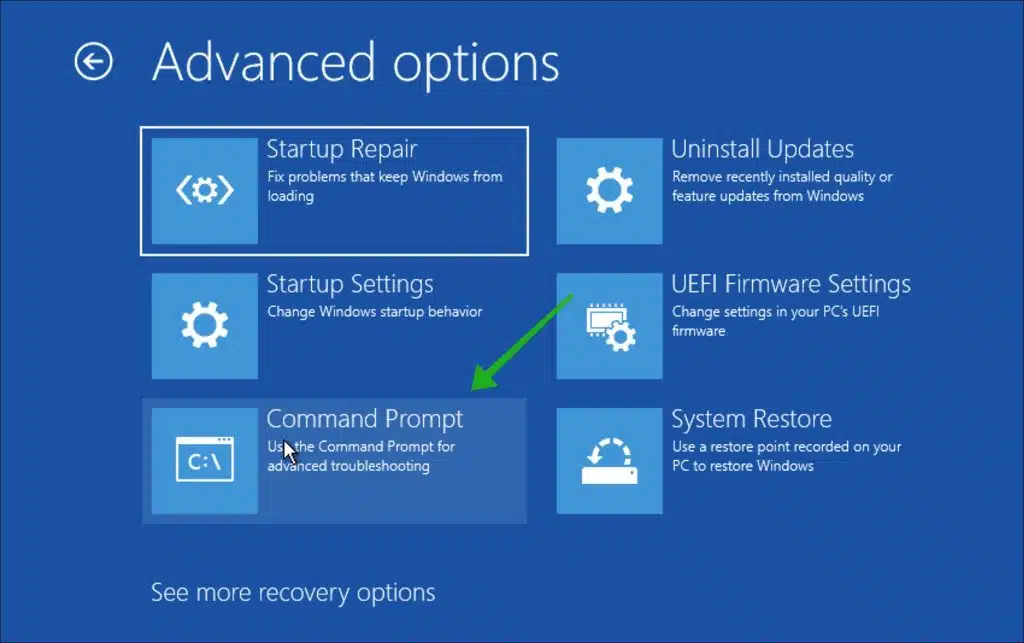
In the WinRE options, click “Troubleshoot” > “Advanced options” and then “Command Prompt”.
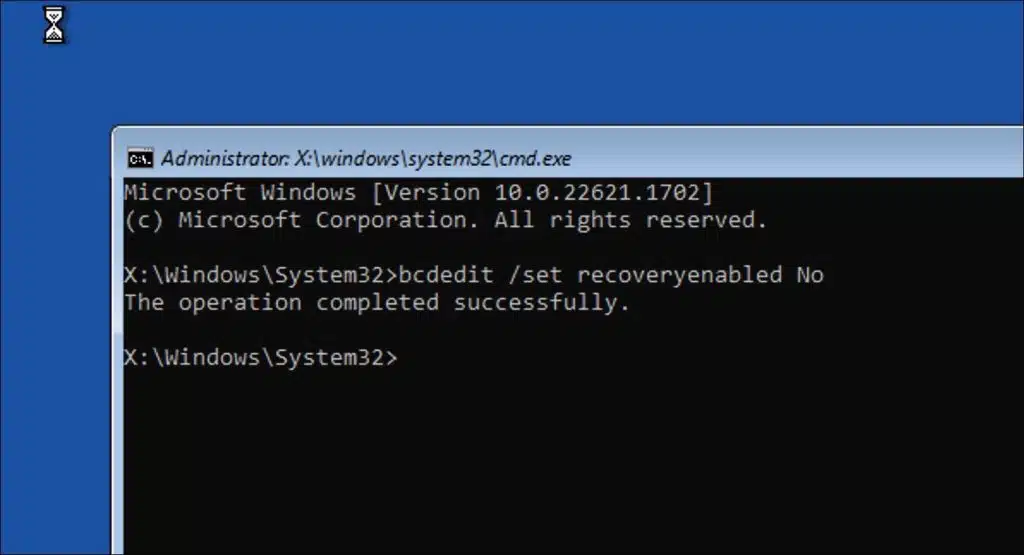
In the Command Prompt, type:
bcdedit /set recoveryenabled No
to disable automatic restore.
Disable automatic recovery preparation via Windows registry
If you do not want or cannot use Command Prompt, you can also disable automatic recovery preparation via the Windows registry. You could also use this in certain scripts.
Open the Windows registry. Go to key:
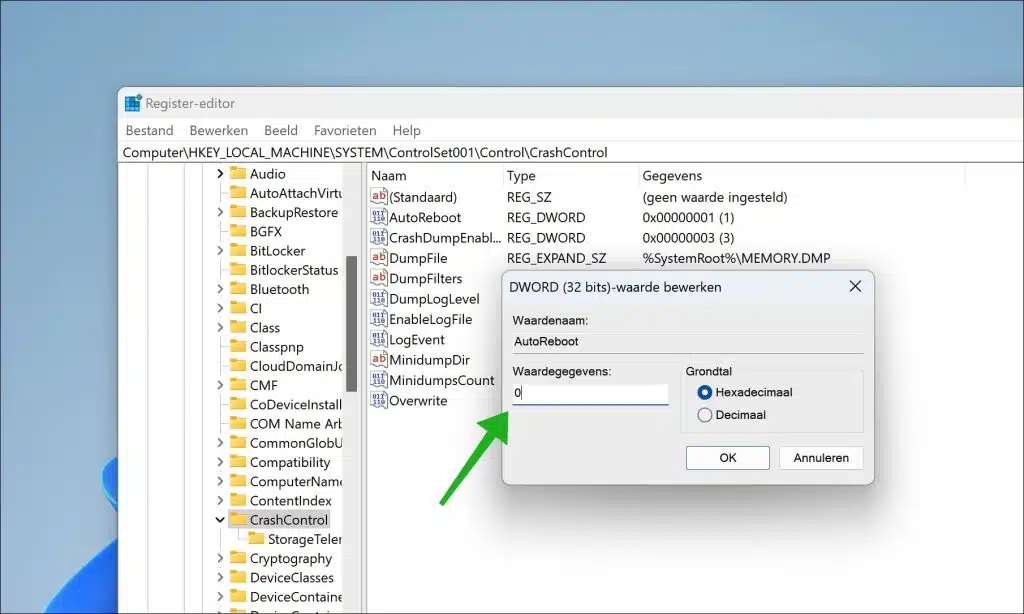
HKEY_LOCAL_MACHINE\SYSTEM\ControlSet001\Control\CrashControl
Double click on the “AutoReboot” value.
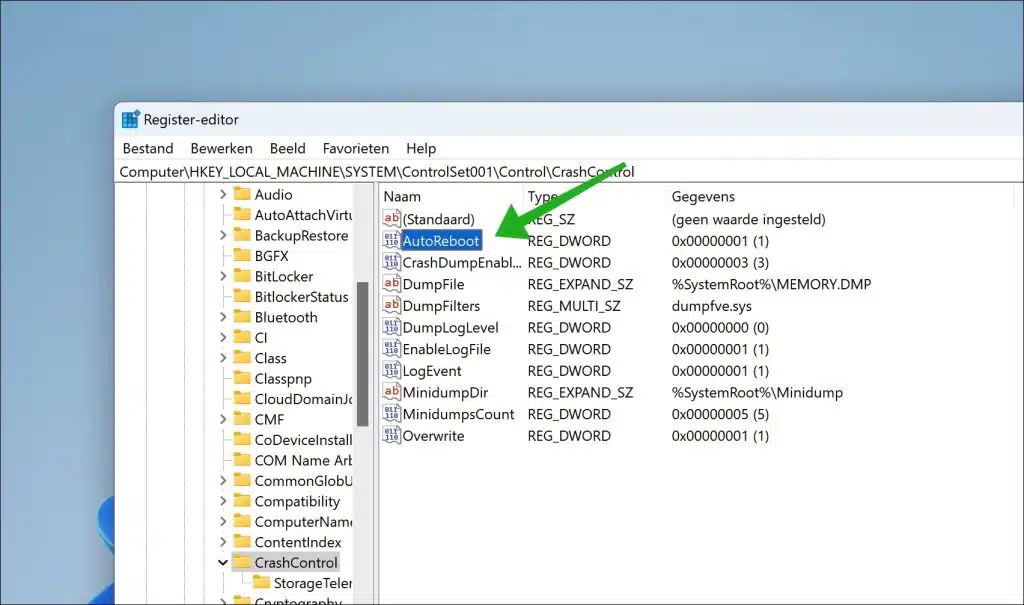
Change the value data to “0” to disable auto restore preparation.
You have now disabled automatic repair preparation via the Windows registry.
Enable prepare automatic recovery
You can always turn automatic recovery back on using the following command at a Command Prompt:
bcdedit /set recoveryenabled Yes
In the Windows registry change the value:
HKEY_LOCAL_MACHINE\SYSTEM\ControlSet001\Control\CrashControl\AutoReboot
to “1” instead of “0”.
I hope this helped you. Thank you for reading!
Read more: