
Door onverwachte systeemafsluitingen, stroomuitval of softwareconflicten kunnen er fouten in het bestandssysteem ontstaan. Op dat moment als de computer gaat herstarten wordt er schijfcontrole uitgevoerd om eventuele problemen op te lossen.
Schijfcontrole is een hulpmiddel dat wordt gebruikt om de integriteit van een bestandssysteem en schijfoppervlak te controleren en te repareren. Wanneer dit wordt uitgevoerd tijdens het opstarten van de computer, kan het verschillende taken uitvoeren. Echter, wanneer het constant in een loop blijft hangen, of het wordt telkens uitgevoerd bij het opstarten van de computer is dit vervelend.
In deze gids leg ik dan ook uit hoe u schijfcontrole bij het opstarten van de computer kunt uitschakelen. Hiermee voorkomt u dat schijfcontrole wordt uitgevoerd na een onverwachte afsluiting of probleem van met uw computer.
Meld u dan aan voor onze nieuwsbrief.
Schijfcontrole tijdens opstarten uitschakelen in Windows 11 of 10
Schijfcontrole is een taak die op voorhand in Windows automatisch wordt aangemaakt. U kunt via één enkel commando schijfcontrole annuleren. Hierdoor wordt schijfcontrole niet meer uitgevoerd tijdens het opstarten.
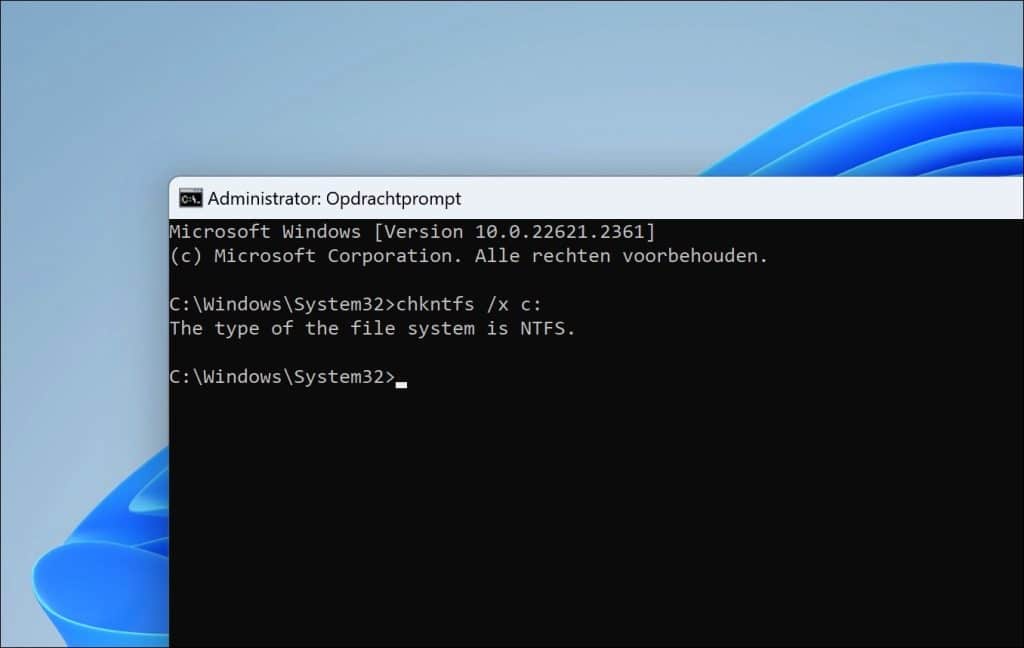
Open een Opdrachtprompt als administrator. In het Opdrachtprompt type het volgende commando:
chkntfs /x c:
Hieronder leg ik uit wat dit commando precies betekent:
chkntfs: Dit is het commando dat wordt gebruikt om de functie voor het uitvoeren van de schijfcontrole bij het opstarten te configureren of om de status ervan te tonen.
/x: Deze optie wordt gebruikt om de automatische schijfcontrole bij het opstarten uit te schakelen voor een specifieke schijf of schijven.
c:: Dit specificeert de schijf waarop u de actie wilt toepassen, in dit geval de C:-schijf. Dit kunt vervangen door D: als het om de D schijf gaat, maar ook door c: d: e: als het om meerdere schijven gaat.
Door chkntfs /x c: uit te voeren, vertelt u het systeem dus om de automatische schijfcontrole te overslaan voor de C: schijf de volgende keer dat u de computer opstart, zelfs als er een probleem wordt gedetecteerd dat normaal gesproken zou leiden tot het automatisch uitvoeren van een schijfcontrole.
Schijfcontrole permanent uitschakelen tijdens het opstarten
Het nadeel is dat bovenstaande geen permanente oplossing is. Om schijfcontrole of (“chkdsk”) altijd te voorkomen bij het opstarten dient u een aanpassing te doen in het Windows register.
- Druk op Windows + R om het uitvoeren venster te openen.
- Typ regedit.exe en druk op Enter om de Windows Register editor te openen.
- Navigeer naar de volgende sleutel:
HKEY_LOCAL_MACHINE\SYSTEM\CurrentControlSet\Control\Session Manager
- In de rechterkolom zoekt u naar een waarde met de naam BootExecute. Dubbelklik erop om het te bewerken.
- De standaardwaarde is meestal:
autocheck autochk *
Dit betekent dat chkdsk automatisch zal draaien bij het opstarten voor alle schijven die het nodig hebben.
- Om chkdsk te voorkomen van automatisch draaien bij het opstarten, verandert u de waarde naar:
autocheck autochk /k:C *
De /k:C optie voorkomt dat chkdsk wordt uitgevoerd op de C:-schijf. Wanneer u meerdere schijven heeft en u wilt voorkomen dat chkdsk op die schijven draait, kunt u de schijfletters toevoegen zoals /k:C /k:D.
- Klik op OK om de wijziging op te slaan.
- Sluit de Windows Register editor en herstart uw computer.
Ik hoop u hiermee geïnformeerd te hebben. Bedankt voor het lezen!
Lees verder: Automatisch herstellen uitschakelen in Windows 11 of 10.
Help mee
Mijn computertips zijn gratis en bedoeld om andere mensen te helpen. Door deze pc-tip te delen op een website of social media, helpt u mij meer mensen te bereiken.Overzicht met computertips
Bekijk ook mijn uitgebreide overzicht met praktische computertips, overzichtelijk gesorteerd per categorie.Computerhulp nodig?
Loopt u vast met uw pc, laptop of software? Stel uw vraag op ons computerforum en krijg gratis computerhulp van ervaren leden en experts.