

A CAB file is a Windows Cabinet file saved in an archive format.
The CAB format supports the .ZIP, Quantum, and LZX data compression algorithms. CAB files contain compressed data and are used for Windows software installations, such as system files, network components and device drivers.
In Windows 11 or Windows 10, you can install a CAB file through the Command Prompt or through PowerShell. To install a CAB file, use the utility (“DISM”).
You don't come across CAB files very often, they are mainly used when installing drivers and single Windows update files. If you want to install a CAB file, you can do this in several ways. This article shows you how to install a CAB file.
Install CAB file in Windows 11 or Windows 10
Install CAB files via Command Prompt
As indicated in the accompanying text. To install a CAB file in Windows you can use DISM via the Command Prompt.
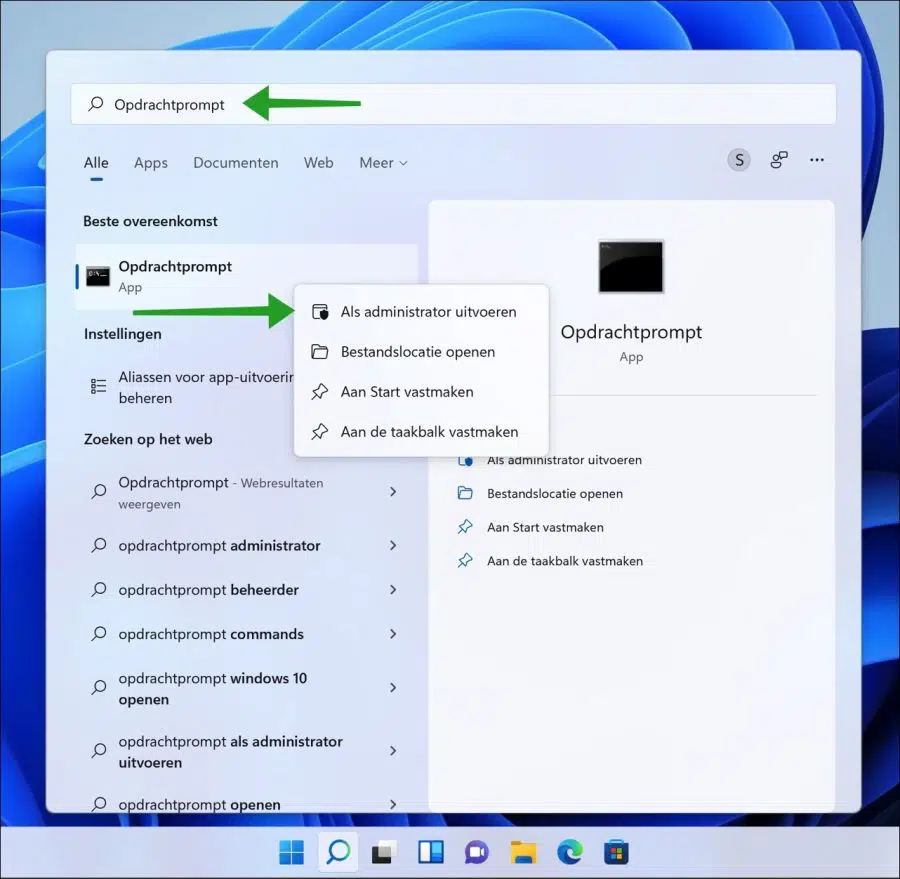
Click the magnifying glass or search bar in the Windows taskbar. In the search box type: Command Prompt. Right click on it Command Prompt result and click “Run as Administrator”.
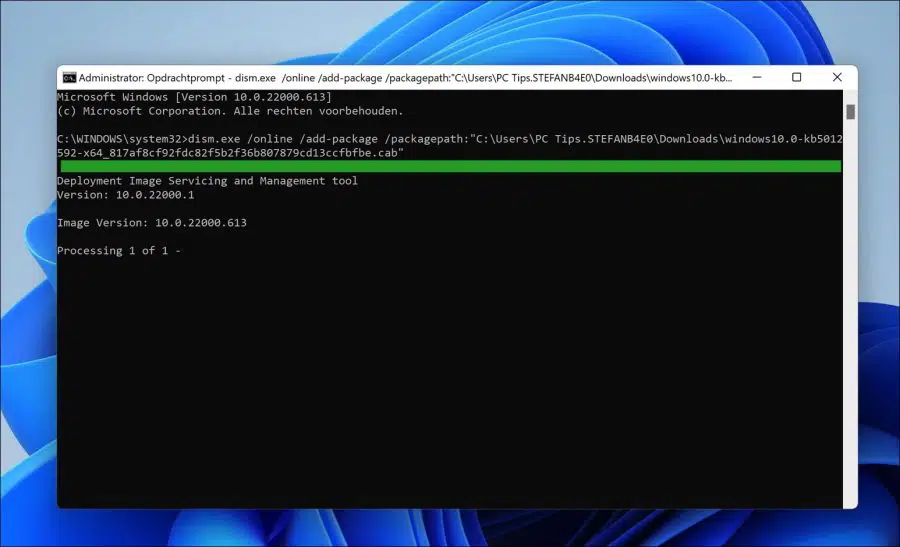
To then install a CAB file via DISM.exe you need the path where the CAB file is located.
Then type the following command to install the CAB file:
dism.exe /online /add-package /packagepath:"<pad naar CAB-bestand>"
Replace by the path in the above command.
Install CAB files via PowerShell
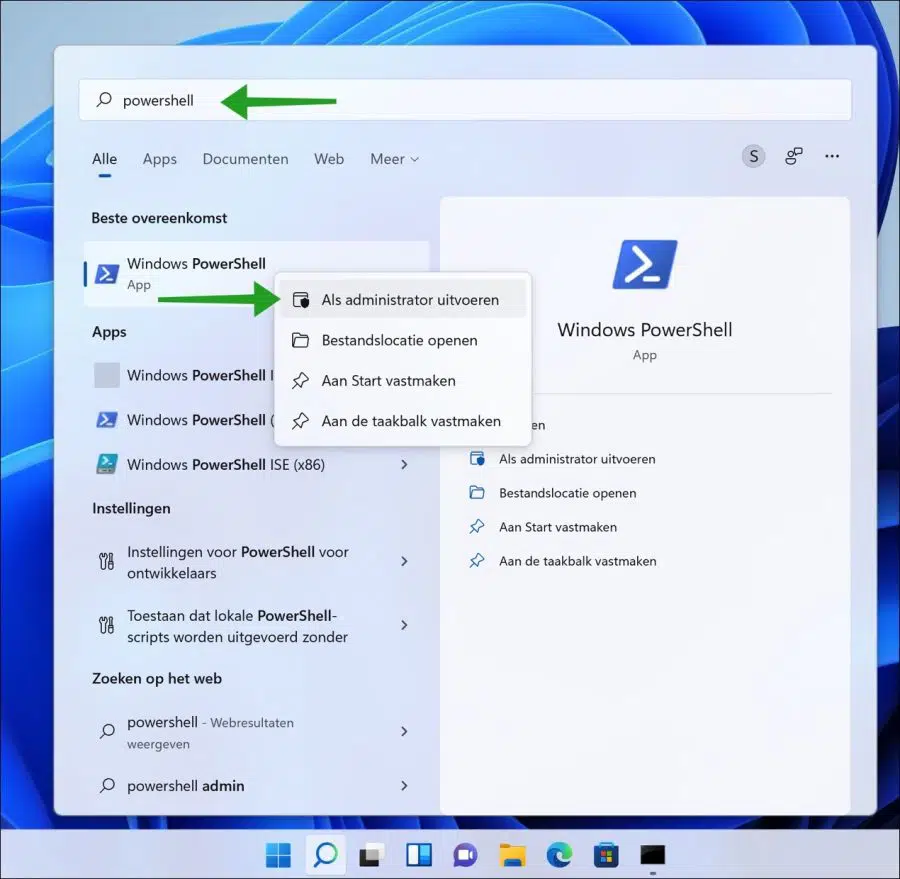
You can also install a cabinet file via PowerShell, this is how it works. Click the Start button and search for PowerShell. Right-click on the Windows PowerShell result and click “Run as Administrator”.
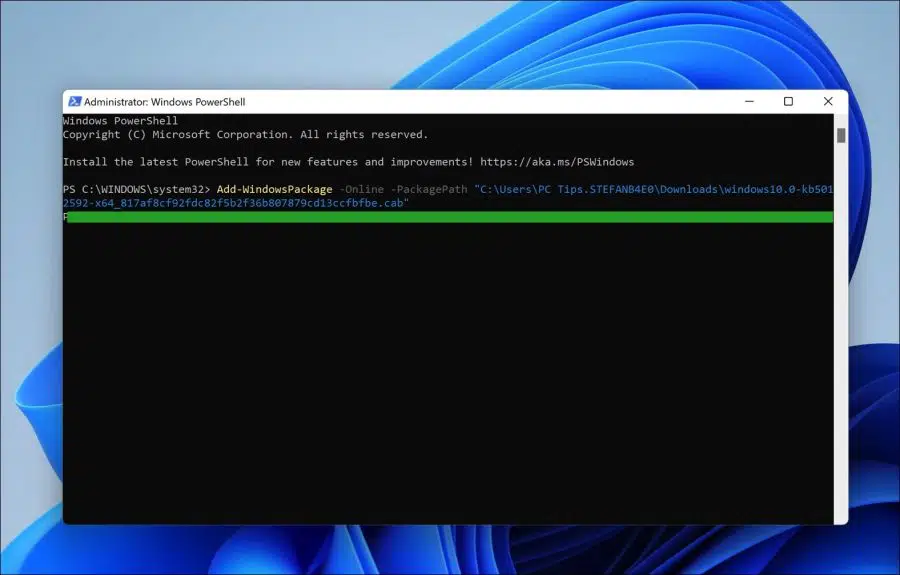
To then install a CAB file via PowerShell you need the path where the CAB file is located.
Then type the following command to install the CAB file:
Add-WindowsPackage -Online -PackagePath "<pad naar CAB-bestand>"
Replace by the path in the above command.
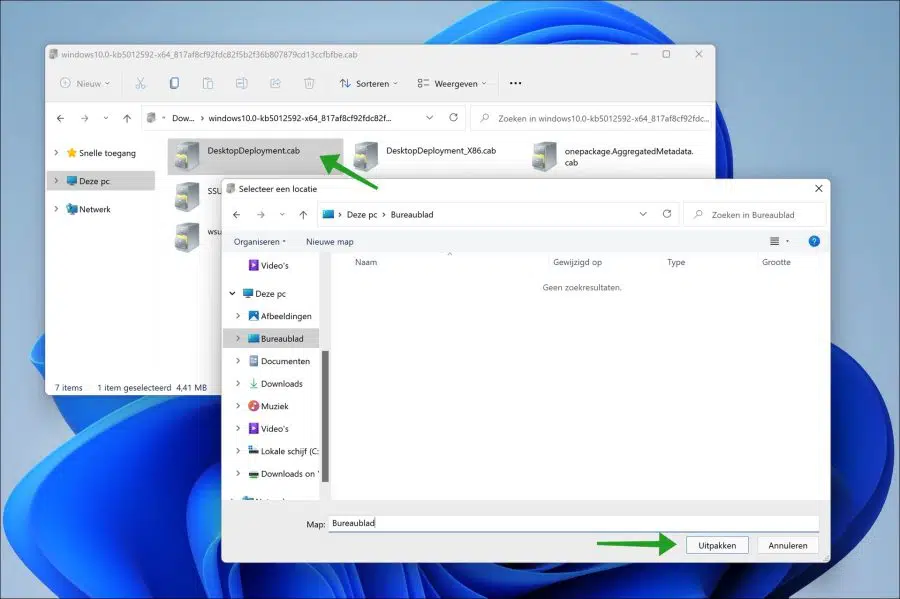
Extract CAB files via Windows Explorer
Some developers use a CAB file as a driver archive file. Installing via DISM or PowerShell will not work. You will then need to unzip the cabinet file and install the contents separately.
Depending on the content, you may need to complete the installation. In most cases this concerns drivers, which you can access via Device management to install.
Double-click the CAB file (“cabinet file”) and select a location to extract the contents. Click the Extract button to extract the contents. Open this location and install the contents.
I hope this information helped you install a CAB file in Windows 11 or Windows 10. Thank you for reading!
For now, thanks. Nice tips.