

If you have a USB stick or other USB device wants to partition then this is possible. Creating different partitions on a USB drive helps users better organize their data.
When you partition a USB, you divide the data on the USB into specific ones segmented parts. Most USB devices come with a single partition. You can divide this into multiple partitions in Windows. This is how it works.
Create a partition on a USB stick
Please note that if you partition the USB stick, all current data on the USB stick will be lost. You must first delete the entire volume and then divide it into pieces (partitioning).
To get started, insert the USB stick into a USB port on your computer. Make sure the USB stick is found.
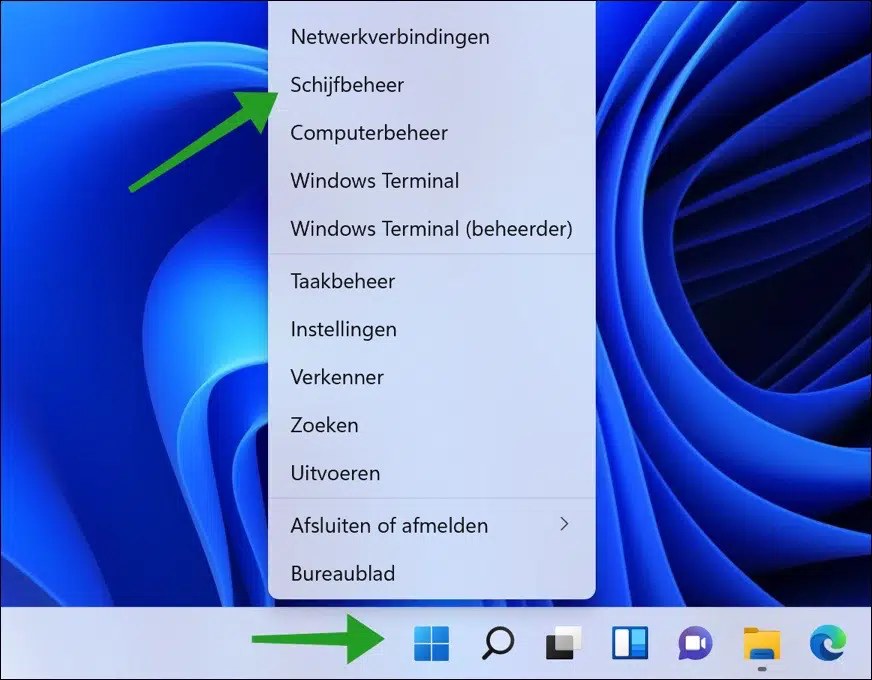
Then right-click on the Start button. In the menu click on Disk management.
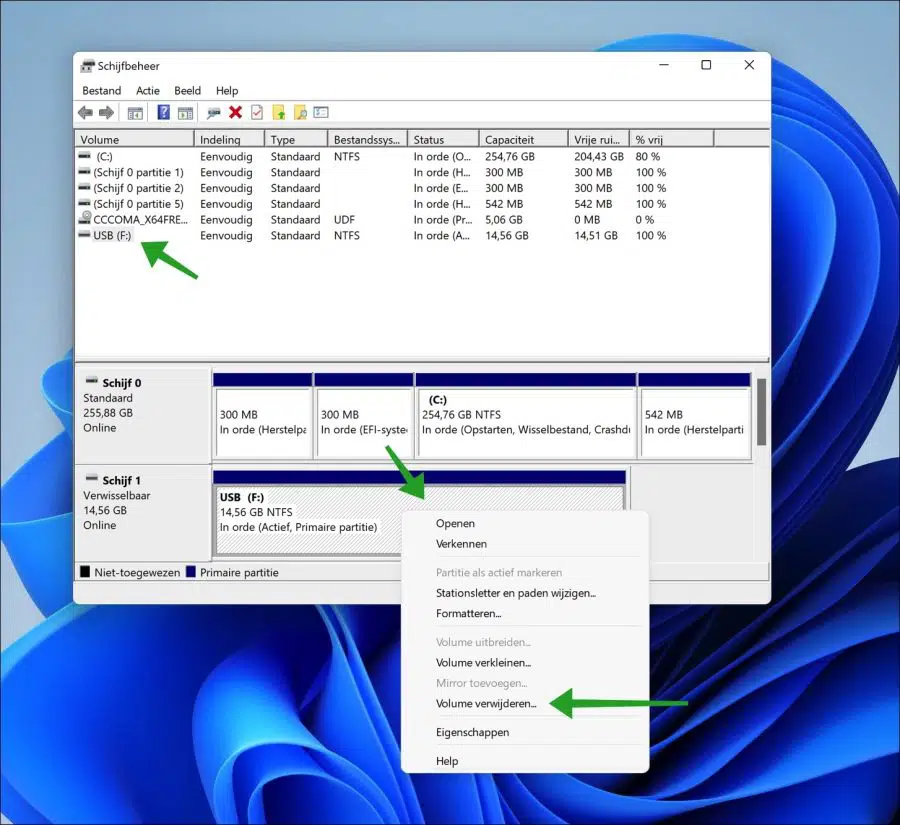
Make sure the USB stick is visible in disk management. Click on the “primary partition” of the USB drive and click “Delete volume”. Make sure you have selected the partition of the USB stick that you want to partition.
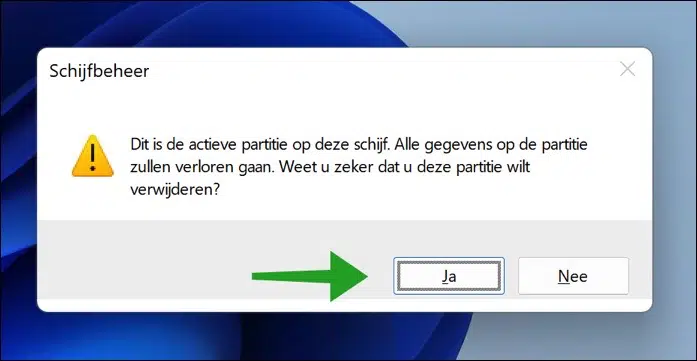
You will see the following message.
“This is the active partition on this drive. All data on the partition will be lost. Are you sure you want to delete this partition?”.
If you are sure, click “Yes”.
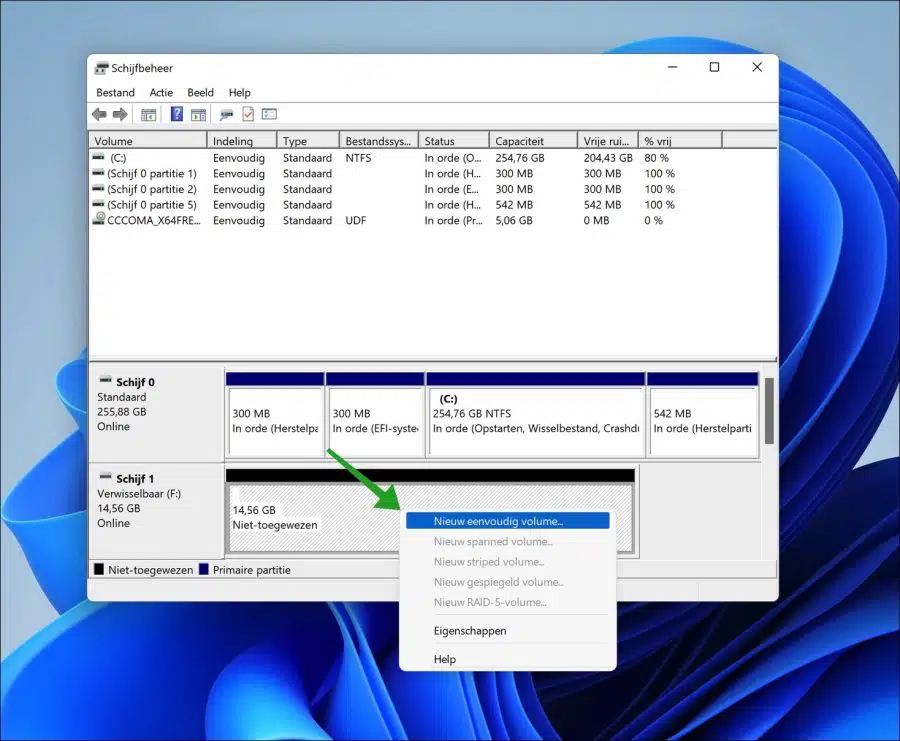
You will now see the total size of the USB drive as “Unallocated” data in Disk Management. Right-click on it and click “New Simple Volume”.
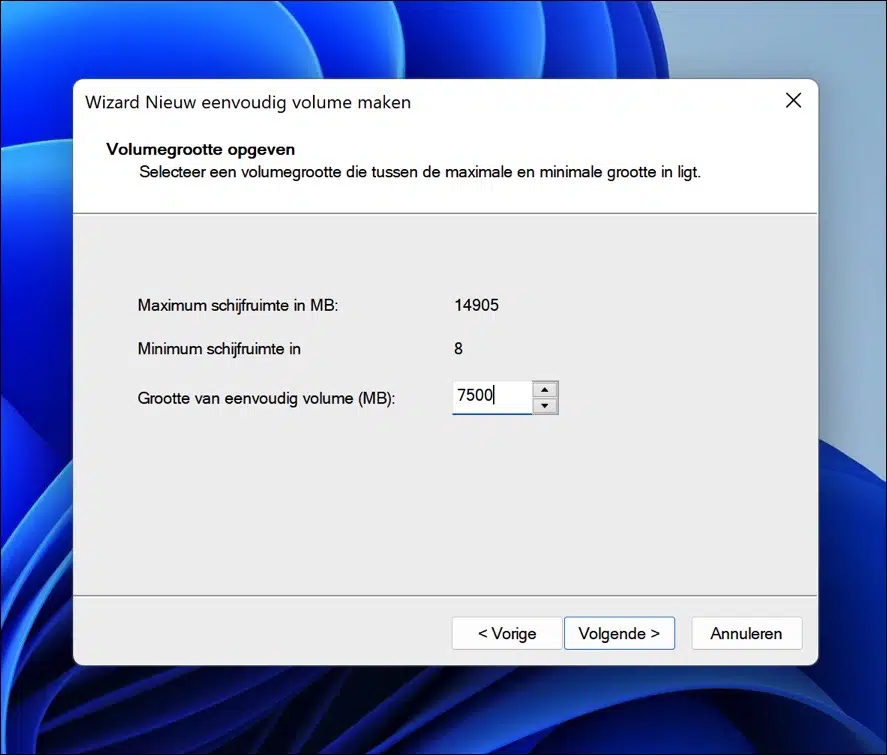
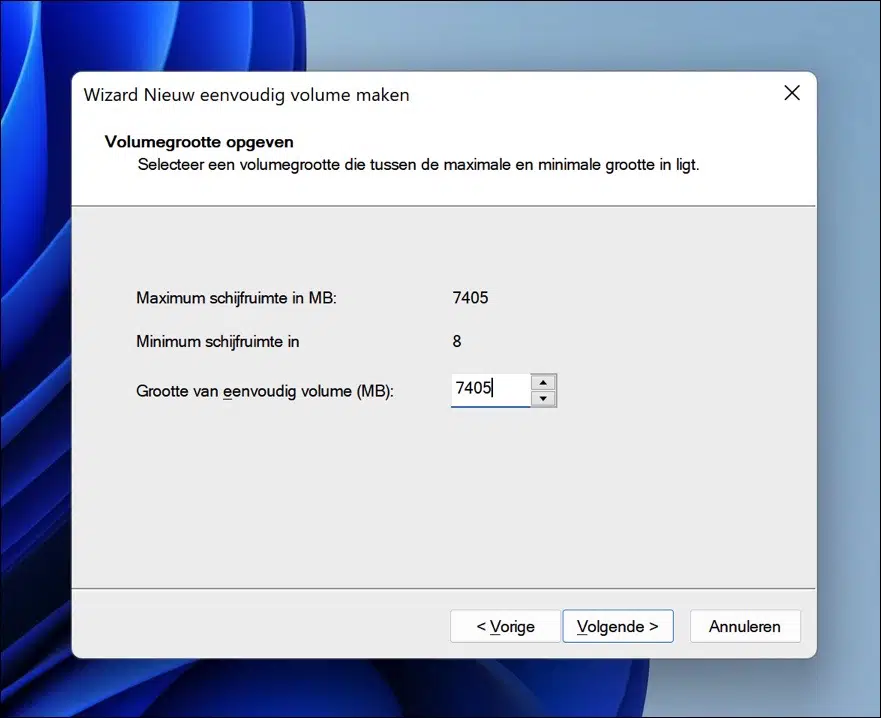
You are now going to divide the USB stick into pieces. At the top under “Maximum disk space in MB” you will see the total size in MB of the USB stick. To create a partition you need to split this data.
In this example I am using two partitions. The total size in MB in this example is “14905MB”, say “15GB”. Since I am creating two partitions, I will divide each partition into 7500MB (7,5GB).
You must decide how much and which data you want to reserve for a partition. Enter the amount in MB under “Size of simple volume (MB)”. Click next.
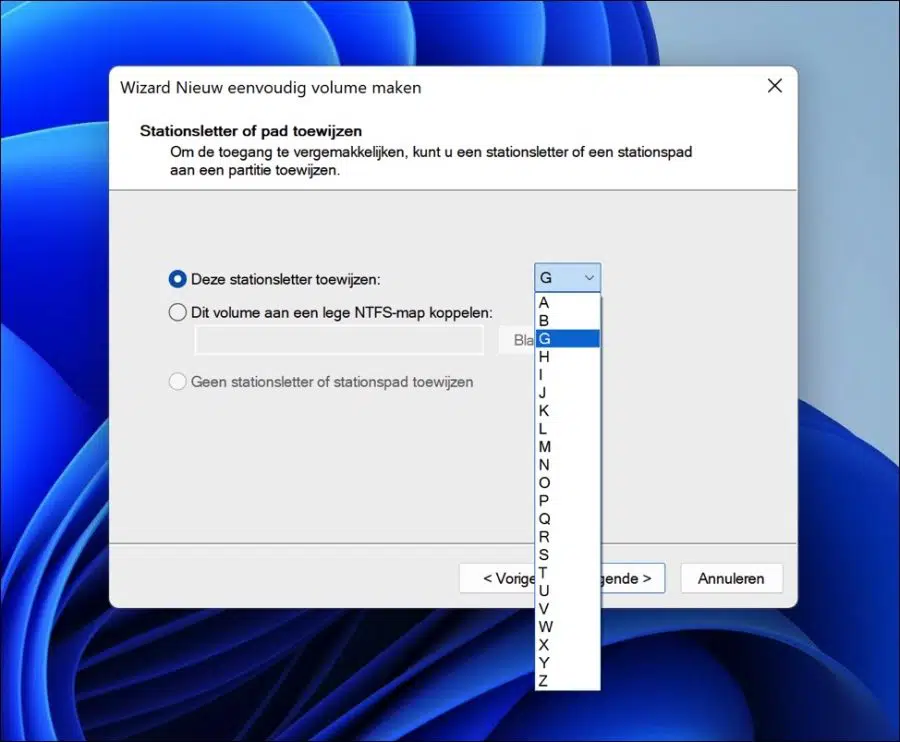
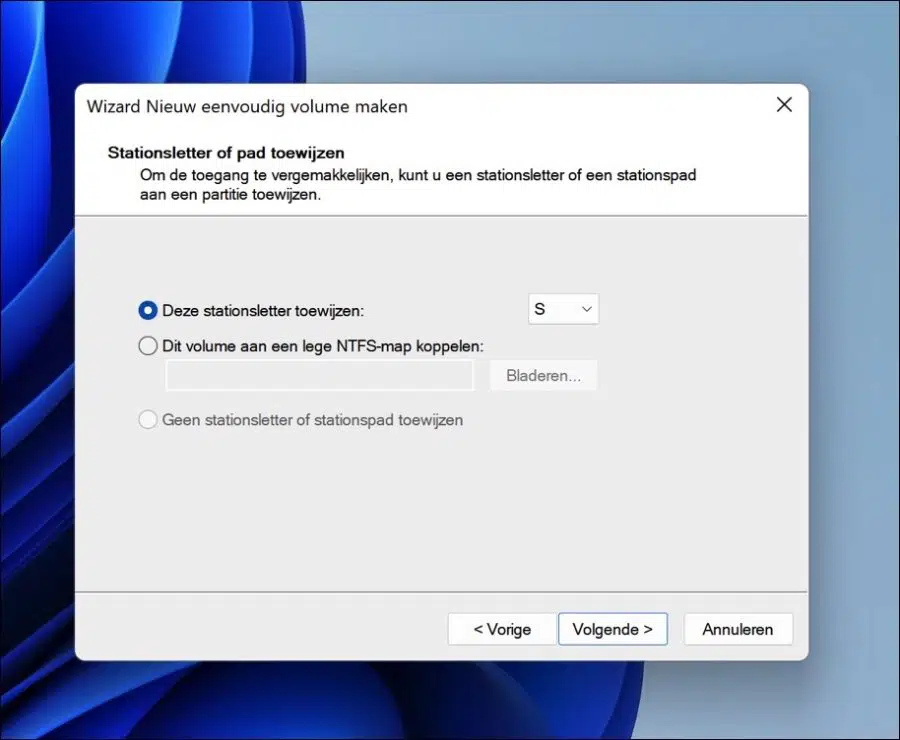
To use this partition in Windows you need a drive letter to be assigned. Select a drive letter from the list and click Next.
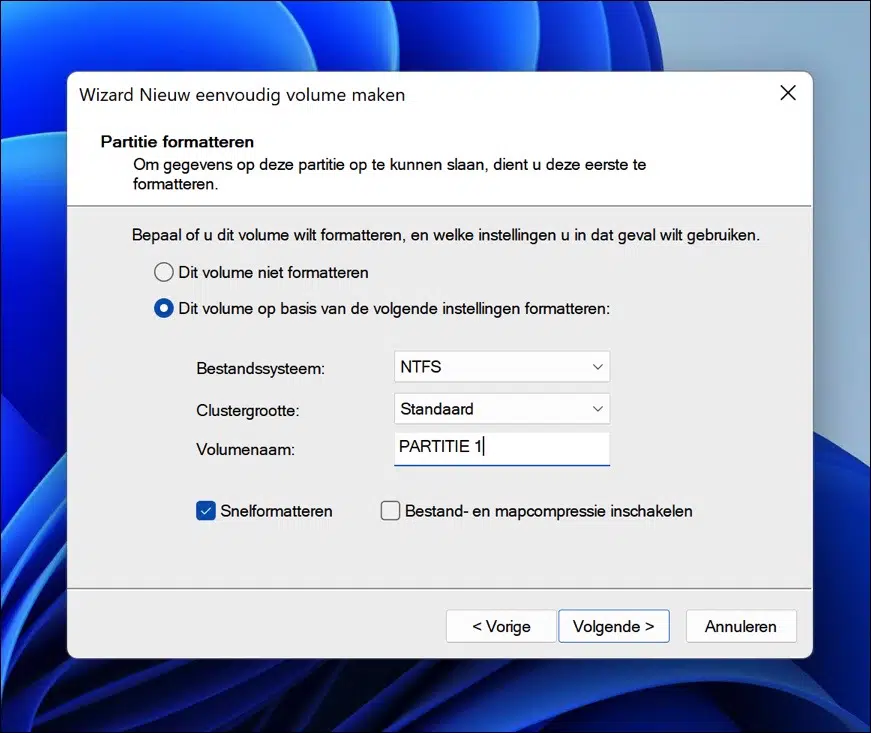
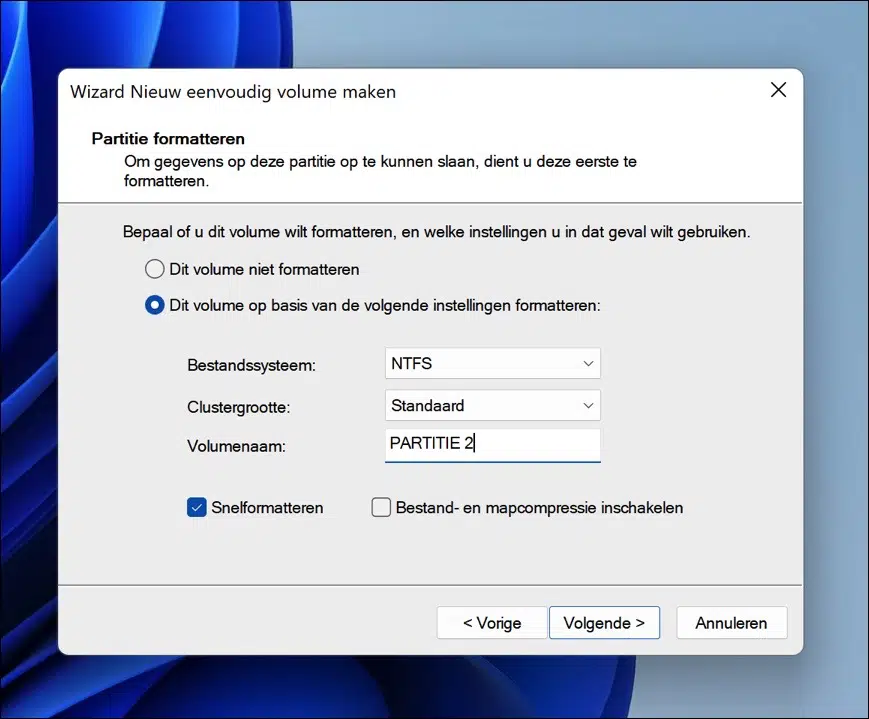
The partition must be formatted to use it. Select a file system to get started. I would recommend “NTFS” if you don't know which one to choose.
You can leave the cluster size default. Then enter the “Volume Name” to recognize the partition. Click next.
The partition is now created on the USB stick.
You need to create a second partition (or more). This is basically the same process.
You will still see “unallocated” space on the USB drive. Click on it and click “New Simple Volume”.
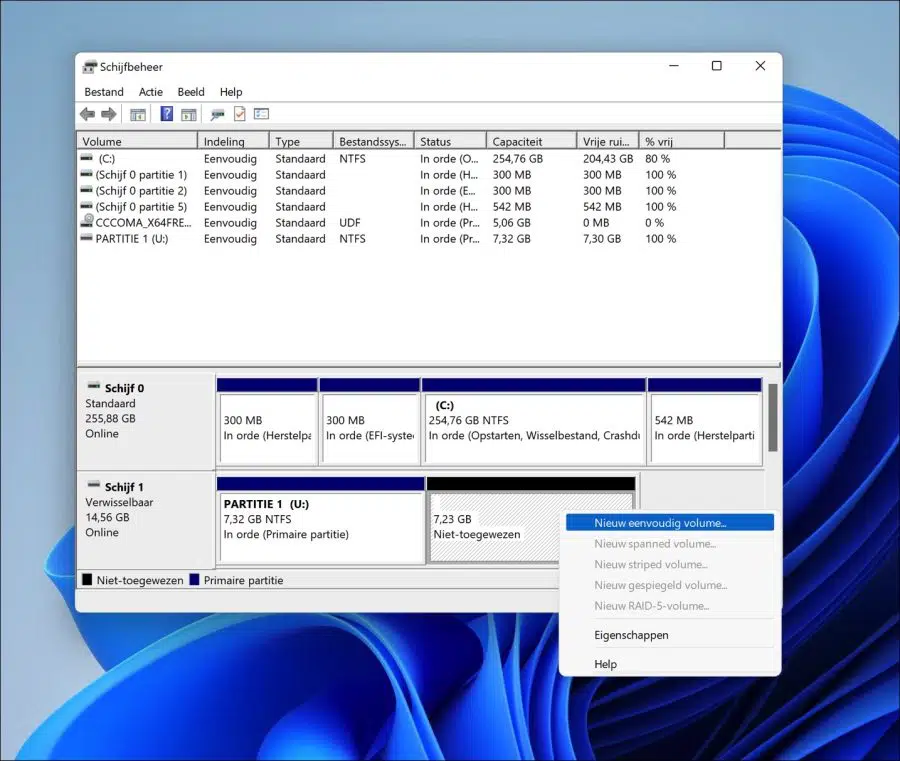
The remaining space is immediately filled in at “Size of simple volume (MB)”. You can adjust this space or click directly on next to use this space.
Select another drive letter for this partition and click next.
Once again you select a file system. Choose “NTFS” if you don't know which one to choose and enter a clear, recognizable name for this partition. Click next.
After creating the partitions you will see them again in the Windows Explorer when the USB stick is inserted into the computer.

I hope this helped you. Thank you for reading!