

If you are having problems with your Windows 11 or 10 computer, you can gather information to help you troubleshoot the problem. One way to obtain detailed problem information in Windows is through the reliability history.
Reliability history shows you the history of your system stability at a glance and shows you details about events that affect reliability on a day-by-day basis. These may include memory, hard drive, application and operating system failures (“events”).
Reliability history provides a quick overview of the system's stability. By recording not only malfunctions, but also important events related to the configuration of your system (including the installation of new applications and operating system updates), you can see a timeline of changes in both system and reliability.
Reliability history also helps you determine how to troubleshoot problems by extensive system information to collect in case of problems. You can use this information to gain insight into your system or determine which process or component is causing a problem.
Please note that Reliability History collects 24 hours of data before generating a stability report. The reliability data is therefore not real-time.
View reliability history in Windows 11 or 10
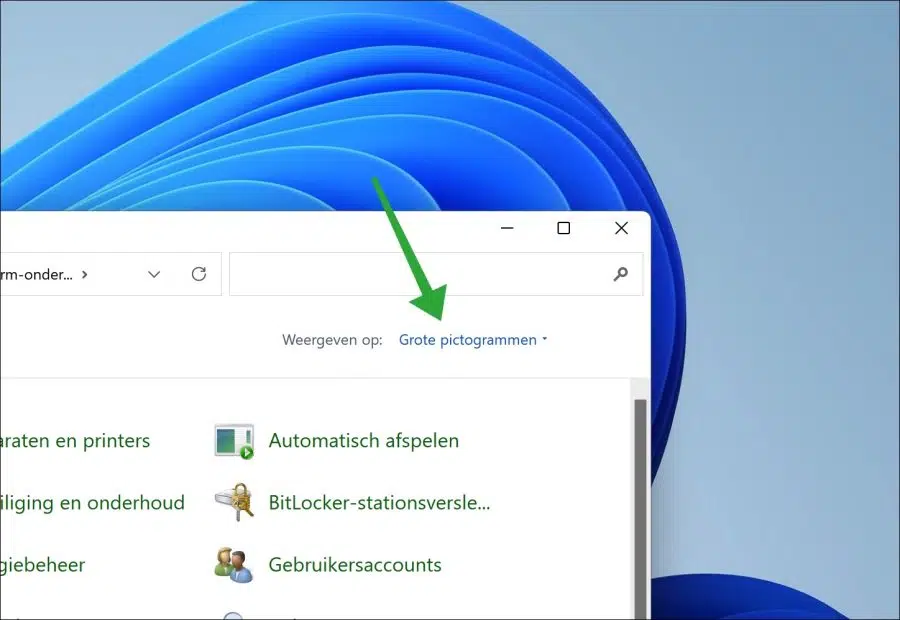
To view the reliability history open the Control Panel. In the control panel, first change the view to “Large icons”.
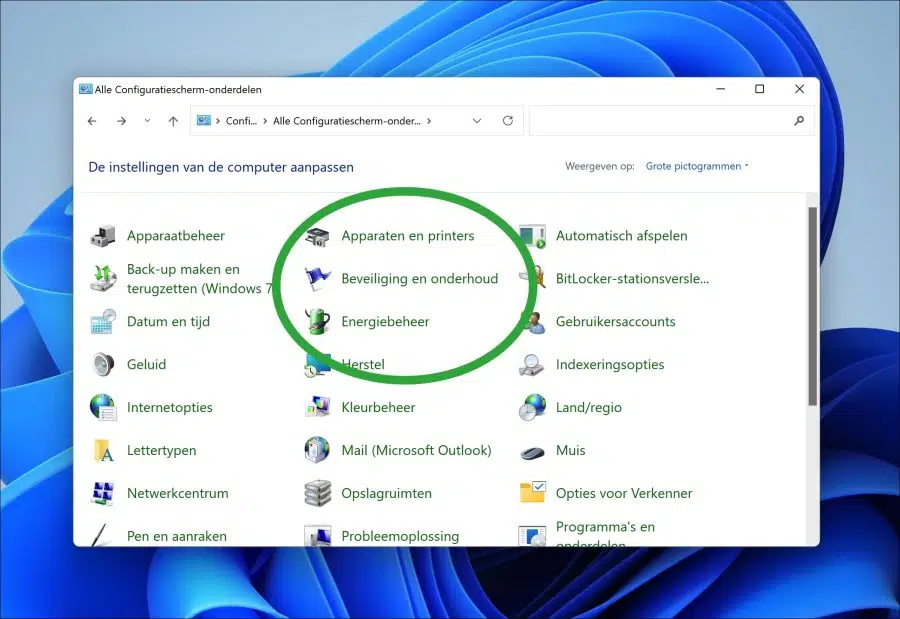
Then click on “Security and maintenance”.
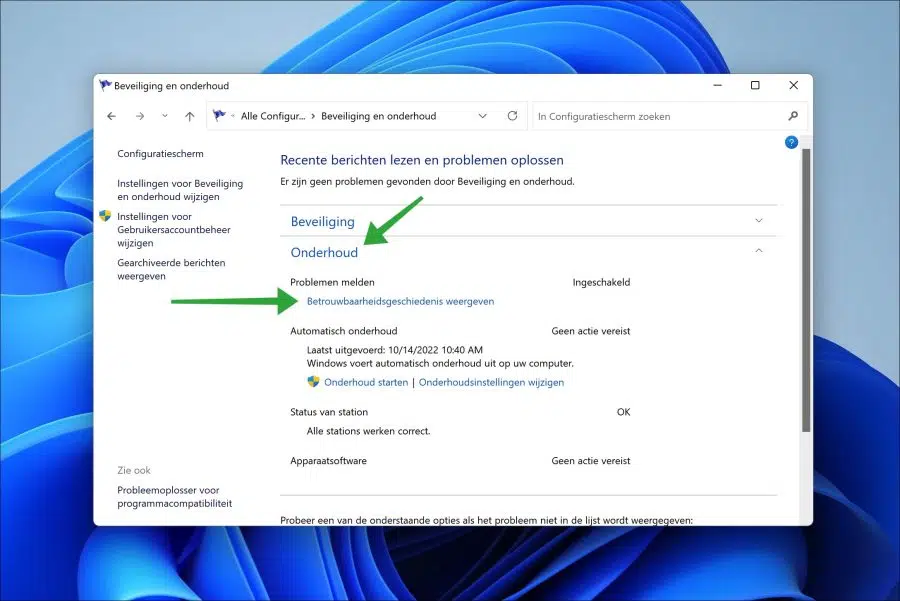
First click on “Maintenance” and then on the link “View reliability history”. Reliability history is enabled by default.
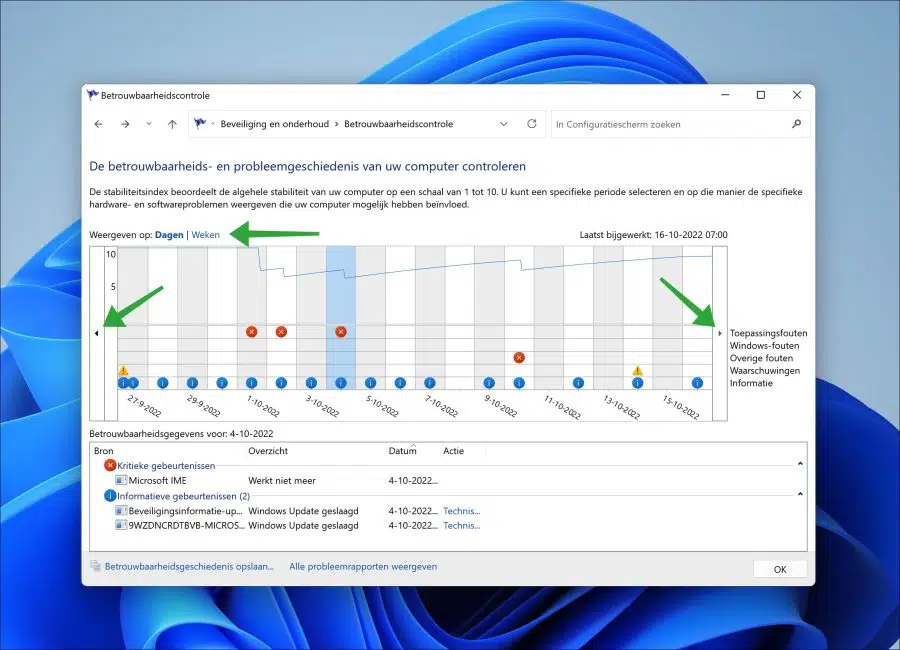
In the reliability history you will see application errors (these are software errors), Windows errors and other errors and warnings. These errors can be recognized by the red, blue or yellow warning icon.
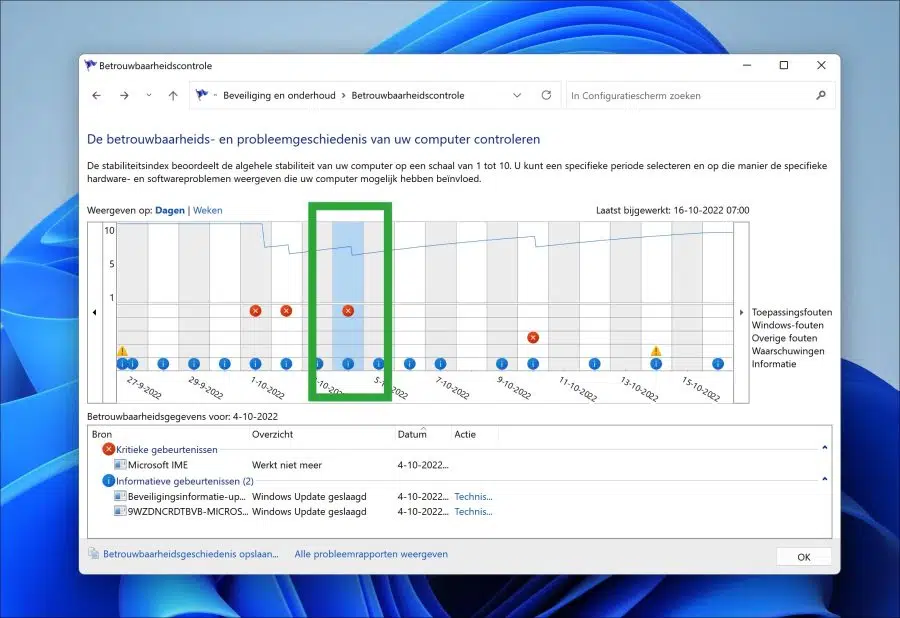
You can navigate through your computer's problem history by clicking the left or right arrows to scroll to other dates. At the very top you will see “View by:”.
You can change this view to “days” or “weeks” to view previous problem history.
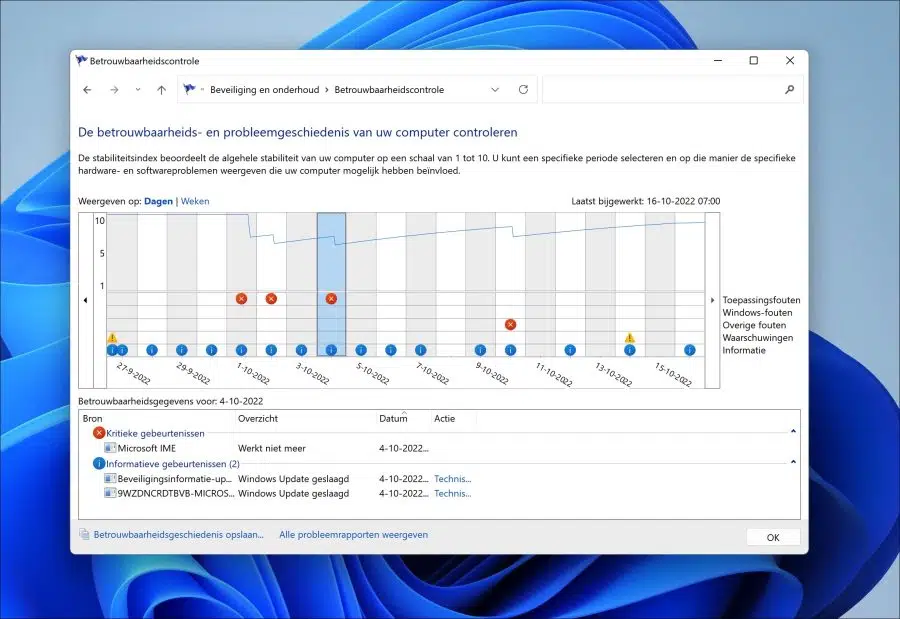
Click on an error message to view the source of the error message. You will then see whether it is a “critical event”, “warning” or “informational event”.
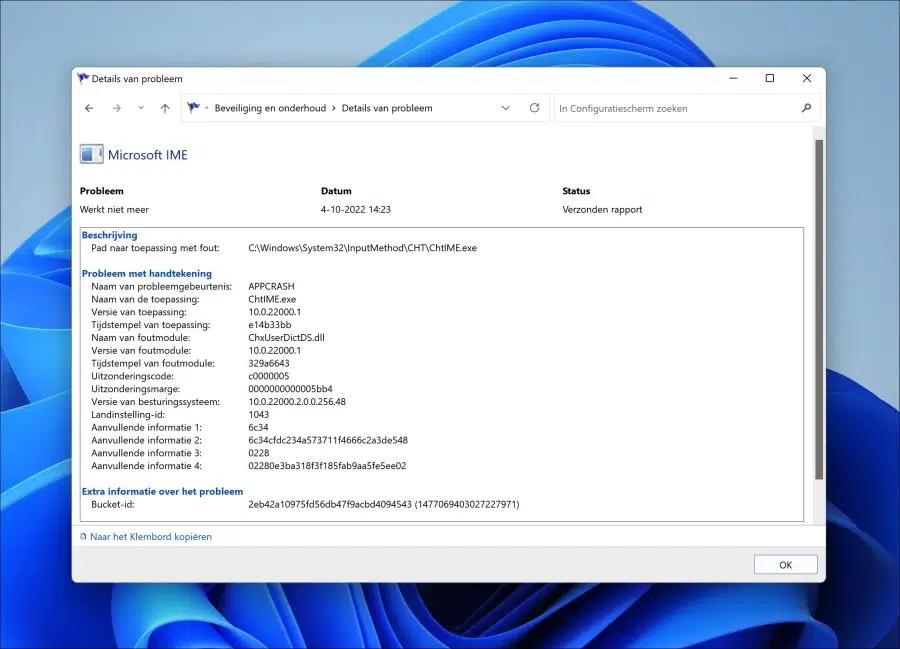
Double-click the event to view more detailed information about this event. Here you will see more information such as:
- The problem.
- The date the problem occurred.
- Whether the report has been sent/
- The description of the file location issue.
- Extensive problem description of the problem such as which process (“application”) and a bucket ID.
Error reports are displayed in Windows hang-ups identified by the version of the program that crashed and where in the program the error occurred. This, along with other technical information, creates a unique signature for the crash. Microsoft calls these signatures a “bucket ID”.
If you want to save the reliability history, for example to import into another tool or for use in reports, click on “Save reliability history” at the bottom left. You can then save the report as a (“.xml”) file.
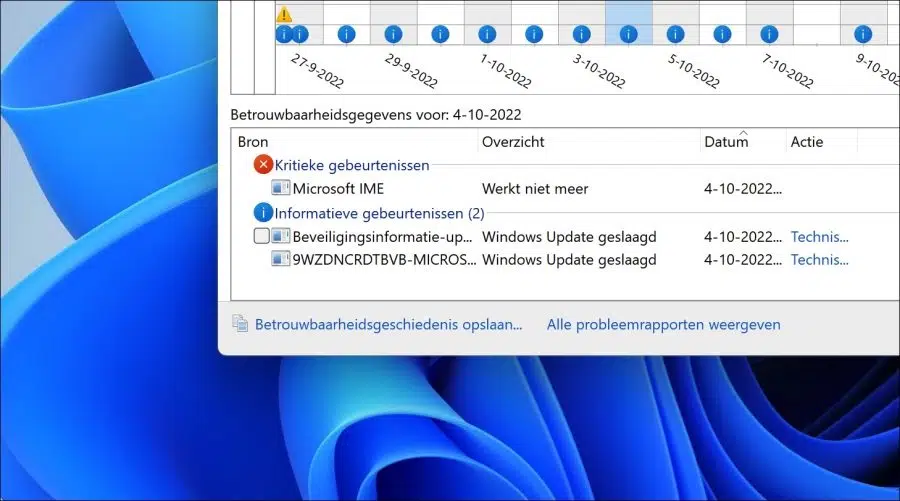
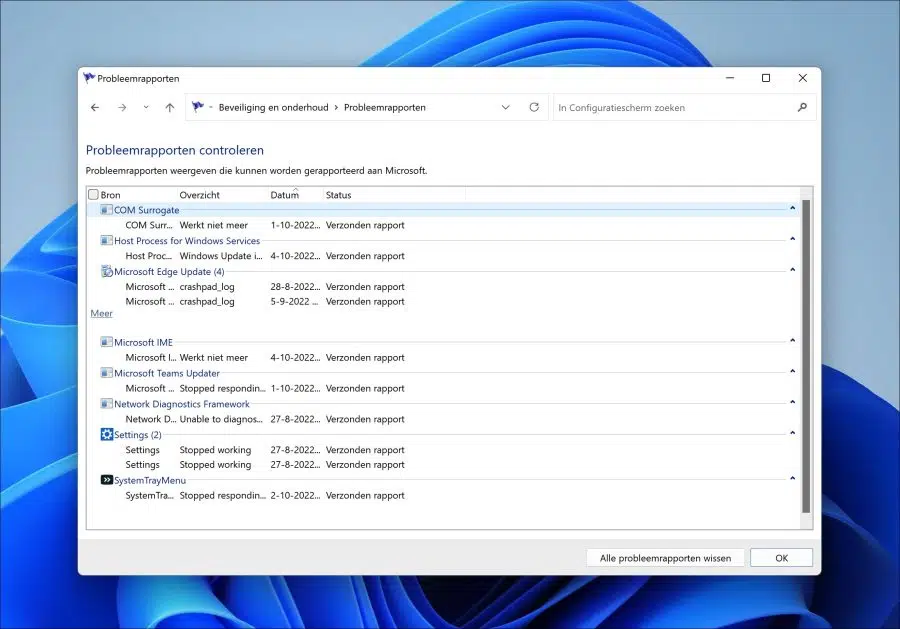
To quickly view all problems, click on “View all problem reports”. You will then see all problem reports that can be reported to Microsoft by source.
In this problem report, you can also clear the problem reports by clicking the “Clear all problem reports” button.
Also read:
- When was the last time Windows 11 or 10 was shut down?
- How to use the performance monitor (perfmon) in Windows 11 or 10.
I hope to have informed you with this. Thank you for reading!