

Microsoft has released an ISO file for anyone who wants to install Windows 11 on a clean Windows 10 computer. You can use this ISO file to install Windows 11 on a virtual machine or install it via USB.
However, it is still necessary to sign up for the Windows Insider program. The Windows Insider program is a community of millions of Windows fans who get to be the first to see what's next.
Windows Insiders run previews of the platform, called Windows Insider Preview Builds, then provide feedback and work directly with our engineers to help shape the future of Windows.
Sign up for Windows Insider program (skip!)
You no longer need to perform this step. Windows 11 has been officially available since October 5.
Continue to the next 2nd step “Download Windows 11 ISO file”. Navigate a bit down in this article.
To download and then install the Windows 11 ISO files, you must sign up for the Windows Insider Program. This is completely free.
Signing up to become a Windows Insider is a matter of registering with the same Microsoft account that logs you into Windows and allows Microsoft to collect diagnostic data from your computer. Once that's done, you can choose a channel and access the ISO files that Microsoft offers for download. After registering with the Insider program, I will explain how you can download the ISO files.
It is advisable to sign up for the Windows Insider program via Windows itself. If you try to register via the website, you will also be redirected to the Windows Insider settings on your computer at some point.
If you are already logged into the Windows insider program, you can skip this step. Continue to Download Windows 11 ISO File.
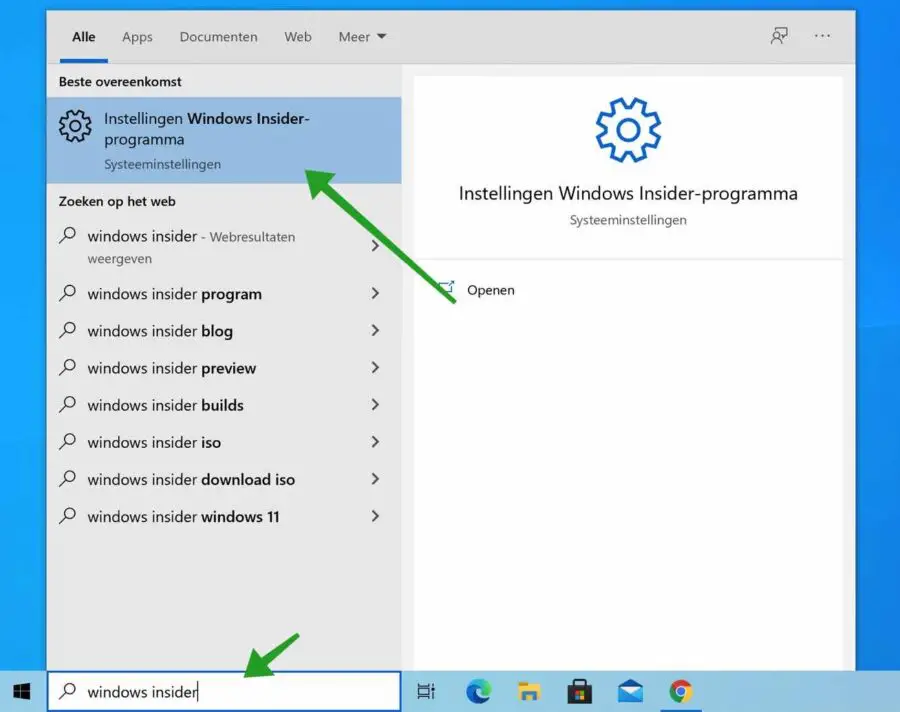
In the Windows search bar type: Windows Insider. Click on the Windows Insider Program Settings.
You will most likely see the following message below in Windows. If not, select “Optional Diagnostics” and skip this step and proceed to: Enable optional diagnostics.
To manage the Windows Insider Program settings for your device and keep them in the Windows Insider Program, you must enable optional diagnostics.
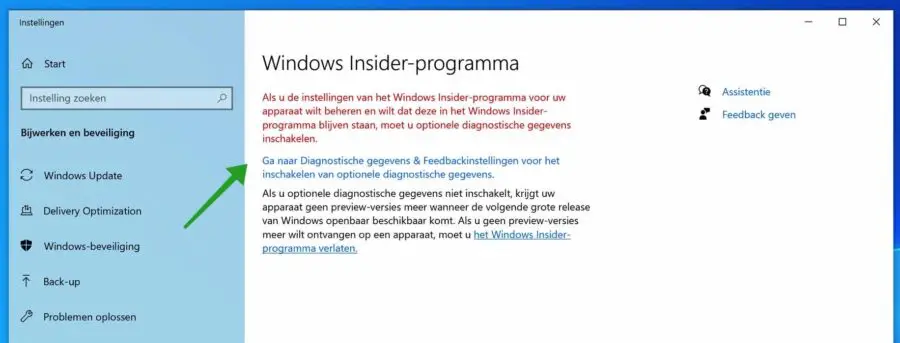
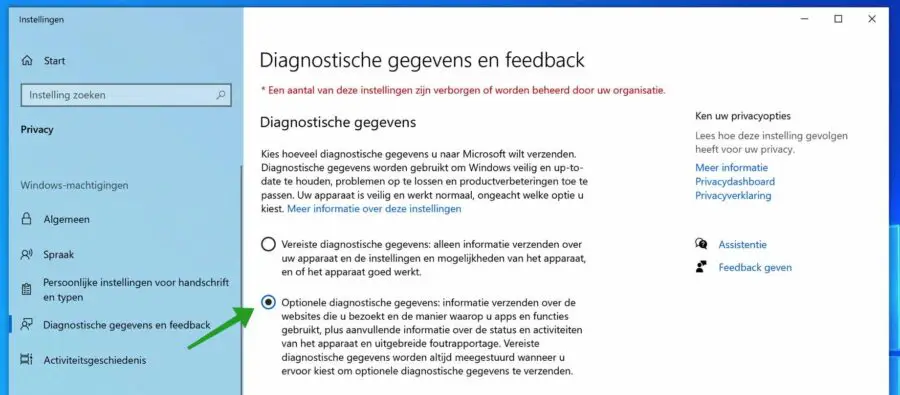
Click the link: Go to Diagnostics & Feedback Settings to enable optional diagnostics. A new window will open.
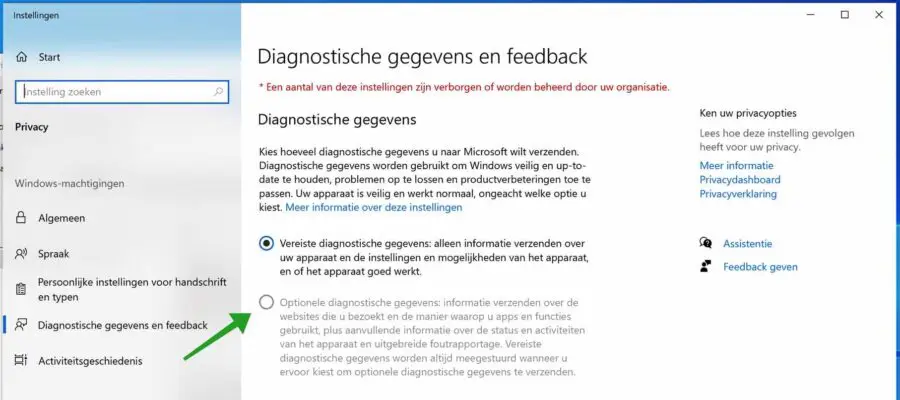
Enable the option: Optional diagnostics. Most likely this option is also disabled.
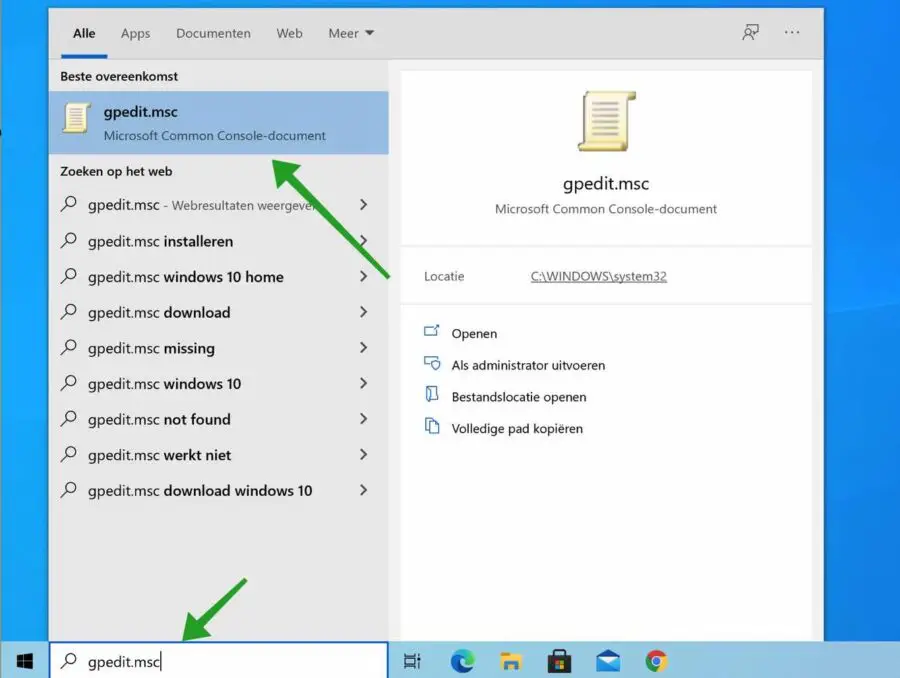
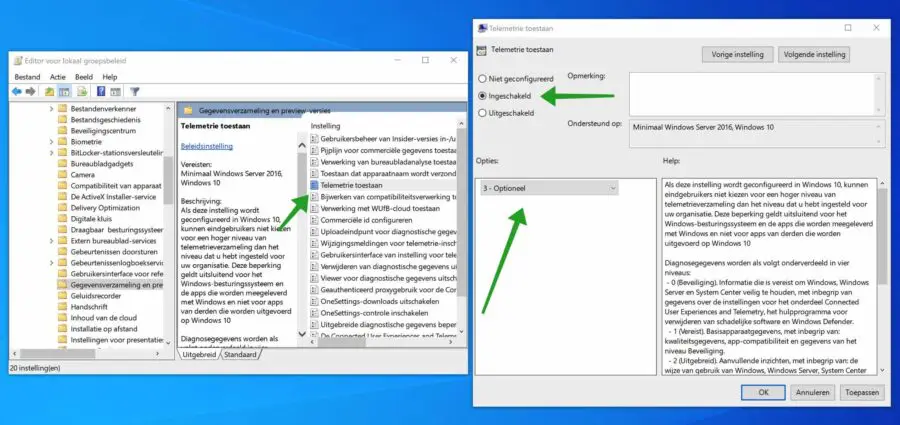
To enable the Optional Diagnostics, type in the Windows search bar: gpedit.msc.
Gpedit.msc not available? Read this article.
In the Group Policy editor open the following structure.
- Go to Computer Configuration > Administrative Templates > Windows Components > Data Collection and Preview.
- Double-click Allow Telemetry
- Change Allow Telemetry to Enabled
- Below that, under Options, select 3 – Optional from the drop-down menu and click Apply
- Go back to the top and change Allow Telemetry back to Enabled.
- Click Apply and close the Group Policy editor.
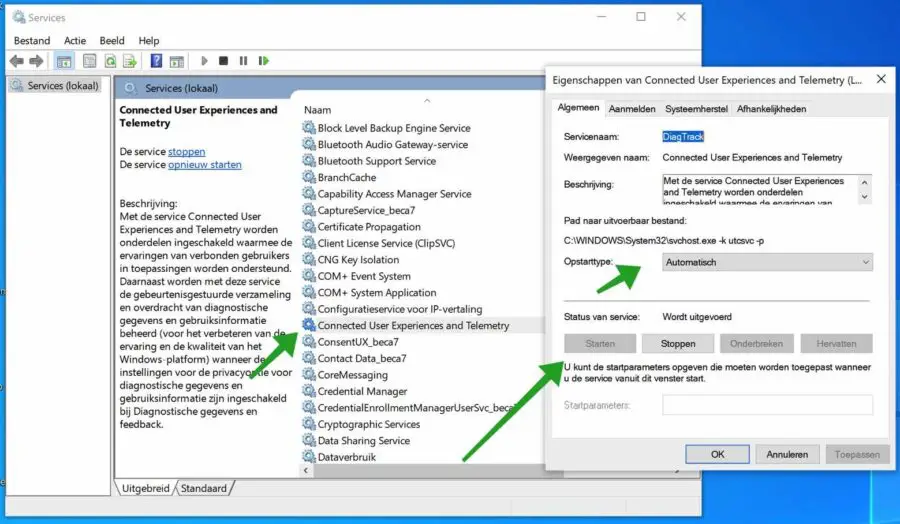
In the Windows search bar type: services.msc.
Look for a service called: Connected user experience and telemetry. Right-click on this service and choose Properties from the menu.
Change the startup type to Automatic, click Apply, then click Start. Make sure the service is started.
Now go back to the diagnostic data and enable the option: Optional diagnostic data.
Enable optional diagnostics
Now type: Windows Insider in the Windows search bar.
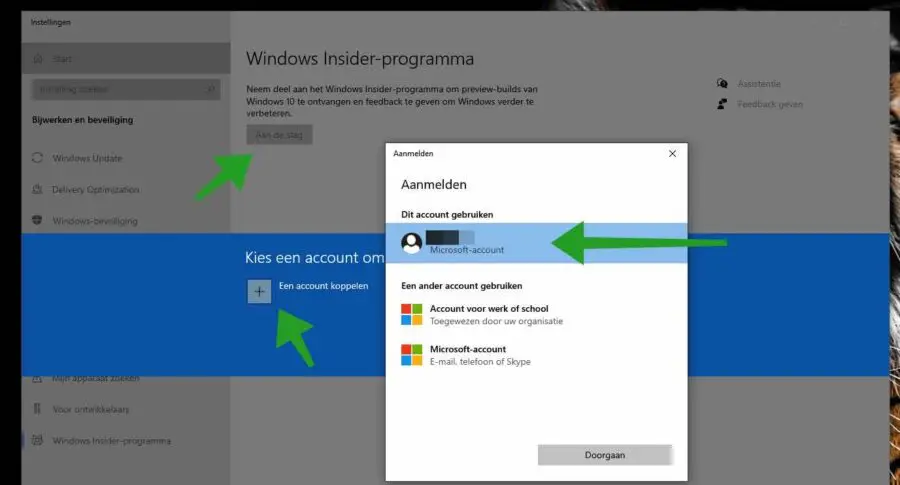
Go back to the Windows Insider settings and click the Get Started button. You can now participate in the Windows Insider previews for Windows 11.
Click the Get Started button. Then click the Link an account button to create your Microsoft account to sign up for the Windows Insider program.
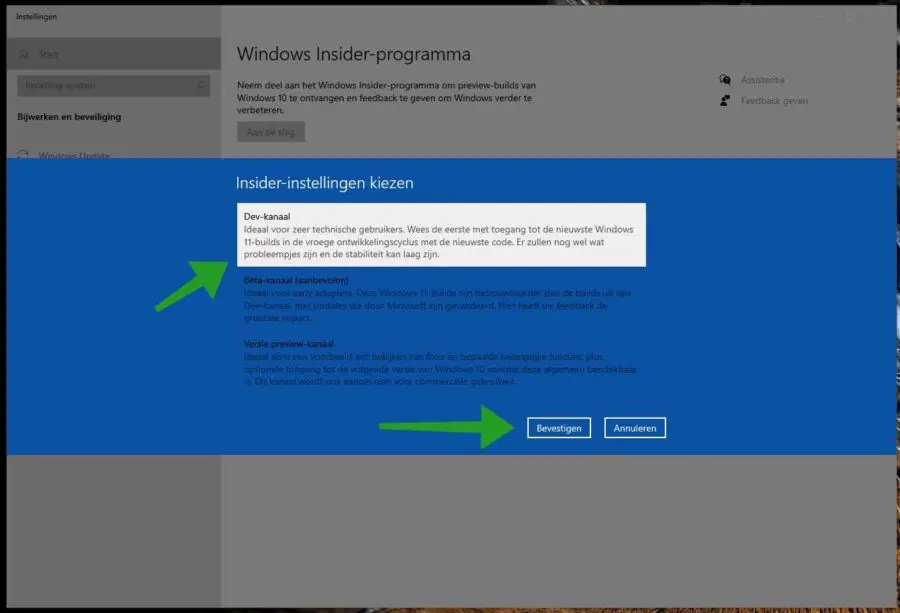
Select the desired insider program. Read the information carefully. Then click Confirm.
You must restart the computer. Save the URL of this article and return to this article after restarting Windows.
Download Windows 11 ISO file
To download the Windows 11 ISO file, use your browser to go to:
Download Windows 11 (microsoft.com)
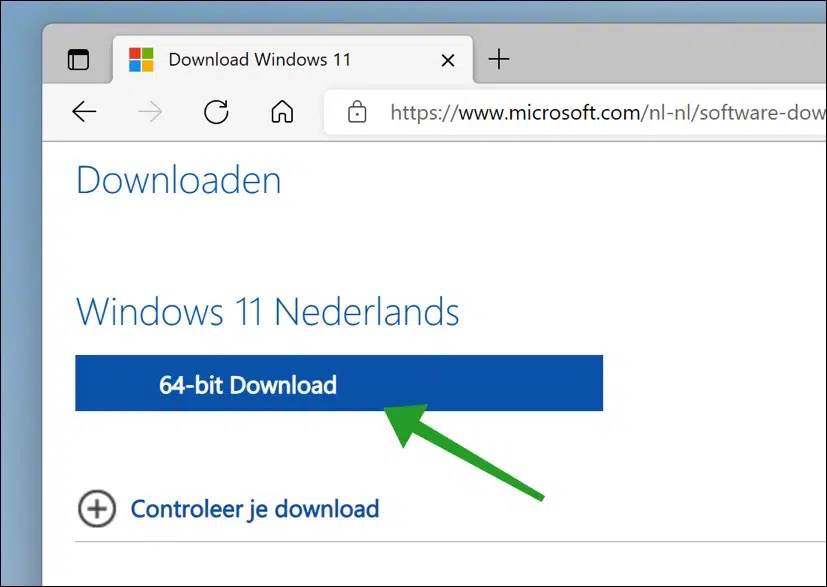
Navigate down until you reach “Download Windows 11 Disk Image (ISO) File”. Click Download.
Then select the desired product language. This is the language in which Windows 11 is installed. Click confirm
A download link to the ISO file is now created that is valid for 24 hours. Click this link to download the Windows 11 ISO file.
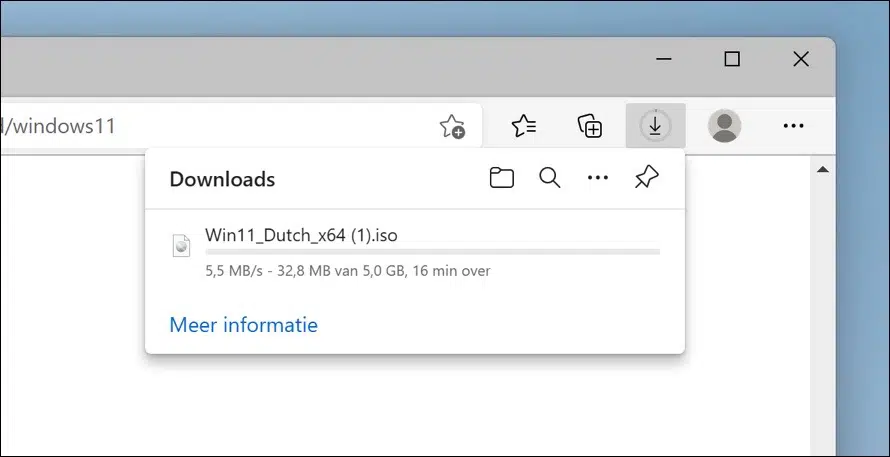
Windows 11 ISO is being downloaded. The size of this Windows 11 ISO file is 5GB.
You can use this file to write to a bootable USB drive or use it to install on a virtual machine. In this article I will explain how to create a bootable USB stick with Windows 11. You can use it to install Windows 11.
If you were reading from an article on how to install Windows 11, return to that article on PC Tips now. You do not need to create the USB stick with Windows 11.
Create a bootable USB stick to install Windows 11
Start with it download from Rufus to your computer. Click Download Rufus Portable. Then start Rufus. If you have chosen portable, no installation is required.
Make sure the USB drive you are going to use is formatted and that it is selected as Device in Rufus. Then click Select.
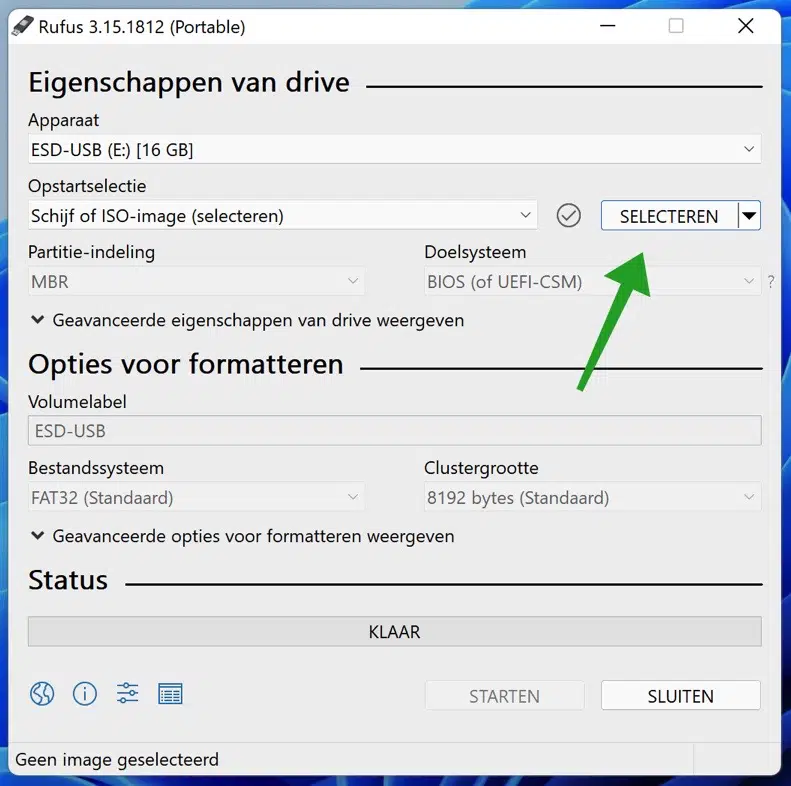
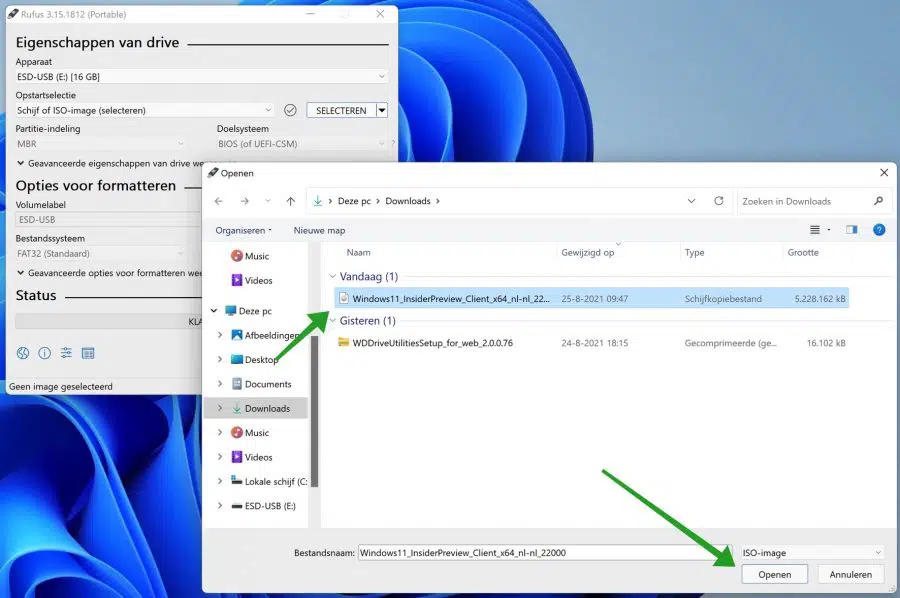
Select the Windows 11 ISO file and click Open.
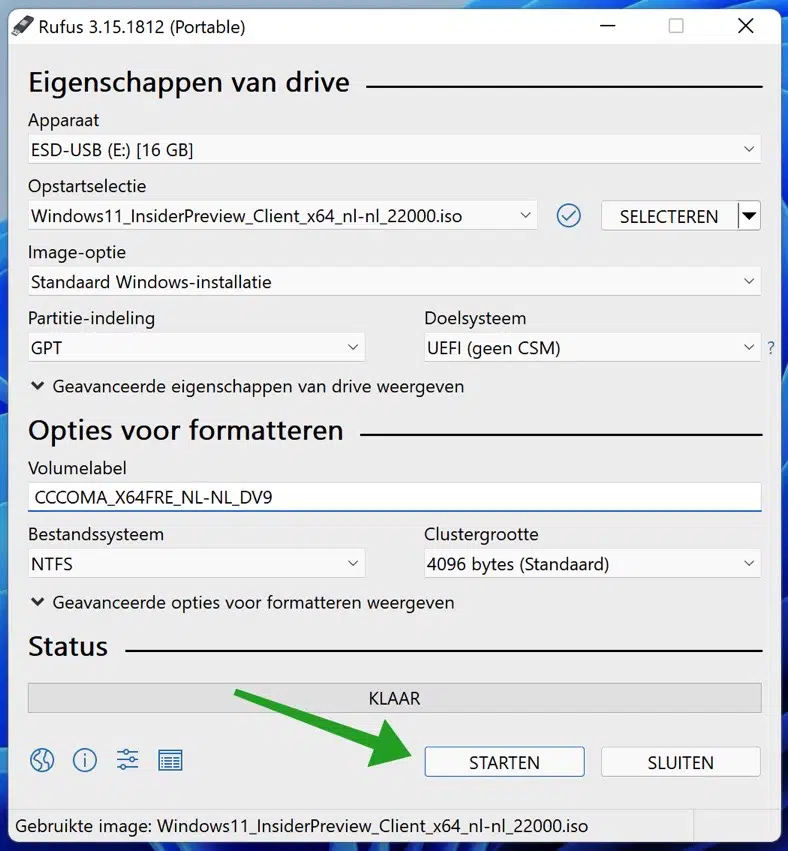
Rufus will detect and apply the necessary settings itself. You don't need to change anything here. The only thing you may want to change is the “Volume Label”, the name for the USB stick. Then click Start.
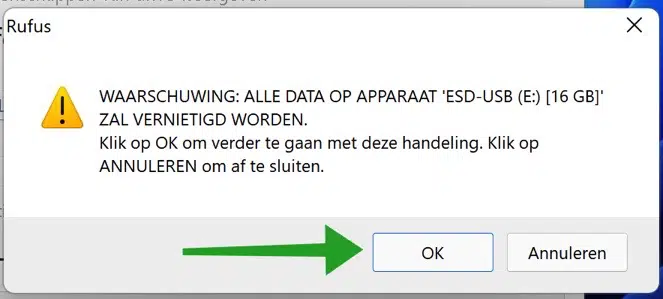
Rufus will notify you again that all data on the connected USB stick will be lost. Click OK to confirm.
Once Rufus has finished placing the Windows 11 ISO files on the USB Stick, you can install Windows 11 from USB on a clean computer.
Install Windows 11 from USB Stick
To install Windows 11 from the USB Stick, we will use the USB Stick with the Windows 11 ISO file that we have just created.
It is important that you set the BIOS to boot from the USB Stick. This is different for every BIOS model. In most cases, press F2, F12, DEL, or ESC to enter your computer's BIOS settings. Then change the “Start-up order”, “Boot order” or the “Boot order” to the first device, the USB Stick and then the hard drive.
This is a example for Lenovo computers. Unfortunately, I cannot provide the boot order explanation for every computer model.
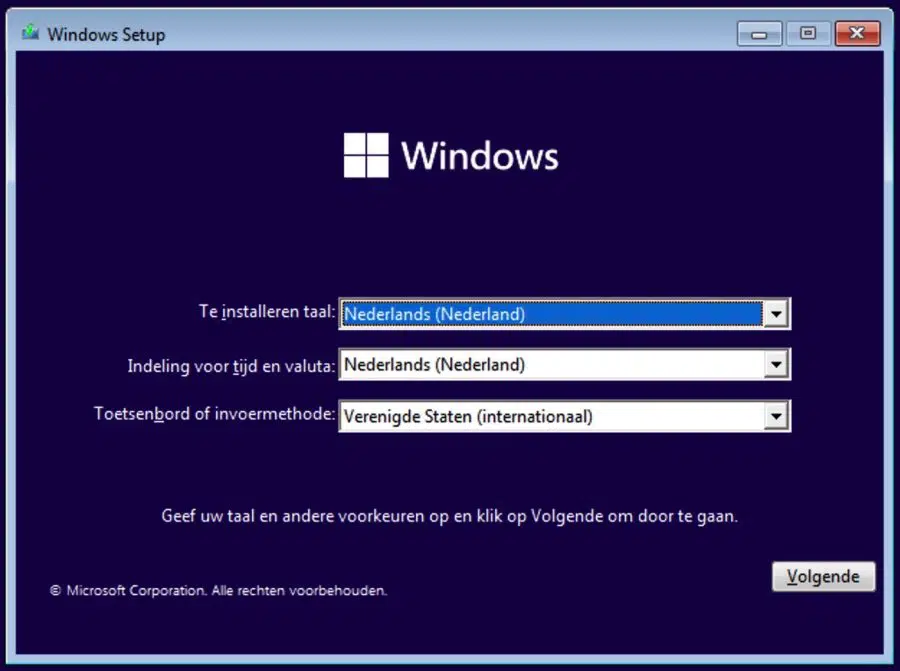
If you have both created the USB stick and adjusted the BIOS boot settings, the Windows 11 installation will start from the USB stick. Follow the installation and install Windows 11 the way you want!
Optional: Create Windows 11 USB with EaseUS Win11Builder
To create a Windows 11 USB for installation, you can use EaseUS Win11builder. This Windows 11 tool for you to put on a USB stick for installation. You can also choose to bypass TPM 2.0 and Secure Boot checks.
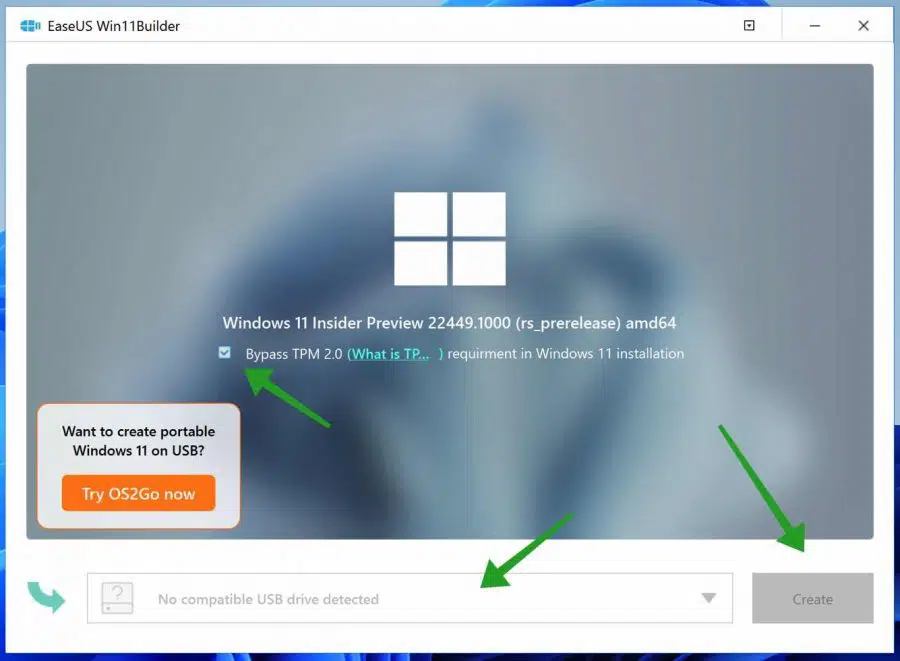
Insert the USB stick into your computer. Select the USB device and click Create. Unfortunately, I was never able to boot from the Windows 11 installation created by EaseUS Win11Builder. You can try it.
Lees meer: Install Windows 11 without TPM 2.0 and Secure Boot.
I hope this helped you. Thank you for reading!
super site, lots of good tips, recommendation for every IT professional
Super thanks! That's what I do it for. Thanks for your comment 🙂
I did everything, but during installation I get error 0x7E
can anyone help me with this?
Fri regards Michel
Hello, unfortunately your question is too limited to provide a solution. Greetings, Stefan