Een JPG-bestand kan worden verkleind. Door een JPG-bestand te verkleinen, verminderd u de bestandsgrootte, dit heeft meerdere voordelen.
JPG is het meest gebruikte afbeeldingsbestandstype wat op dit moment wordt gebruikt. Een JPG-afbeelding wordt bijvoorbeeld veel op het internet gebruikt maar ook in de fotografie. Dit komt doordat een JPG-bestand de lossy compressie techniek ondersteunt.
De lossy techniek is is een methode voor gegevenscompressie waarbij enige informatie van het originele bestand verloren gaat om de bestandsgrootte te verminderen. Dit type compressie is vaak effectief voor het aanzienlijk verkleinen van de grootte van afbeeldingen, video’s en audiobestanden, maar het introduceert kwaliteitsverlies dat afhangt van de mate van compressie.
Meld u dan aan voor onze nieuwsbrief.
Een JPG-afbeelding is dus al met enige mat gecomprimeerd en daarmee vaak kleiner in bestandsgrootte dan andere type afbeeldingsbestanden. Toch kunt u een JPG-bestand nog meer verkleinen zonder kwaliteitsverlies. In deze gids leest u hoe een JPG-bestand in Windows 11 of 10 kunt verkleinen.
JPG-afbeeldingen verkleinen door de afbeelding te comprimeren
Om de JPG-afbeelding te verkleinen gebruiken we FileOptimizer. FileOptimizer is een geavanceerde bestandsoptimalisator met een lossless (geen kwaliteitsverlies) reductie van bestandsgrootte.
U kunt FileOptimizer gratis gebruiken in Windows 11 en 10. Er zitten enkele voordelen aan FileOptimizer.
Zo kunt u deze app gratis gebruiken, kunt u bulk optimalisaties uitvoeren en ondersteunt het nog veel meer bestandstypen dan alleen maar JPG-bestanden. U kunt er andere afbeeldingstypes mee optimaliseren, maar ook mediabestanden zoals video’s, documenten etc.
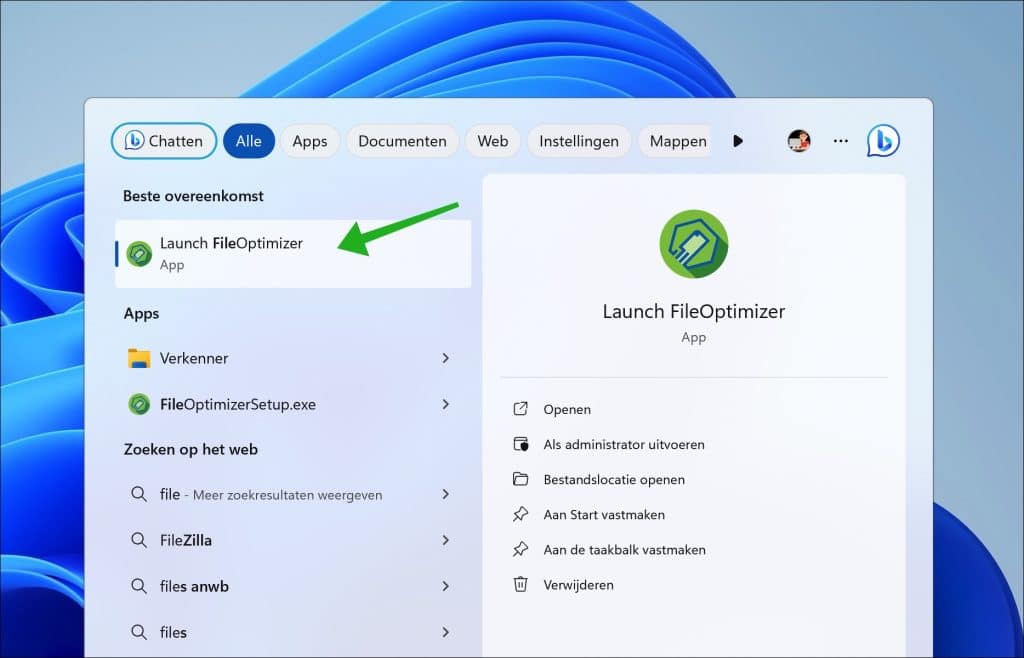
Installeer eerst FileOptimizer op uw computer, na installatie opent u de app.
Nadat u de app voor de eerste keer opent, raad ik aan om te zorgen dat er altijd back-ups worden gemaakt van bestanden voordat ze worden verkleind. Dit kunt u doen via de instellingen. In het menu klik op “Optimize” en vervolgens op “Options”.

Schakel de optie “Do not create backups” uit. Deze optie staat standaard aan en voorkomt dat er back-ups worden gemaakt. Zet deze optie dus uit om wel back-ups te maken van bestanden die worden verkleind.

Ga nu terug naar het beginscherm van FileOptimizer door de opties te sluiten.
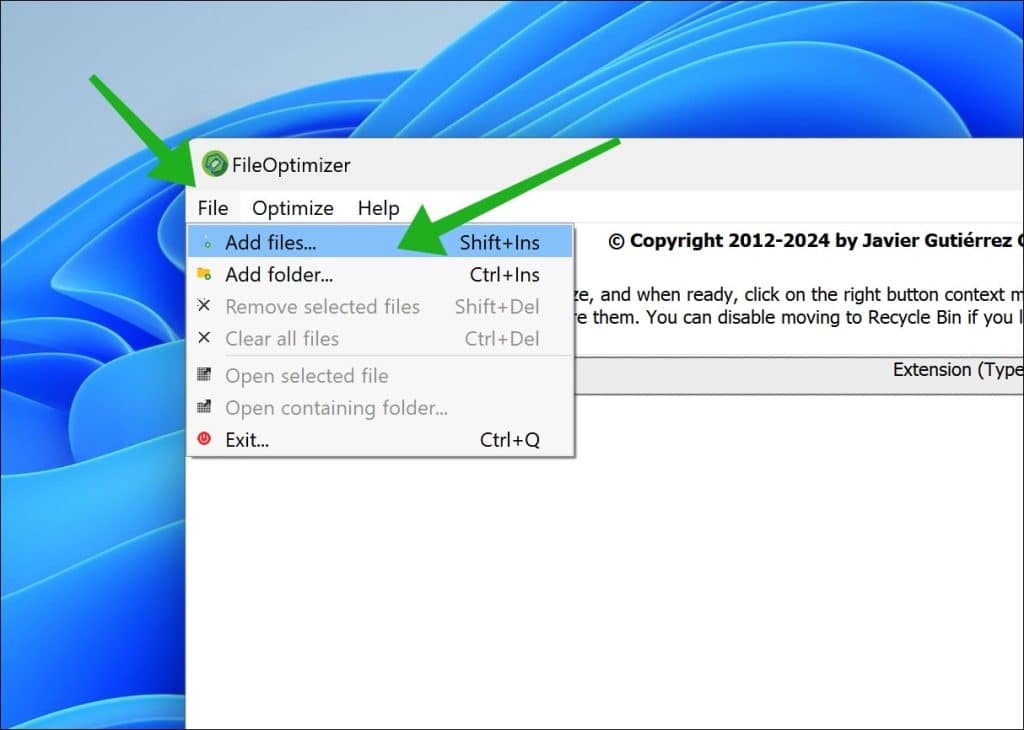
Klik in het menu op “File” en vervolgens op “Add files” of “Add folders”. Heeft u alle bestanden die u wilt verkleinen in een aparte map, selecteer dan “add folder”.
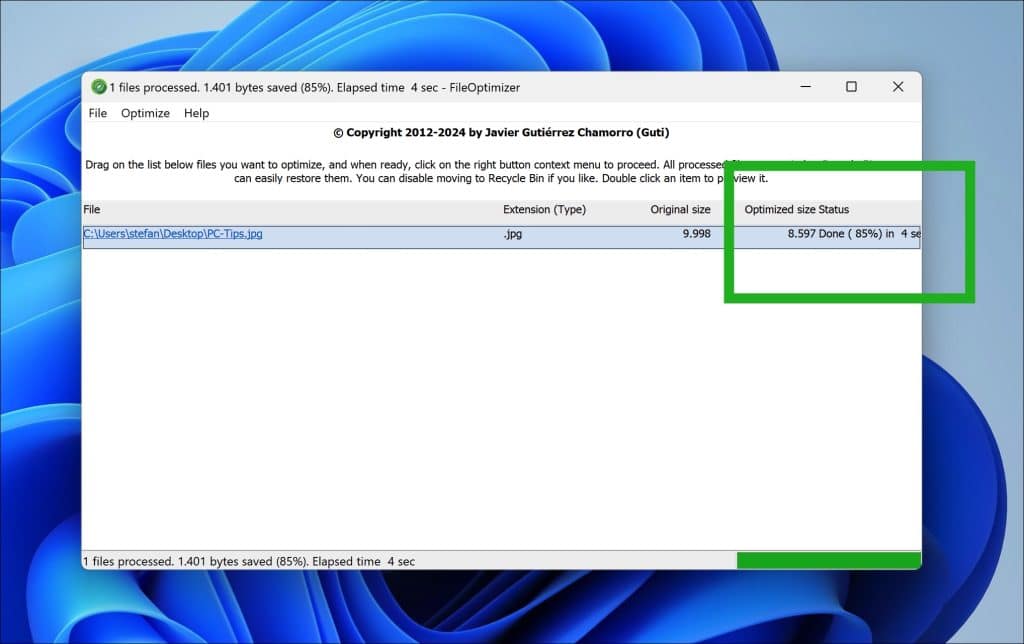
Selecteer nu het JPG-bestand en voeg het toe in de lijst van te optimaliseren bestanden. Klik met de rechtermuisknop ergens in de lijst en klik op “Optimize all files” om alle bestanden in deze lijst te verkleinen.
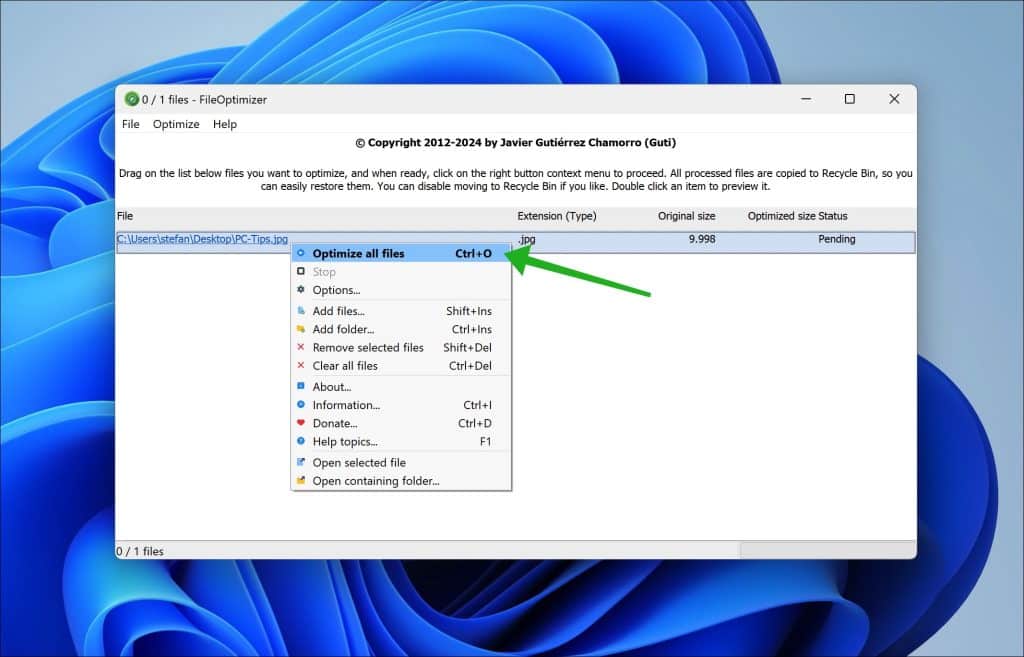
U ziet na het comprimeren van de JPG-bestanden meerdere kolommen in het venster. Zo ziet u het bestandstype, de originele grootte van het bestanden en de status. In de kolom status ziet u de uiteindelijke grootte van het JPG-bestand na de compressie.
Het JPG-bestand is nu verkleind zonder kwaliteitsverlies. Ik hoop u hiermee geholpen te hebben. Bedankt voor het lezen!
Lees meer:
Help mee
Mijn computertips zijn gratis en bedoeld om andere mensen te helpen. Door deze pc-tip te delen op een website of social media, helpt u mij meer mensen te bereiken.Overzicht met computertips
Bekijk ook mijn uitgebreide overzicht met praktische computertips, overzichtelijk gesorteerd per categorie.Computerhulp nodig?
Loopt u vast met uw pc, laptop of software? Stel uw vraag op ons computerforum en krijg gratis computerhulp van ervaren leden en experts.