
Als u nog over een printer beschikt die geen printer server functionaliteit heeft, dan dient u de printer te delen over het netwerk.
Hiervoor is printer deling beschikbaar in Windows 11. Deze functie helpt om de geïnstalleerde printer op uw Windows 11 PC te delen over het netwerk. Op deze manier kunnen andere computers, verbonden met hetzelfde netwerk, ook gebruikmaken van deze printer.
Als printer deling niet werkt, dan kunt u onderstaande stappen gebruiken om het probleem op te lossen.
Meld u dan aan voor onze nieuwsbrief.
Printer delen in Windows 11 werkt niet
Om te beginnen dient u ervoor te zorgen dat bestands- en printerdeling is ingeschakeld in Windows 11. Controleer ook het model printer en/of deze wordt ondersteund.
Windows firewall instellingen controleren
Als u bestands- en printer deling heeft ingeschakeld, controleer dan de Windows firewall instellingen. Schakel de firewall eerst een keer uit of geen de printer toegang via de firewall. Als u een beveiligingspakket heeft geïnstalleerd met firewall, schakel deze dan tijdelijk uit om te zien of hierna het printer deling probleem is opgelost.
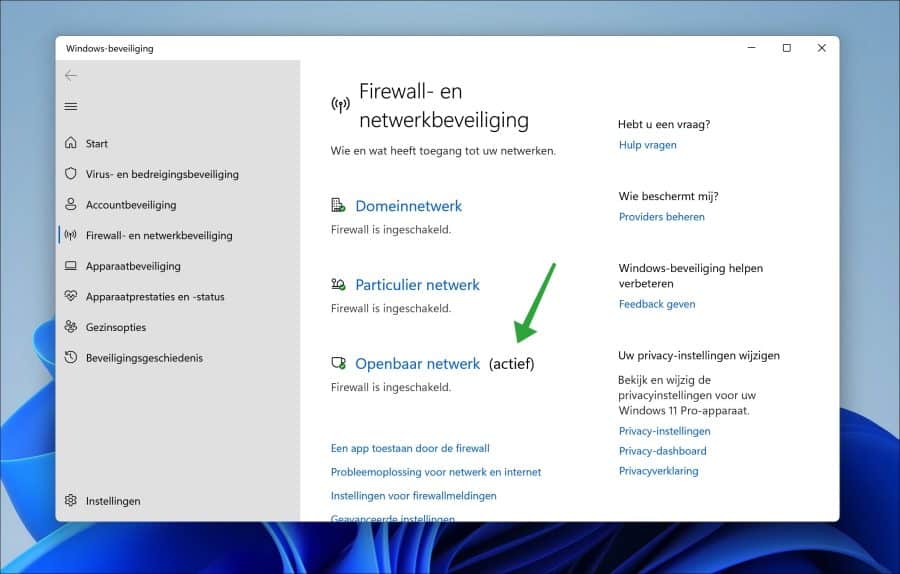
In de taakbalk, klik op zoeken. In het zoekvenster type: firewall en klik op het “Firewall- en netwerkbeveiliging” resultaat.
Klik vervolgens op het actieve profiel om de firewall instellingen te beheren.
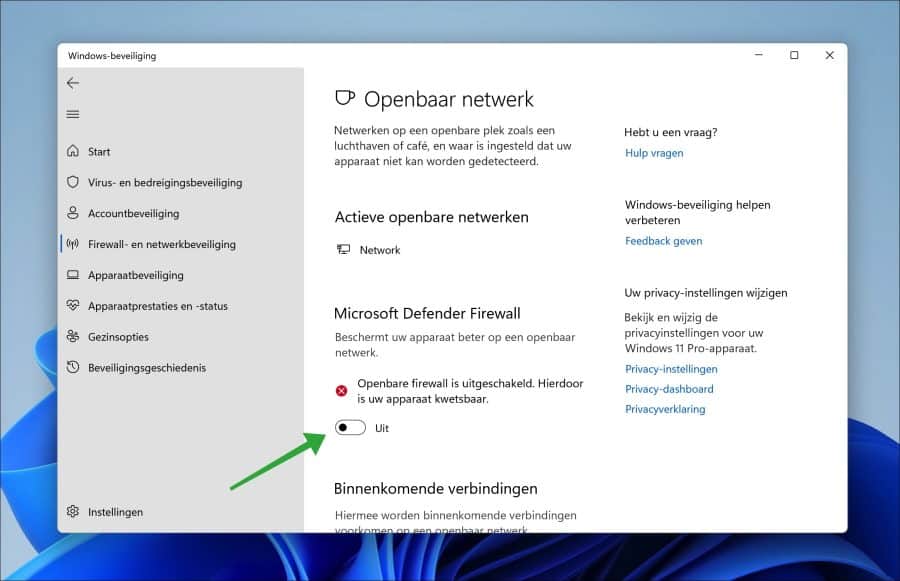
Schakel “Microsoft Defender firewall” uit. Controleer nu of de printer wel gevonden kan worden door andere netwerk clients.
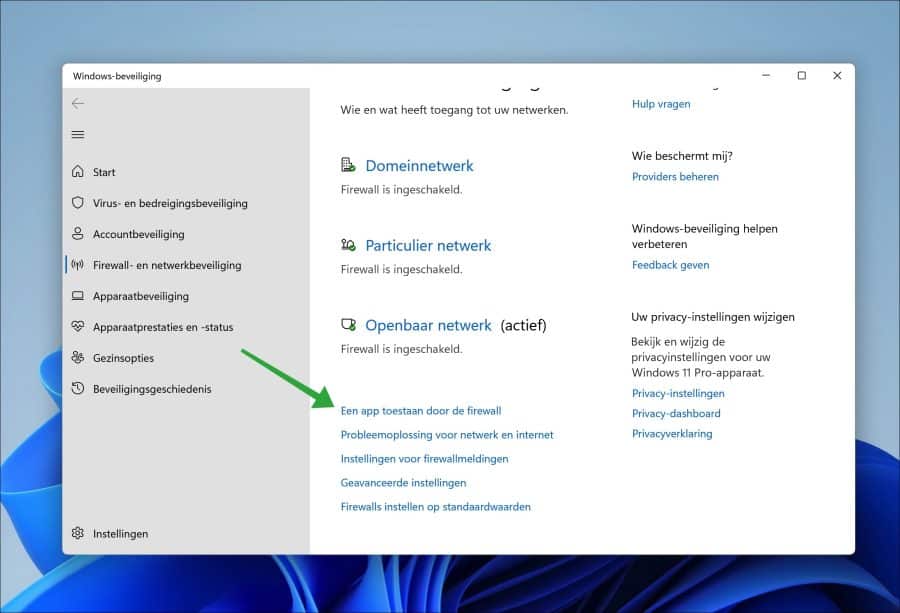
Als u liever de firewall ingeschakeld laat, dan kunt u bestands- en printerdeling ook toestaan in de firewall instellingen. Ik raad om deze ook te controleren.
Ga één stap terug en klik op “Een app toestaan door de firewall”.
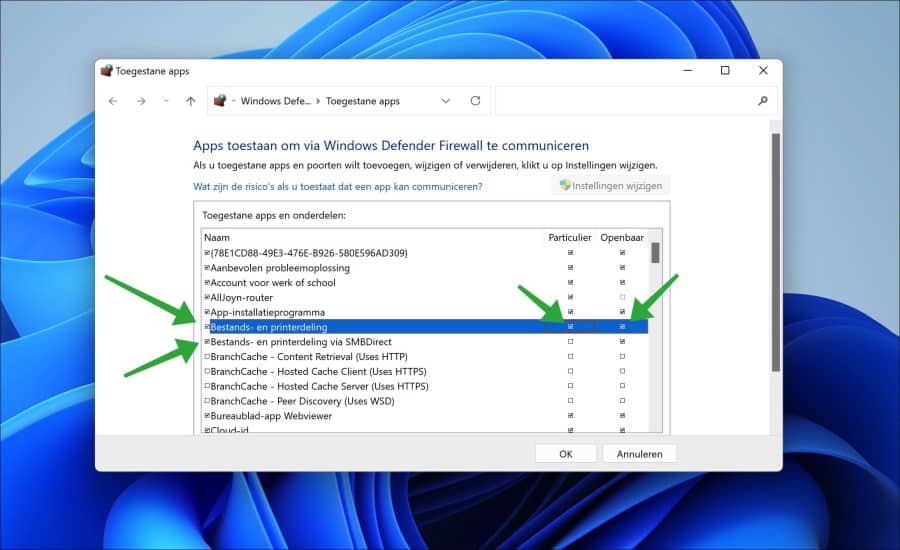
Zorg ervoor dat “Bestands- en printerdeling” is toegestaan in de firewall. Controleer of beide profielen zijn ingeschakeld.
Printerdeling oplossen via de probleemoplosser
In Windows 11 zijn verschillende probleemoplossers beschikbaar. Er is ook een probleemoplosser voor printerproblemen. Als er printerproblemen worden gedetecteerd zal Windows proberen deze automatisch op te lossen.
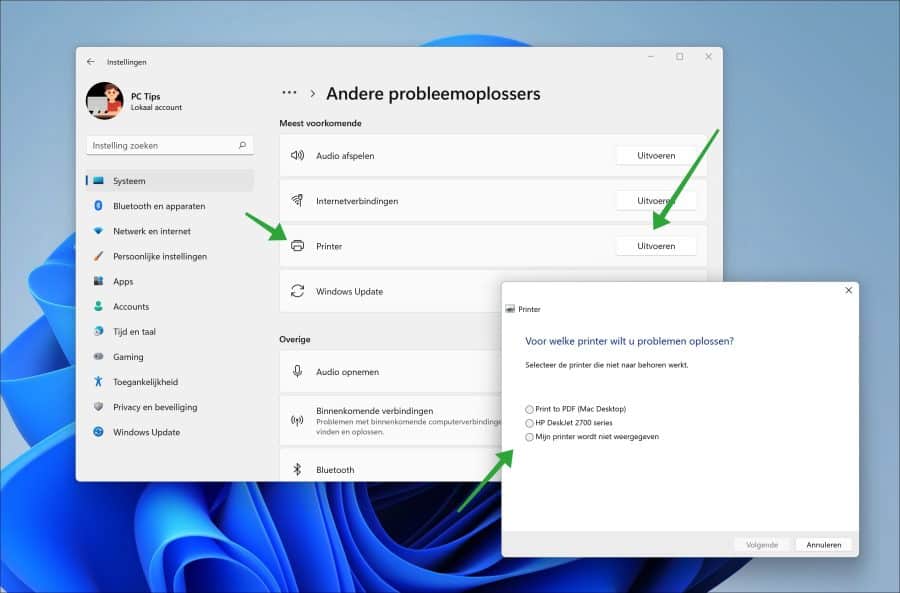
Klik op zoeken in de taakbalk. In het zoekvenster type: problemen oplossen. Klik op “Andere problemen oplossen” in het resultaat.
In de probleemoplossers klik naast “Printer” op “Uitvoeren” om de probleemoplosser te starten. Nadat Windows wat controles heeft uitgevoerd kunt u aangeven voor welke printer u problemen wilt oplossen.
Printerdelen opnieuw starten
Soms wil het uitschakelen en opnieuw inschakelen van functies nog wel eens helpen om problemen op te lossen. Zo raad ik aan om printerdeling uit te schakelen en hierna opnieuw in te schakelen. Controleer hierna of printerdeling nu wel werkt.
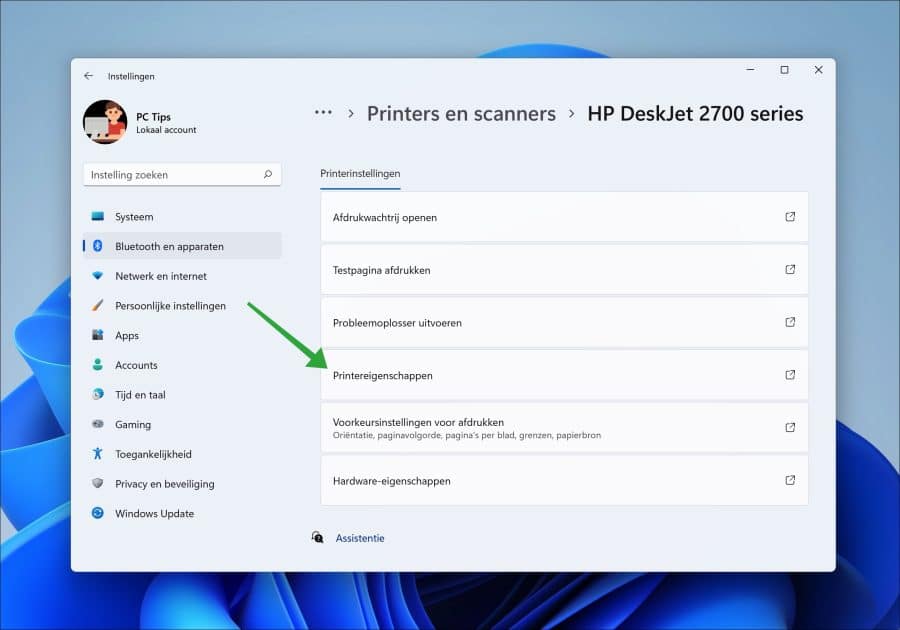
Open instellingen. Klik in de instellingen op “Bluetooth en apparaten” en hierna op “Printers en scanners”.
Klik op de printer die u wilt delen en hierna op “printer eigenschappen”.
Klik vervolgens op tabblad “Delen” en schakel “Deze printer delen” uit. Klik op OK.
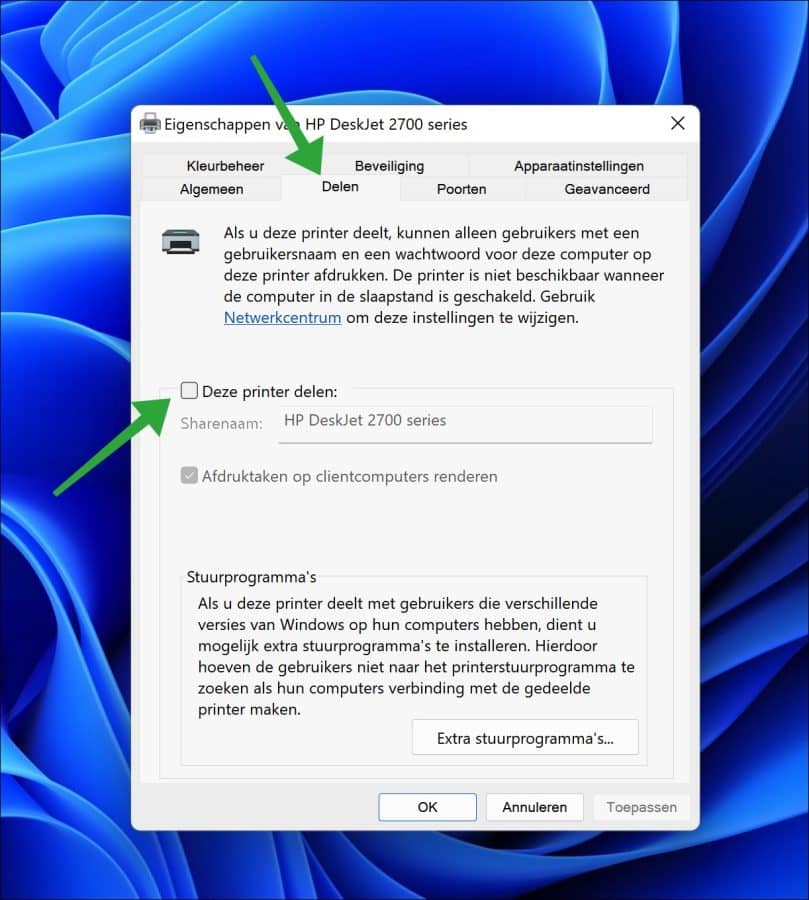
Open nu opnieuw de printereigenschappen, klik opnieuw op tabblad “Delen” en schakel de optie “Deze printer delen” in. Klik vervolgens op OK.

Controleer nu of u de gedeelde printer op het netwerk wel kunt gebruiken. Ik hoop u dat het probleem hiermee is opgelost. Bedankt voor het lezen!
Help mee
Mijn computertips zijn gratis en bedoeld om andere mensen te helpen. Door deze pc-tip te delen op een website of social media, helpt u mij meer mensen te bereiken.Overzicht met computertips
Bekijk ook mijn uitgebreide overzicht met praktische computertips, overzichtelijk gesorteerd per categorie.Computerhulp nodig?
Loopt u vast met uw pc, laptop of software? Stel uw vraag op ons computerforum en krijg gratis computerhulp van ervaren leden en experts.