
Apple heeft tijdens WWDC 2023 de laatste hand gelegd aan macOS Sonoma en heeft nu de openbare bètaversie beschikbaar gesteld om te testen aan bètatesters.
Als u deelneemt aan het bètaprogramma van Apple, heeft u de exclusieve mogelijkheid om macOS Sonoma uit te proberen en de nieuwe functies te ontdekken voordat de officiële openbare release plaatsvindt.
In dit artikel leg ik u stap voor stap uit hoe u macOS Sonoma Public Beta op uw Mac kunt installeren.
macOS 14 Sonoma publieke BETA installeren
Om erachter te komen of uw Mac macOS Sonoma Public Beta kan installeren, is het cruciaal om te controleren op compatibiliteit. Hieronder volgt een lijst met alle ondersteunde Mac modellen die macOS Sonoma kunnen draaien.
macOS Sonoma compatibiliteit:
macOS Sonoma compatibiliteitslijst:
- iMac 2019 en hoger
- iMac Pro 2017 en hoger
- MacBook Air 2018 en hoger
- MacBook Pro 2018 en hoger
- Mac Pro 2019 en hoger
- Mac Studio 2022 en hoger
- Mac Mini 2018 en later
macOS Sonoma beta installeren
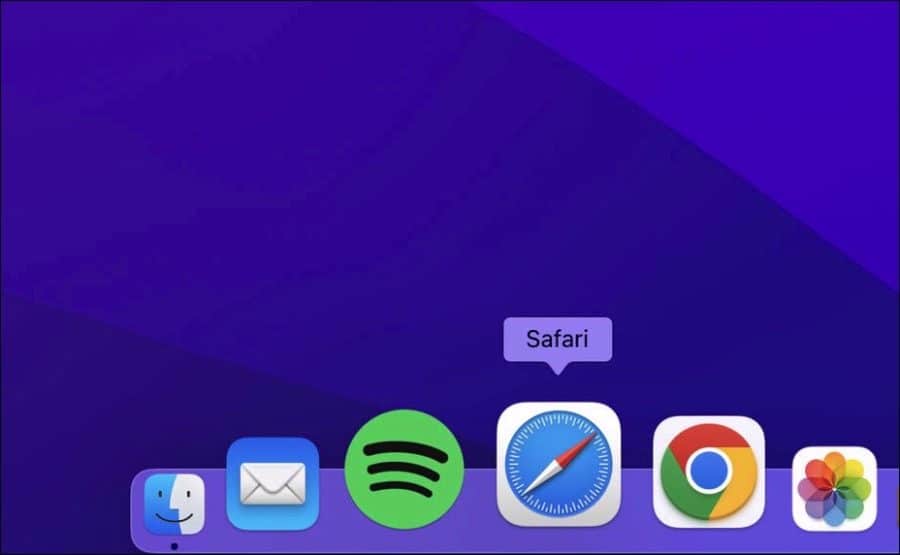
Om te beginnen opent u de Safari browser.
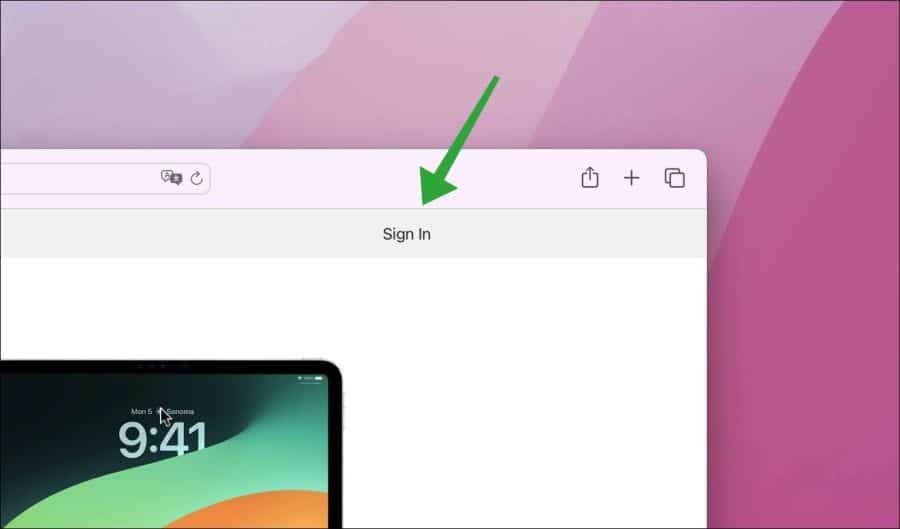
Als u al eerder deelgenomen heeft aan het Beta programma van Apple dan klikt u rechtsbovenin op “Sign in”.
Als u nog nooit heeft deelgenomen aan het beta programma dan klikt u onderin op “Sign up” en meldt u zich aan met uw Apple ID.

Meldt u vervolgens aan bij het Beta programma door in te loggen met uw Apple ID.

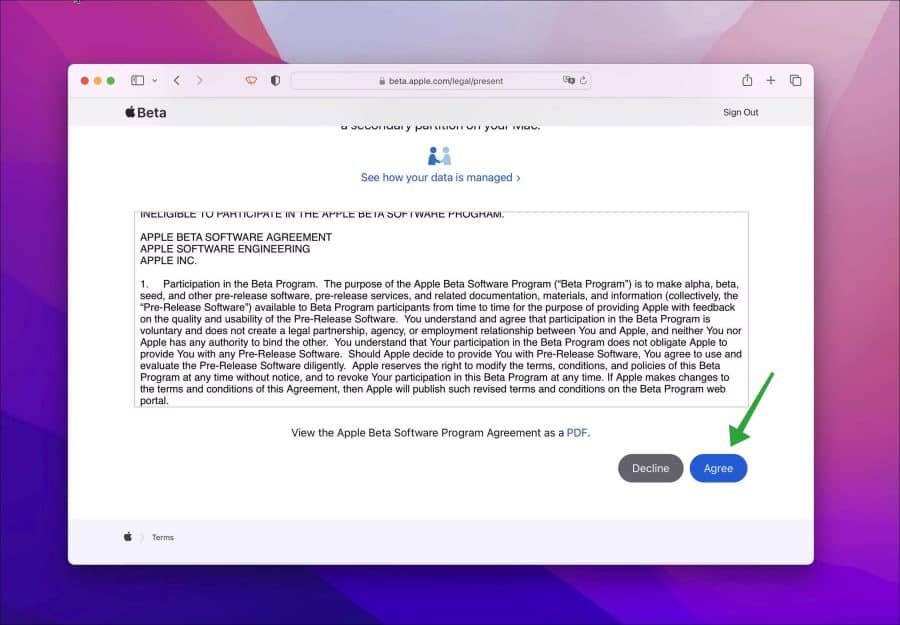
Accepteer de voorwaarden voor het Apple Beta programma.
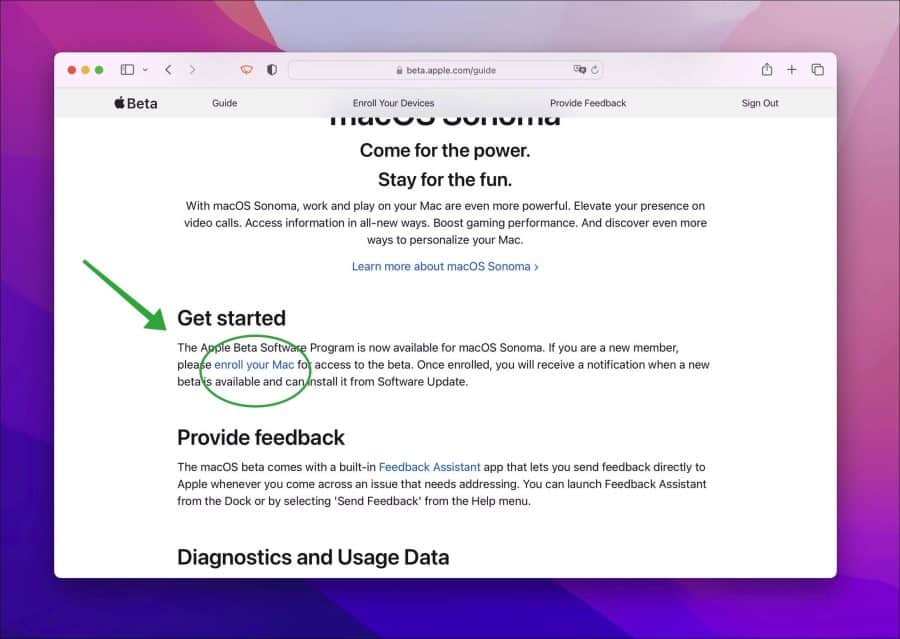
U dient nu uw apparaat aan te melden bij het Beta programma. Klik op tabblad “macOS” en klik onderin het hoofdstuk “Get Started” op “enroll your device”.
U kunt nu de publieke beta van Sonoma op twee manieren installeren. De eerste manier is via “Software update”. Dit kunt u uitvoeren als macOS Ventura 13.4. heeft geïnstalleerd.
Klik op “Open Software update”.
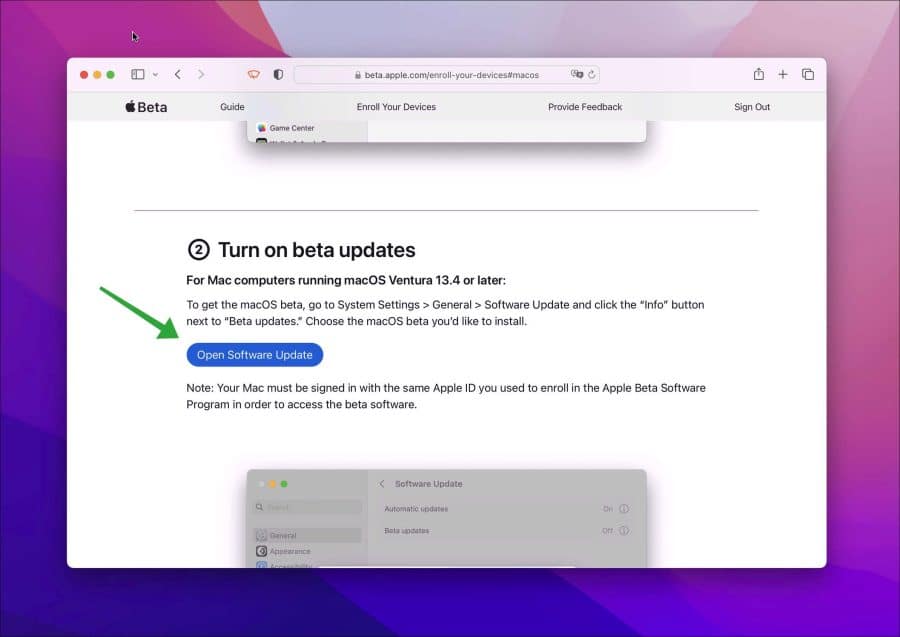
Klik op “Beta-updates” en wijzig naar “aan”. Selecteer nu “macOS Sonoma public beta” uit de lijst. Klik vervolgens op “gereed” om door te gaan.

U kunt nu macOS Sonoma installeren.
Als u een eerdere versie van macOS Ventura 13.4 heeft geïnstalleerd, dan kunt u gebruikmaken van het macOS beta hulpmiddel om uw Mac aan te melden bij het beta programma.

Ik hoop u hiermee geïnformeerd te hebben. Bedankt voor het lezen!
❤️ Help mee en deel
Voordat u verdergaat, zou ik het waarderen als u overweegt mijn werk te steunen. In tegenstelling tot veel grote websites is er op PC Tips geen betaalmuur die lezers blokkeert, maar daardoor is uw steun des te belangrijker.Als u onafhankelijke initiatieven zoals deze waardeert, overweeg dan alstublieft om mij te steunen, zodat ik kan blijven doen wat ik met plezier doe. Deel mijn website PC Tips op andere websites, social media of binnen uw eigen netwerk. Hartelijk dank.
🙂 Overzicht met computertips
Bekijk ook mijn uitgebreide overzicht met praktische computertips, overzichtelijk gesorteerd per categorie.