

Nowadays, the Internet is flooded with various dangerous websites or websites with offensive explicit content. Most parents want to prevent children from seeing this offensive content. To keep children from objectionable content, there are several options to block websites on a Mac, iPhone, iPad or iPod. Some employers block social media platforms for healthcare to prevent their users from becoming inactive by spending much of the day on Facebook, Twitter, Instagram or others. The easiest way to block content on a Mac is to enable a parent or employee account on a Mac, but this is not always possible because restrictions are placed on the account that may cause some Mac software to no longer function.
This article provides two options for blocking websites on a Mac and one option for blocking websites on an iPad, iPhone, or even an iPod.
Block websites via parental controls on a Mac
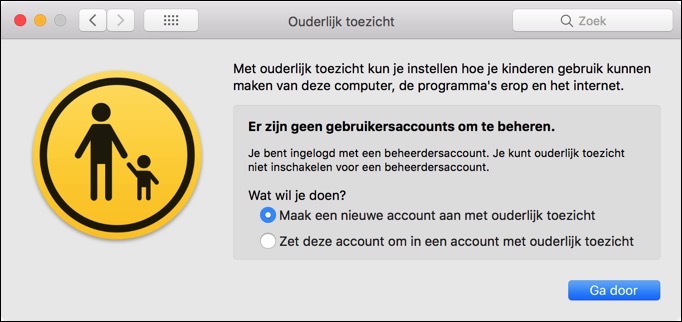
Let's start with the easiest method, setting parental controls for an existing account or creating a new restricted account. First, open the System Preferences on your Mac and then choose Parental Controls. If you don't have an account without administrator rights, Parental Controls gives you the option to create a new limited user account or convert your existing administrator account.
It is recommended that you create a new account for your children, so select Create a new account with parental controls and click Continue. Enter your administrator password to allow changes to the Parental Controls settings.
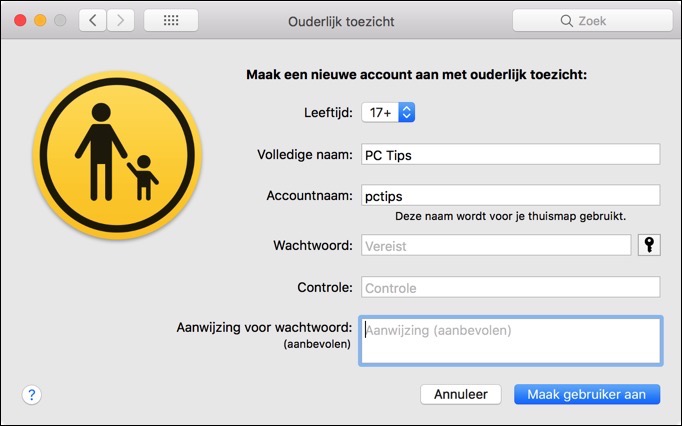
In the next window, fill the window with details for the new account, keeping in mind that the password “hint” can be very useful if you ever forget the password.
Once you have created a new user account, select it from the list on the left side of the window, there you can set a restriction on applications available for this specific account.
To block websites, choose Web tab or Content in previous versions of mac operating system, and there you will see three options.
- Allow unrestricted access to websites
- Restrict access to explicit websites. If you click on the Customize button you can change the default list Apple applies when modifying explicit websites. You can add exceptions or add websites that are not yet blocked to the block list.
- Only allow access to these websites
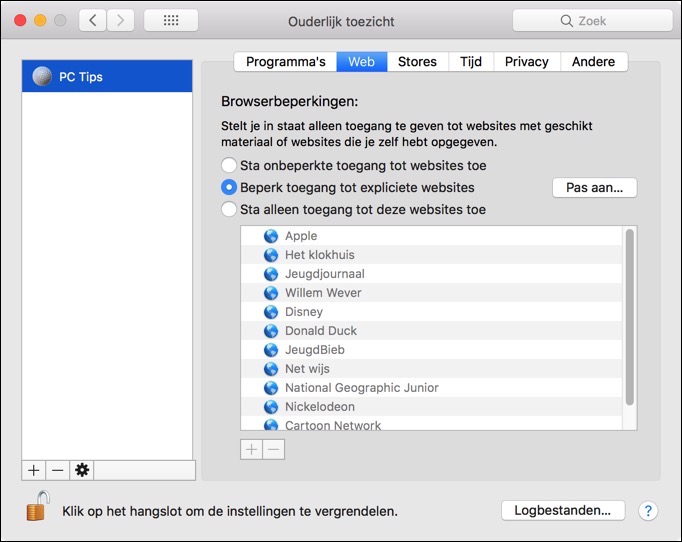
If you press the Log Files… button you will find the latest activity of this specific user account related to websites. You can filter by selecting the period, instead of 3 months a year for example.

Block websites on a Mac with the HOSTS file
This method requires the use of terminal with some specific commands. The advantage of this hosts file method is that you can also block websites for Administrators. To get started, launch the Mac Terminal application, press the CMD button and the spacebar on the keyboard at the same time and type Terminal, or go to the Utilities folder under Applications using the Finder.
To avoid unexpected scenarios before you start modifying the hosts file, make a backup copy of the hosts file. The copy will help restore the hosts file to the previous version if something goes wrong. Enter the following commands and press Enter.
sudo /bin/cp /etc/hosts /etc/hosts_backupfile
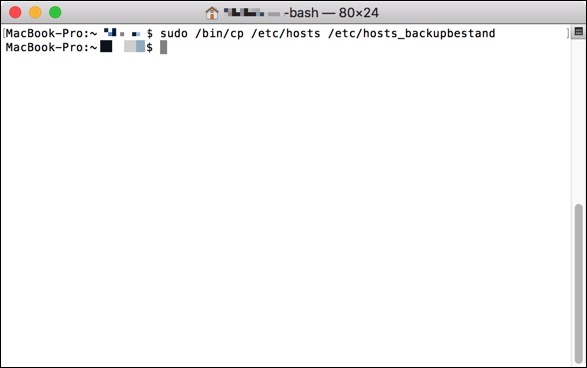
The backup has now been created under the folder /etc/ with the name: hosts_backup file. Now type the following command in the Terminal window.
sudo nano -e /etc/hosts
The nano editor now opens. The nano editor is a command-line version of the text editor and is necessary to edit the HOSTS file on a Mac. There are also alternatives such as editing the HOSTS file with the text editor or vi, another text editor in Mac OS, but these sometimes give permission error messages if you want to save the HOSTS file.
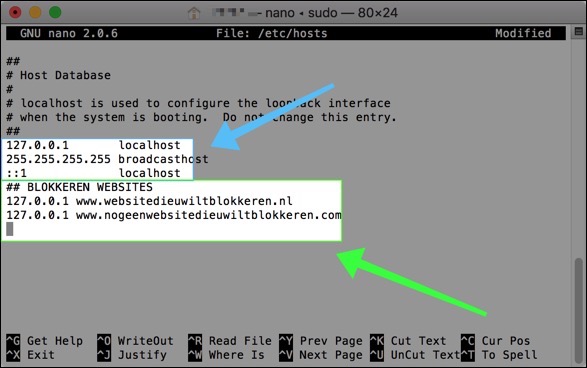
Usually the hosts file contains a number of IP addresses with a comment block in front of them. You can recognize a comment block by the “#” sign. In the example above I have indicated what is often included as standard, the blue arrow and blue block. And the green is what you can add according to your wishes. You navigate with the arrow keys up or down to block a new set of websites via the hosts file on a Mac.
It is advisable to add ## comments so that you can remember later what it is and why you blocked these pages. You always start with the IP address 127.0.0.1. this is localhost, in other words an IP address that points back to your Mac. As long as you don't run any websites on your Mac yourself, it is good to refer to them. Then a space and the URL. Please note, http or https are not required.
It is important to know that if you block a website, you also block all variants of that website. In this example I have taken the website www.websitedieuwiltblokeren.nl. If this URL also has a subdomain such asmobiel.websitedieuwiltblokeren.nl then you can also add this to the HOSTS file on a new line. Do not copy and paste URLs into the hosts file, type them. If you copy the URLs and paste them back into the nano window, characters may be pasted that are not known in the hosts file and that you do not see.
To block websites via an IPv6 IP address, replace the local IP 127.0.0.1 IP address with the following IP address, fe80::1%lo0, and then type the URL. Most websites do not use IPv6 connections, but there are a few that do, for example Facebook.
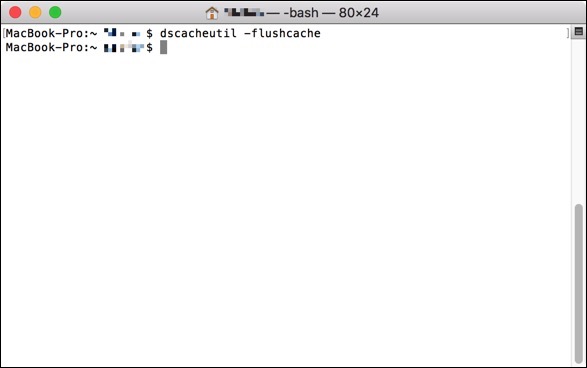
After adding websites to the HOSTS file you need to save the HOSTS file, press CTRL+O then enter and CTRL+X and enter again, close the nano window. After saving, you need to clear the DNS cache to immediately block the blocked websites on Mac.
dscacheutil -flushcache
You can clear the DNS cache more easily with CleanMyMac. This maintenance program for Mac completely cleans your Mac and keeps track of maintenance tasks without user interaction. Read more about it clean up and speed up your Mac.
Block websites on an iPad or iPhone
You can view websites on mobile Apple easily block devices such as an iPad or iPhone when you use the Safari web browser. You don't need to use third-party applications to block certain websites or all websites.
iPads or iPhones contain many similar options to the Parental Controls program on a Mac. There are options to block all websites added to a blacklist, also you can choose to block all websites except one or a few. In other words, you can choose to create a list of websites that are only allowed.
First, open the settings on an iPhone, iPad or iPod and tap General. Find and select the Restrictions option. If this feature is disabled, tap Enable restrictions. The iPhone, iPad or iPod now asks you to enter a code. Set a code that only you know and don't use the same code you use to get your Apple to unlock devices after a restart. Repeat the code again to confirm.
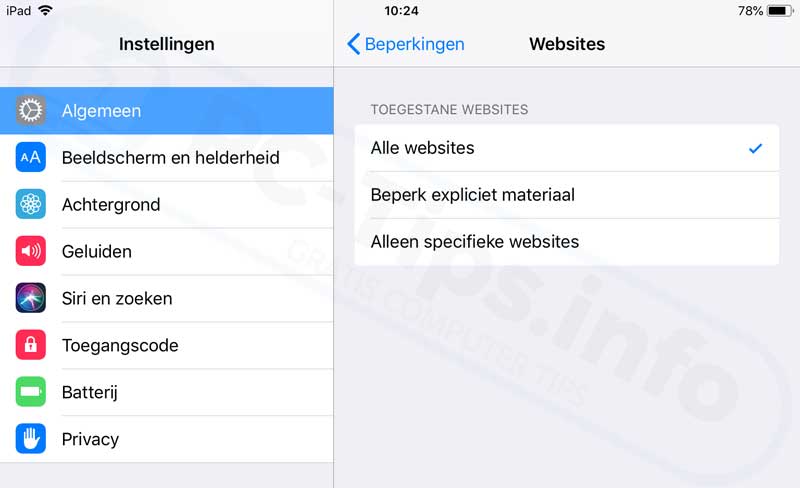
Click on Websites from the Allowed Material menu. You now have the option to enable the following three website settings.
- All websites
- Limit explicit material
- Only specific websites
If you want to prevent children from accessing explicit websites, which is recommended. Then enable the Limit explicit material option. You can then still block a website by entering a website under the Never allow option.
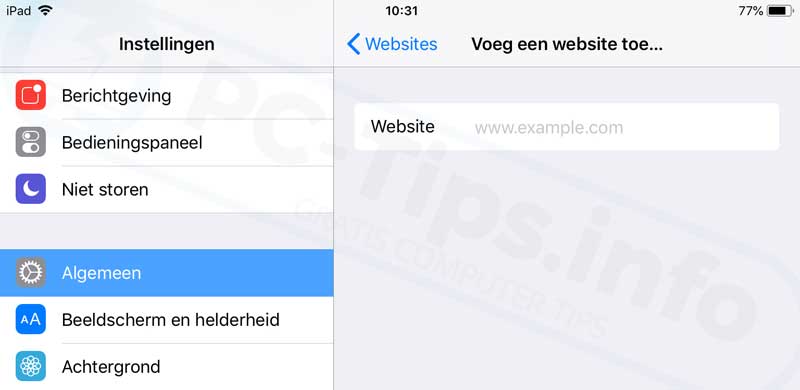
This way you can also add a website under the Only Specific Websites option. Website blocking can be configured according to your wishes. Hopefully this makes it clear how to block a website or websites on a Mac or iPad, iPhone or even an iPod!