

In Windows 11, you can create standard or administrator accounts on your computer. Administrator accounts have complete control over the computer, allowing them to install programs, uninstall programs, create new user accounts, change or delete user accounts, and make other changes to the computer.
Standard user accounts, on the other hand, have limited rights and access to the computer, which prevents them from installing programs and changing general settings on the computer.
However, you can change the user account type on your computer from standard to administrator or from administrator to standard at any time.
Change account type in Windows 11
Right-click on the start button. Click Run in the menu. In the run window type: control. Open it control panel.
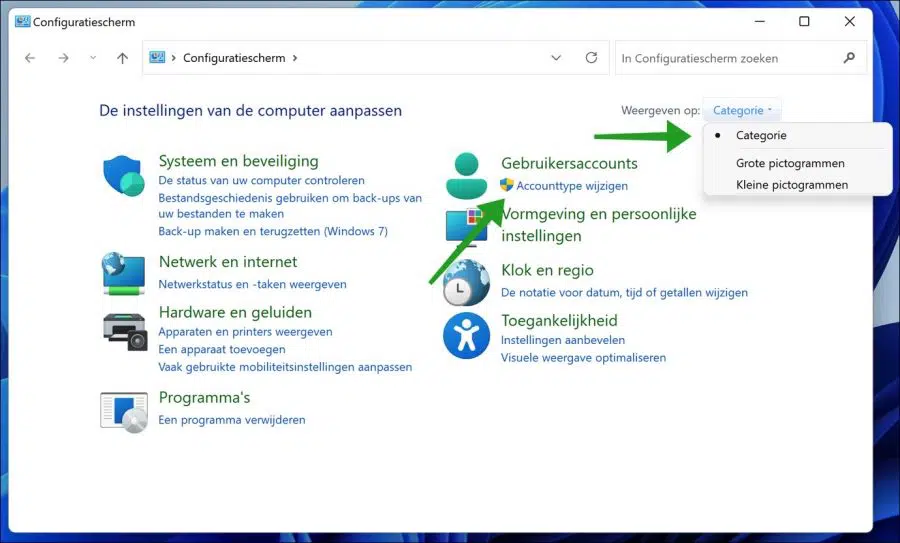
Change “View by:” to “Category”. Then click on “Change account type” under “User accounts”.
Double-click on the account whose account type you want to change.

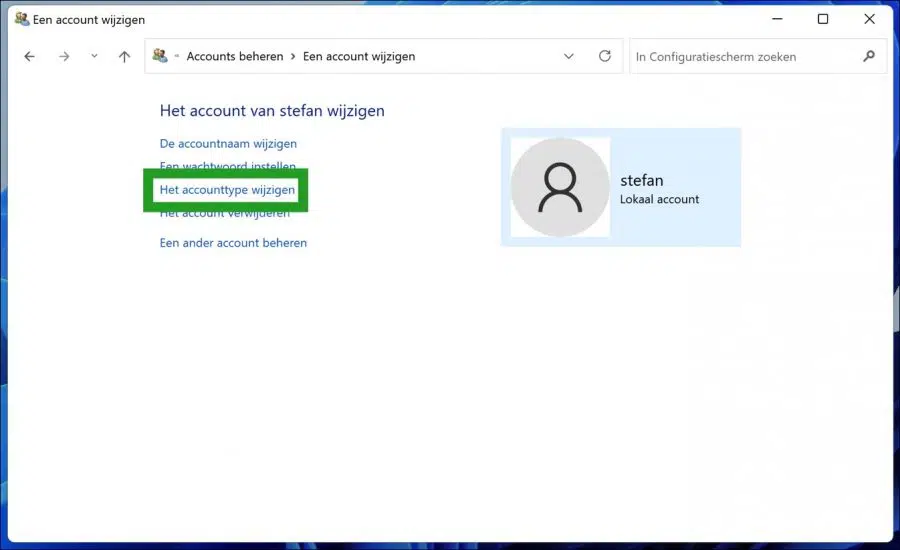
Then click on “Change the account type”.
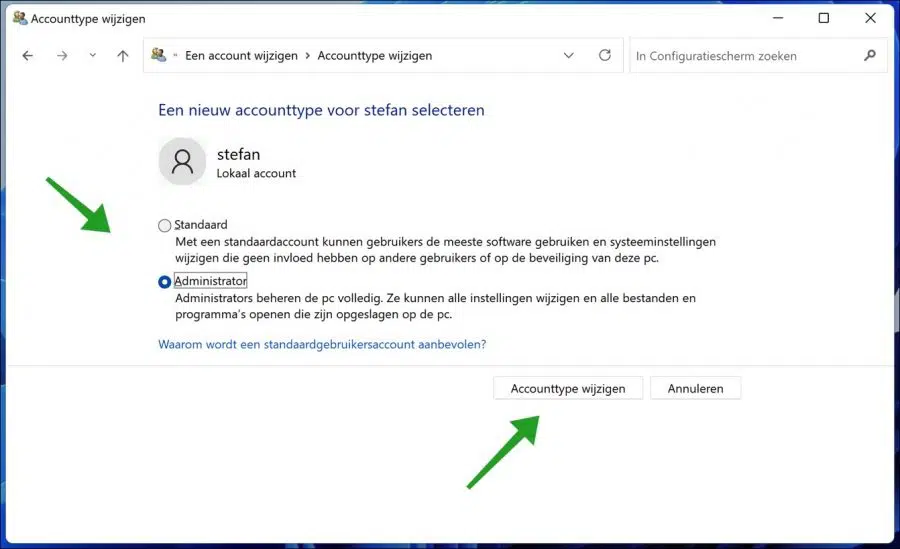
Then select the desired account type for this user.
A standard account allows users to use most software and change system settings that do not affect other users or the security of this PC.
Administrators fully manage the PC. They can change all settings and open all files and programs stored on this PC.
Click Change account type to confirm. The adjustment to the account type is immediately active.
Lees meer:
- Add local user in Windows 11.
- Disable User Account Control (UAC) in Windows 11.
- Change user account in Windows 10.
- Windows 11 auto lock after inactivity.
I hope this helped you. Thank you for reading!
I already have administrator, still can't access my external hard drive, access denied
Hello, that could be permissions, but probably not administrator problems. Try the following.
Go to This PC. Select the inaccessible drive and right-click on it. In the list, left-click on “Properties” > “Security” > “Edit”.
Then a new window will appear “Permissions for a new volume”, click the “Add” button. Now you need to add a new user, which is the user account you are logged into Windows with. Click OK.
Go to the Permissions section. Check the box on the “Full Control” tab. Click OK.
In addition, sometimes there is a physical button on the external hard drive to write-protect the drive. Also check this. Finally, connect the external hard drive to another operating system, a Mac computer or Linux, so that you may be able to access the data. Good luck! Greetings, Stefan