

In Windows 11 it has become even easier to manage icons placed on the desktop.
There are a number of image options added that allow you to manage the icons on the desktop. This way you can change the icons on the desktop to large, normal or small icons.
You can also display the icons on a grid, automatically arrange the icons on the desktop, and even hide them.
Manage desktop icons in Windows 11
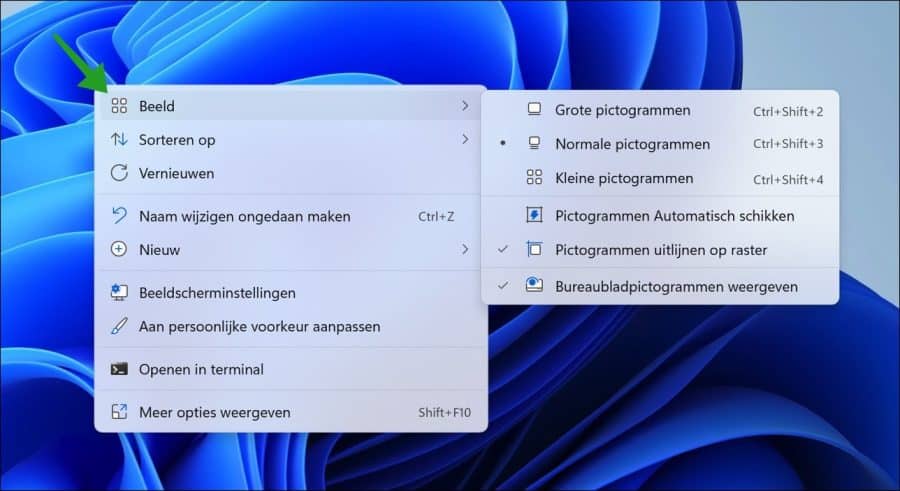
To display the options to manage the desktop icons, right-click on a free space on the desktop. In the menu, click on “View”. You will now see the desktop icon options.
Change size of desktop icons
By making a selection you can change the size of the icons. You can choose from large, normal or small icons. There are also three key combinations.
To display large desktop icons on the desktop, press CTRL + SHIFT + 2. For normal desktop icons, press CTRL + SHIFT + 3 and for small desktop icons, press CTRL + SHIFT + 4.
To determine a size yourself, hold down the CTRL key and scroll with the middle mouse wheel. You can now change the desktop icons to the desired size.
Arrange desktop icons automatically
If you regularly add new desktop icons, it may be useful to let Windows 11 arrange the desktop icons itself. To use this option, enable “Automatically arrange icons”.

Every time you add a desktop icon, this icon is automatically applied to the already available grid. Alignment yourself is therefore no longer necessary.
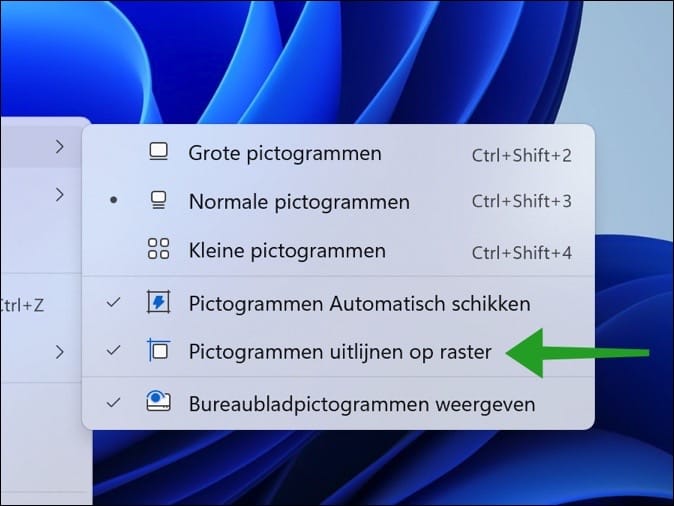
Align desktop icons to grid
You can place desktop icons wherever you want. However, if you enable auto-snap to grid, all icons will be placed in an invisible grid. The desktop icons then line up both horizontally and vertically in a straight line on an invisible grid.
Show or hide desktop icons
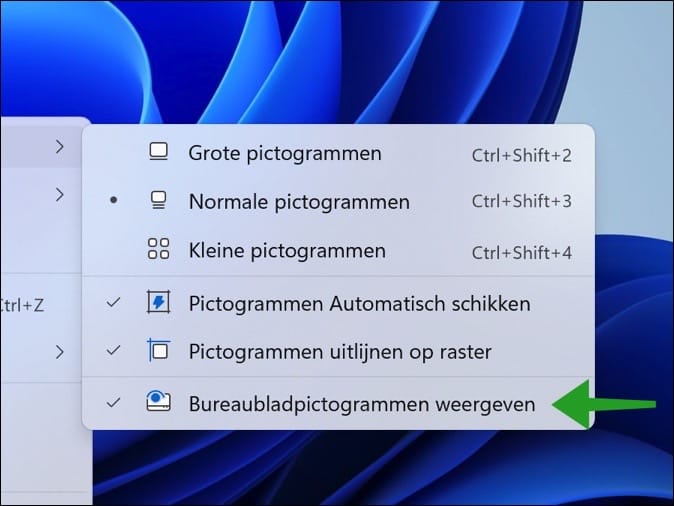
If you like a clear desktop, you can use the desktop icons hide. To do this, right-click on free space on the desktop. In the menu, click on “View” and then on “Show desktop icons”.
I hope this helped you. Thank you for reading!
Also read: