

Most Windows users have multiple network connections configured on the computer. In most cases it concerns an Ethernet (cable connection) and Wi-Fi (wireless connection).
If multiple network connections are configured and used in Windows, Windows itself determines the priority of these connections. In the example above, Windows will always prefer the Ethernet – cable connection – over the wireless one wifi connection. This is because automatic priority is enabled in the advanced network settings of both adapters.
By automatically using a priority for network connections, Windows prevents network conflicts from arising. This setting is called “Automatic metric” and can be found in the advanced tcp/ip settings of each installed network adapter.
By disabling the “Automatic metric” setting, you can set a priority for the network adapter yourself. This way you can decide for yourself which network connection should be used first.
Set network connections priority in Windows 11 or Windows 10
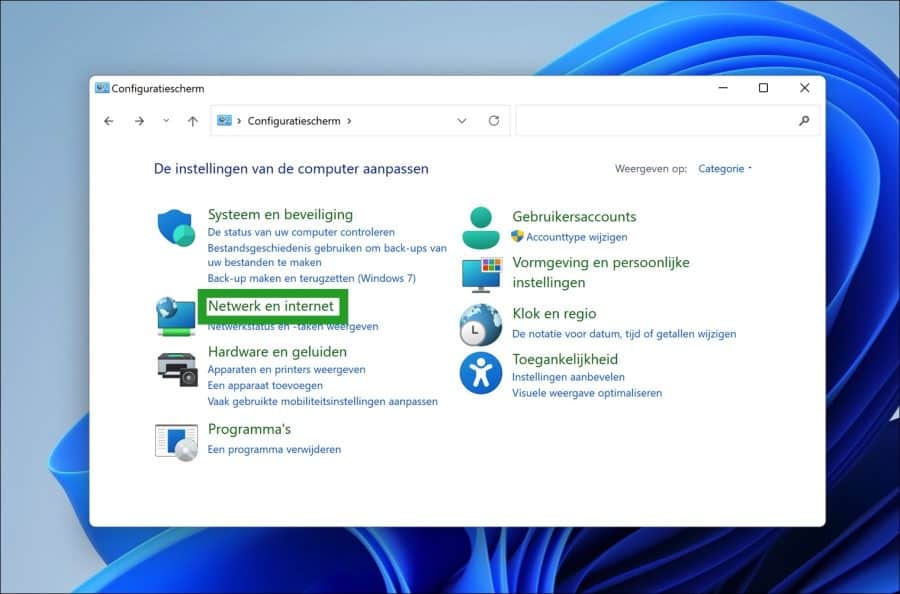
To begin open the Control Panel. In the control panel, click on “Network and Internet”.
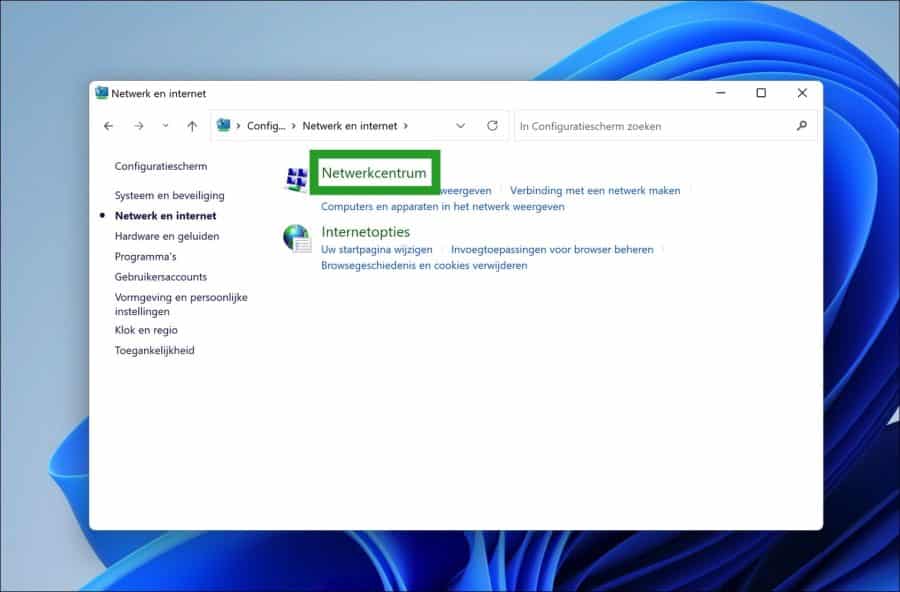
In the “Network and Internet” settings, then click on “Network and Sharing Center”.
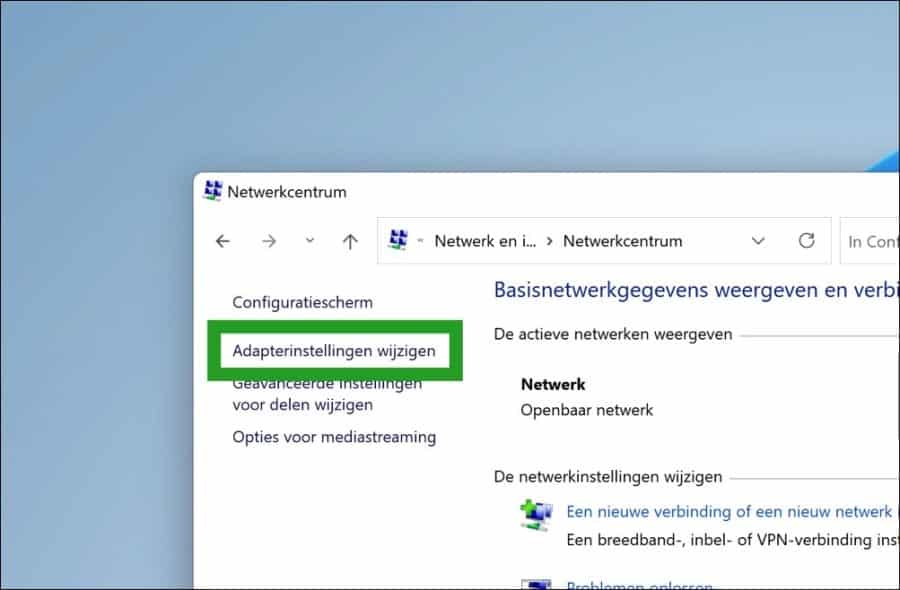
In the left menu, click on “Change adapter settings”.
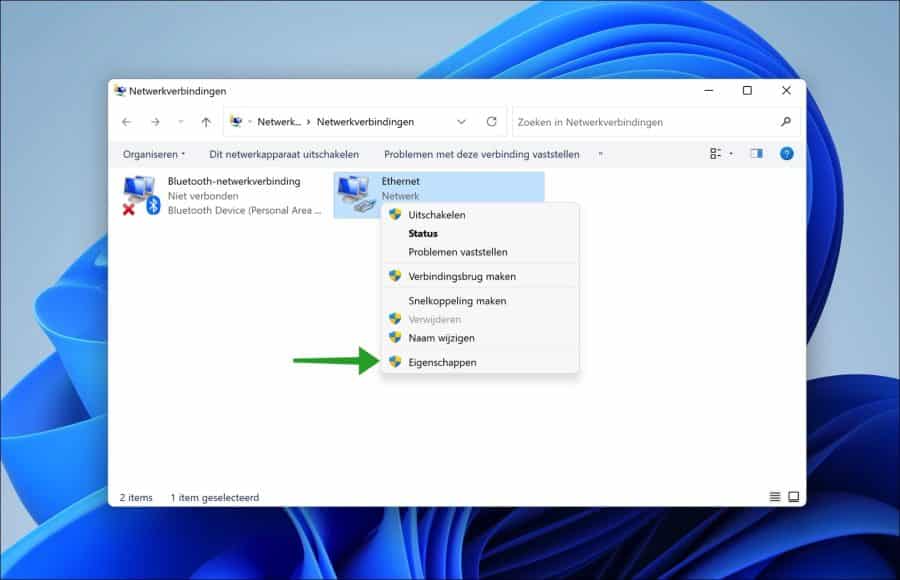
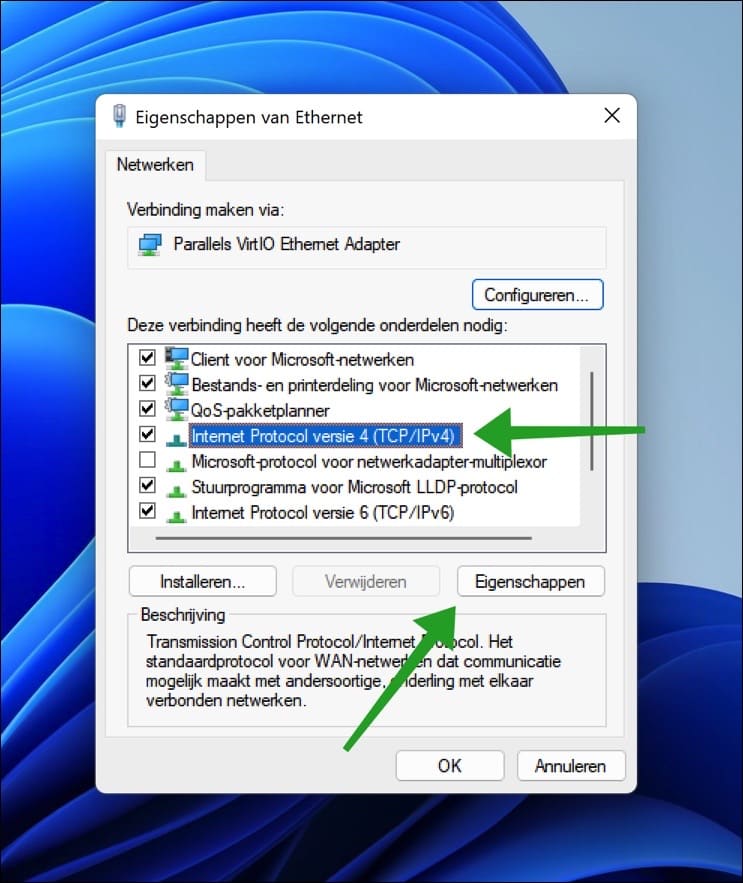
Right-click on the network adapter whose network priority you want to change. In the menu click on “Properties”.
You only need to change the “Interfacemetric” priority for the network adapter you want to prioritize. This network adapter will then be chosen over the other network adapters.
Select “Internet Protocol version 4 (TCP/IPv4) and click the “Properties” button.
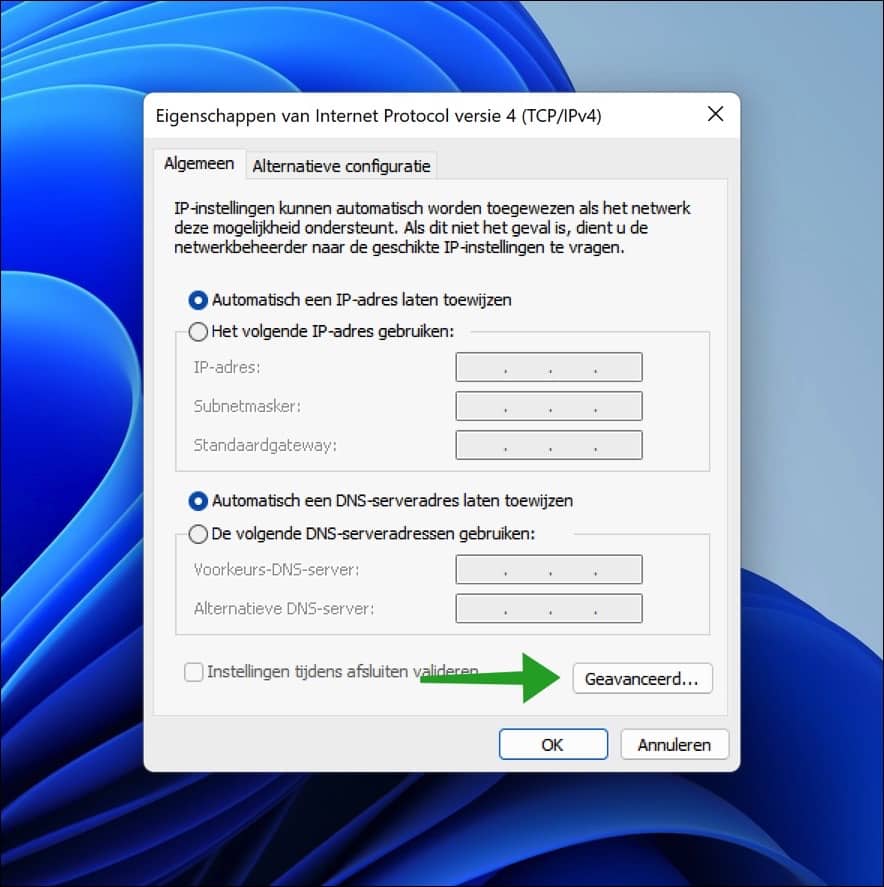
In the “General” tab, click on the “Advanced” button at the bottom.
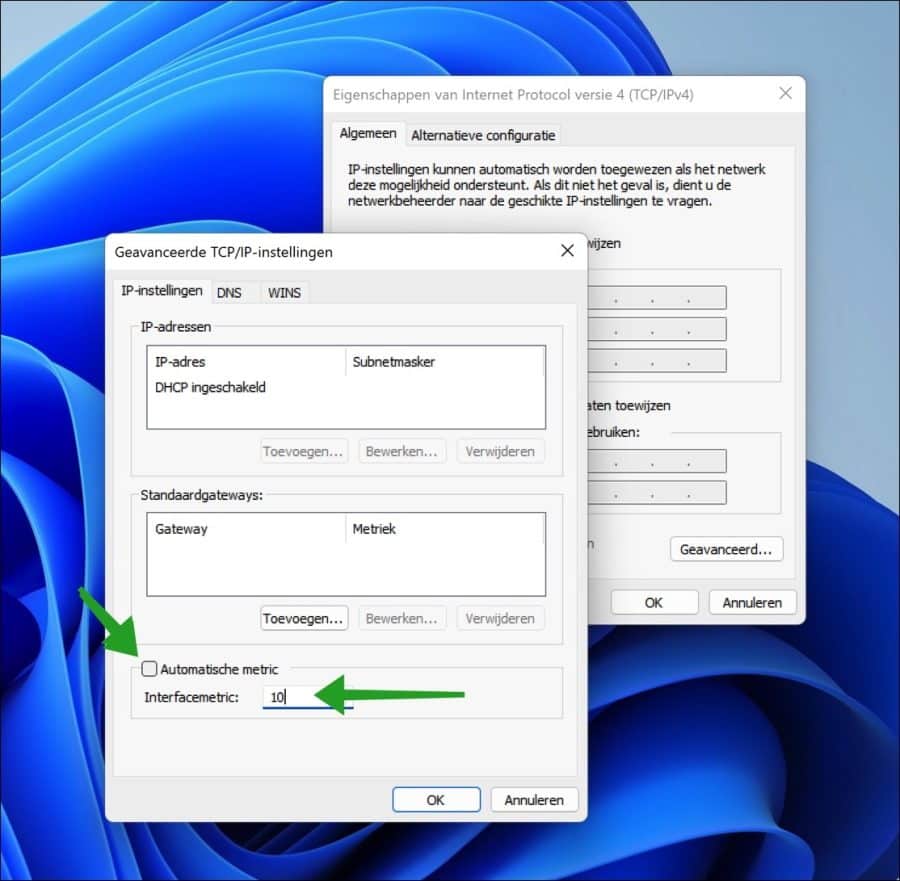
In the “IP settings” tab, disable the “Automatic metric” option and enter a number from 0 to 15 to change the “Interface metric”. The number 10 is a good starting point. The higher the number, the lower the network priority.
Entering the number 10 gives this network adapter priority over all other installed network adapters.
Restart your computer to confirm the network priority for this network adapter. There is also another way to change the “Interfacemetric” to a network adapter and that is via PowerShell. This is suitable for network administrators or those who are technically savvy.
Read here how to use the You can assign network priority to a network adapter via PowerShell. I hope this helped you. Thank you for reading!
Also read: disable wifi auto connect.