

Skype is used all over the world to connect with other Skype users via video.
It is pretty much the most famous app for video calling along with Zoom. It is therefore available for various operating systems, including Windows 11. When the Skype camera does not work, this is an annoying problem.
The specific reason why the Skype camera does not work cannot be immediately stated. It could be due to several reasons, that's why I created this guide and recommend that you follow all the steps to check if this fixes the problem.
Skype camera not working in Windows 11
Make sure the camera is connected correctly
Let's start with the hardware. This is the room itself including all connections. Make sure that the Skype camera is properly connected, which means that the camera is in the correct port, is properly pressed into the port and that the USB port works. You can possibly try connecting the Skype camera to a different USB port.
Check physical buttons on the camera
Once you are sure that all ports are working properly and that the camera is connected to the correct port, check any physical buttons on the camera. Check whether the camera is on and whether there is a cover for the camera lens and whether there is an on/off switch on the cable. Make sure the camera has power and is turned on.
Is the camera suitable for Skype?
To ensure that the camera also works with the Skype app, as not all cameras are suitable for Skype, you should test this. You can test this by opening another app on your Windows 11 computer and using the camera. If an image is displayed, the camera is also suitable for Skype.
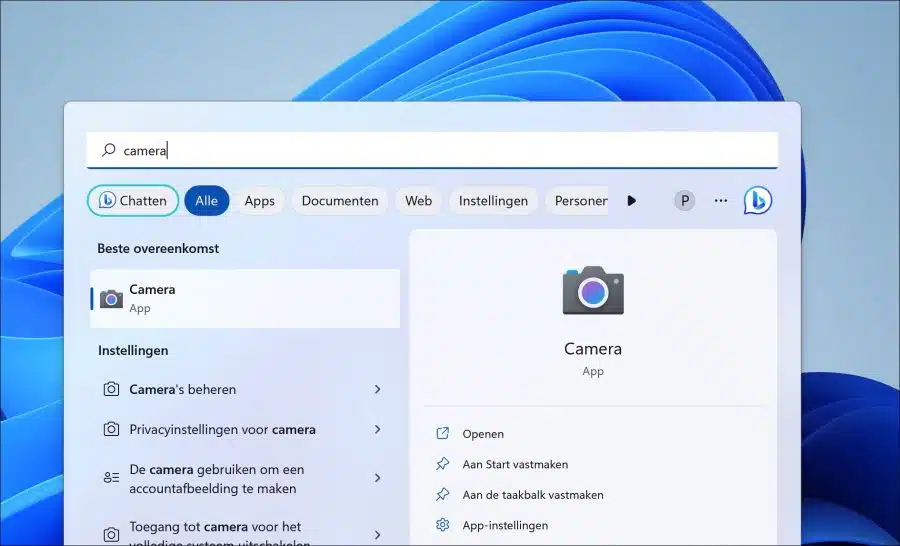
You can try the “Camera” app for this. Click Search in the taskbar. Search for “Camera” and open the app.
Have you already restarted the PC?
Now that we have mainly checked hardware, we move on to settings in software. The first thing I recommend you try if you haven't already done so is to restart your computer or laptop.
Restarting your computer or laptop restores certain processes and ensures that connected hardware such as a camera is detected again. A restart of your computer or laptop can solve the problem of the Skype camera not working.
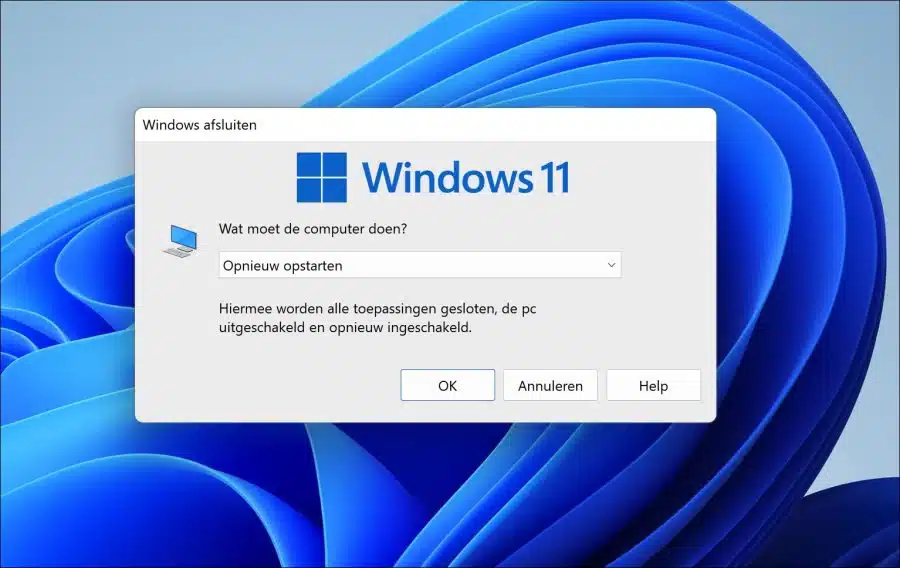
Press the key combination ALT + F4 and select “Restart”. Click “OK” to restart your computer. After the restart, return to this article if the problem is not resolved.
Check if Skype Camera has access
You can give certain apps access to features in Windows 11. For example, you need to give the Skype app access to the camera so that Skype can control the camera via the app permissions. If this permission is not granted, the camera in Skype will not work.
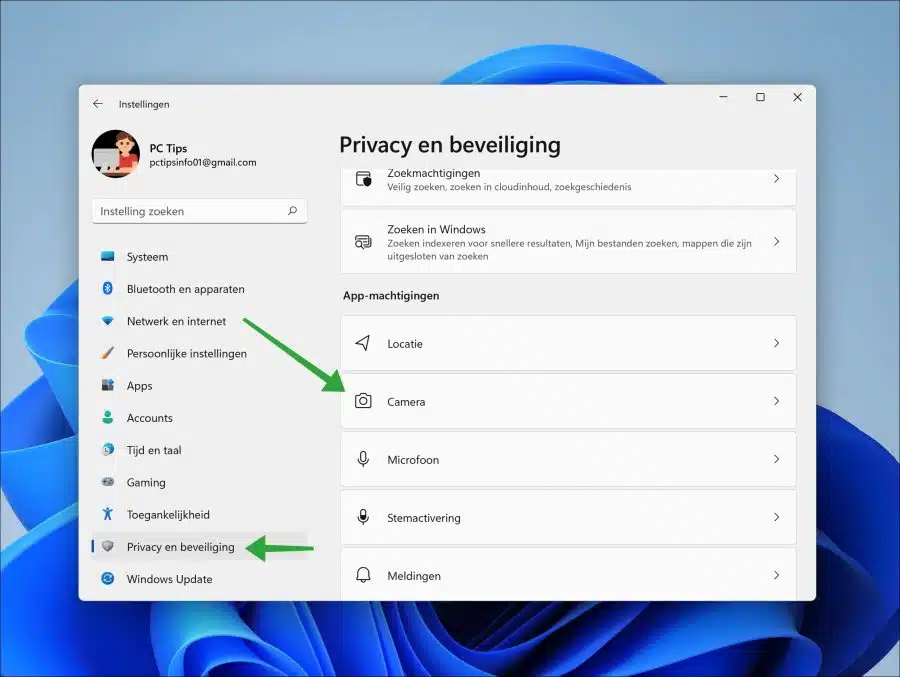
Right-click on the Start button. Click on “Settings” in the menu. In the settings, click on “Privacy and security”. At the bottom of the “app permissions” click on “Camera”.
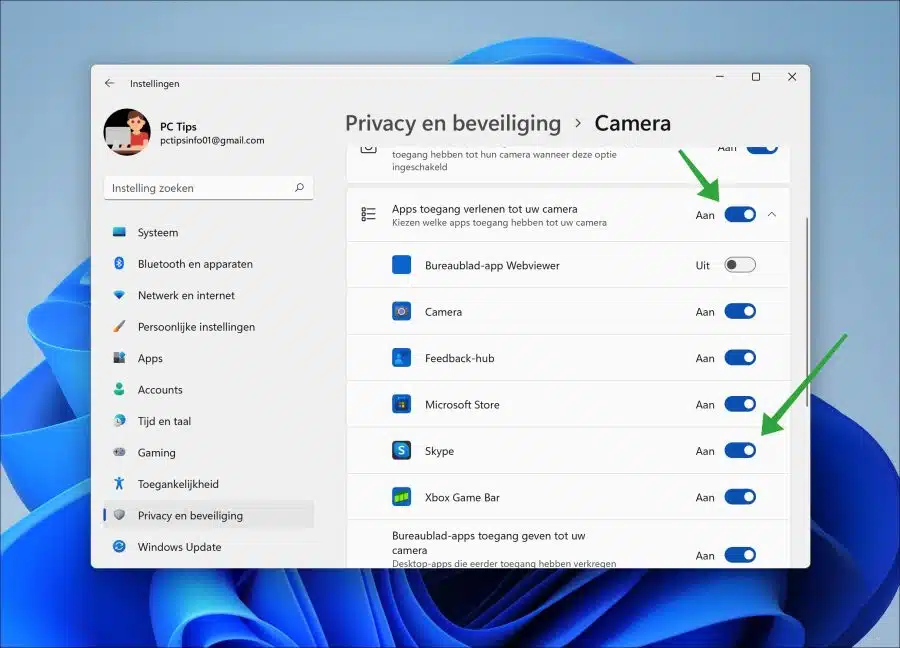
Make sure the “Allow apps to access your camera” option is enabled and “Skype” is enabled. You have now granted Skype permission to use the camera.
Set up camera in Skype app
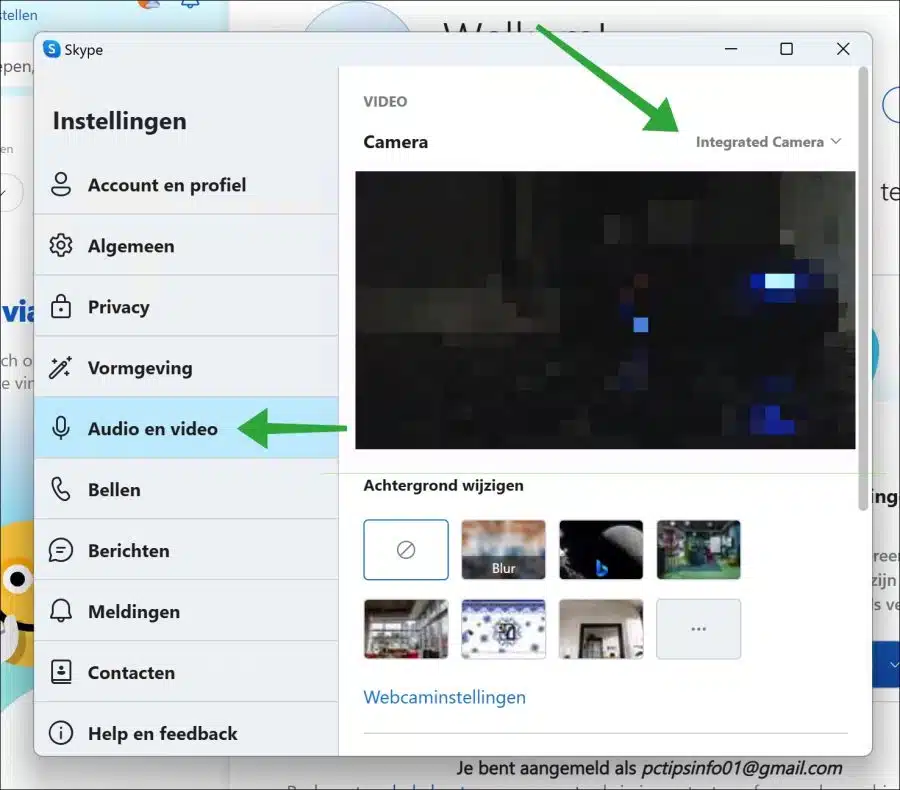
If you use an external camera, this is a camera that is not built into your computer or laptop, you can set this camera in the Skype app. You can set which camera should be used in the Skype app. This is the “integrated camera” by default, but must be changed for an external camera.
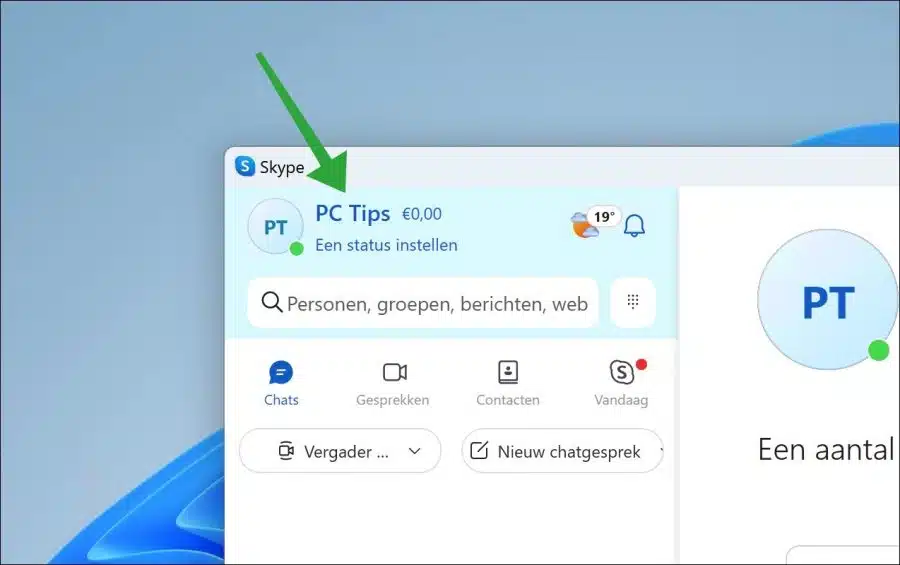
Open the Skype app. Click on your name at the top right.
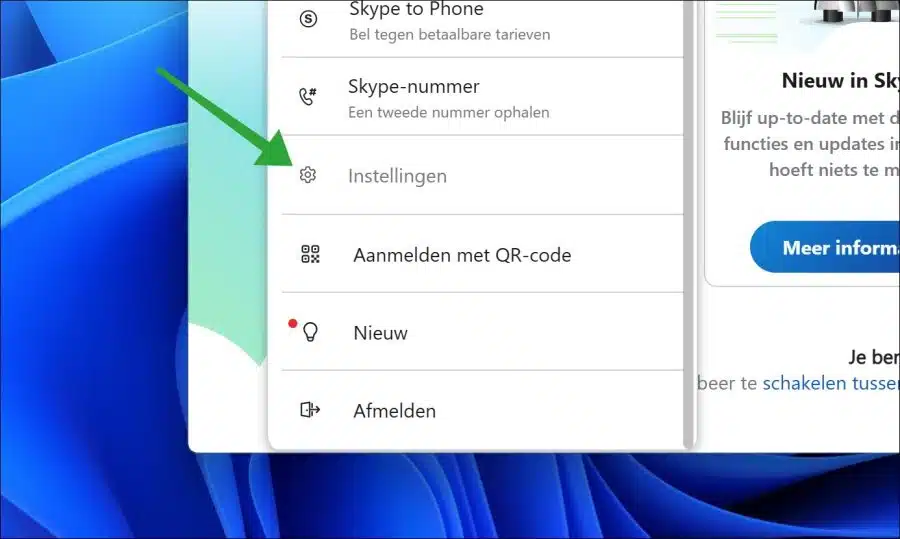
Then click on “settings” in the menu.
In the settings, first click on “Audio and video” and then change the camera by selecting the desired camera in the camera settings.
Reinstall Skype
If nothing has helped yet, you can reinstall Skype. You do this by searching for “Skype” via the taskbar. Then click on “remove".
Also read: Where are Microsoft Store apps installed?

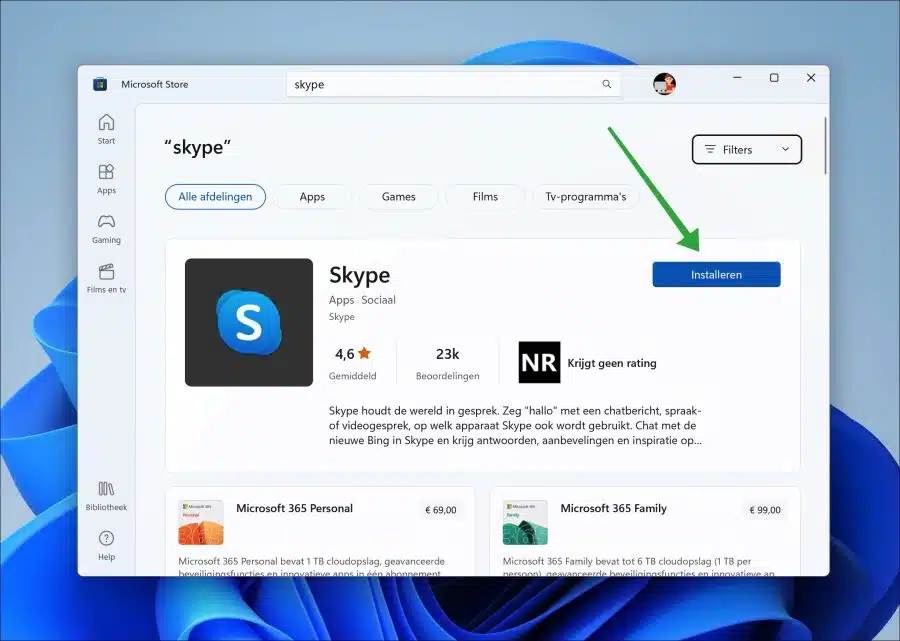
Now open the Microsoft Store and search for Skype. Then click the “Install” button to reinstall Skype.
I hope this helped you. Thank you for reading!
Also read: Skype does not start when logging in in Windows 11.