
Een veel gestelde vraag is hoe Windows 11 naast Windows 10 kan worden geïnstalleerd? Daarvoor zijn verschillende manieren mogelijk. In dit artikel leest u hoe u Windows 11 kunt installeren naast Windows 10 via dual-boot.
Als u dual-boot gebruikt dan kunt u tijdens het opstarten van de PC kiezen of u Windows 10 wilt starten of Windows 11.
In feite, installeert u dus twee Windows-versies naast elkaar in verschillende partities op dezelfde schijf.
Meld u dan aan voor onze nieuwsbrief.
Windows 11 naast Windows 10 installeren via Dual boot
Stap 1: Windows 11 installatie media aanmaken op een USB-stick
U heeft nodig een USB stick. Daarmee maakt u een Windows 11 installatie volume mee aan.
Het is aan te raden om een PC te gebruiken die geschikt is om Windows 11 op te kunnen installeren. Dit is geen vereiste omdat ik ook in dit artikel zal toelichten hoe u Windows 11 op een niet ondersteunde PC kunt installeren.
Als u van plan bent om Windows 11 naast Windows 10 te installeren op een PC waarvan u al weet of vermoed dat deze officieel Windows 11 niet ondersteunt, dan maakt u een USB-stick aan met de stappen uit dit artikel (klik). In dat artikel gebruikt u methode 4 om een USB-stick aan te maken!
Dit hoofdstuk “Stap 1: Windows 11 installeren op een USB-stick” slaat u over en gaat door naar hoofdstuk “Stap 2: Primaire partitie in Windows 10 verkleinen” en volgt daarna alle verdere informatie uit dit artikel Stap 3 & Stap 4.
Weet u zeker dat de PC waar u Windows 11 naast Windows 10 op gaat installeren, ook daadwerkelijk Windows 11 ondersteunt? Ga dan door ↓ Zo niet? Lees bovenstaande ↑ in rood.
Als eerste gaan we een “media creation tool” gebruiken om de installatie-bestanden van Windows 11 op een USB-stick te plaatsen. Deze USB-stick hebben we later nodig.
Open de browser en ga naar de website: https://www.microsoft.com/nl-nl/software-download/windows11
Klik op de “Download nu” knop in het hoofdstuk “Installatiemedia voor Windows 11 maken”.

Er wordt nu een hulpmiddel genaamd “Media Creation tool” gedownload naar uw computer. Plaats nu de lege USB-stick in uw PC en open de “media creation tool”.
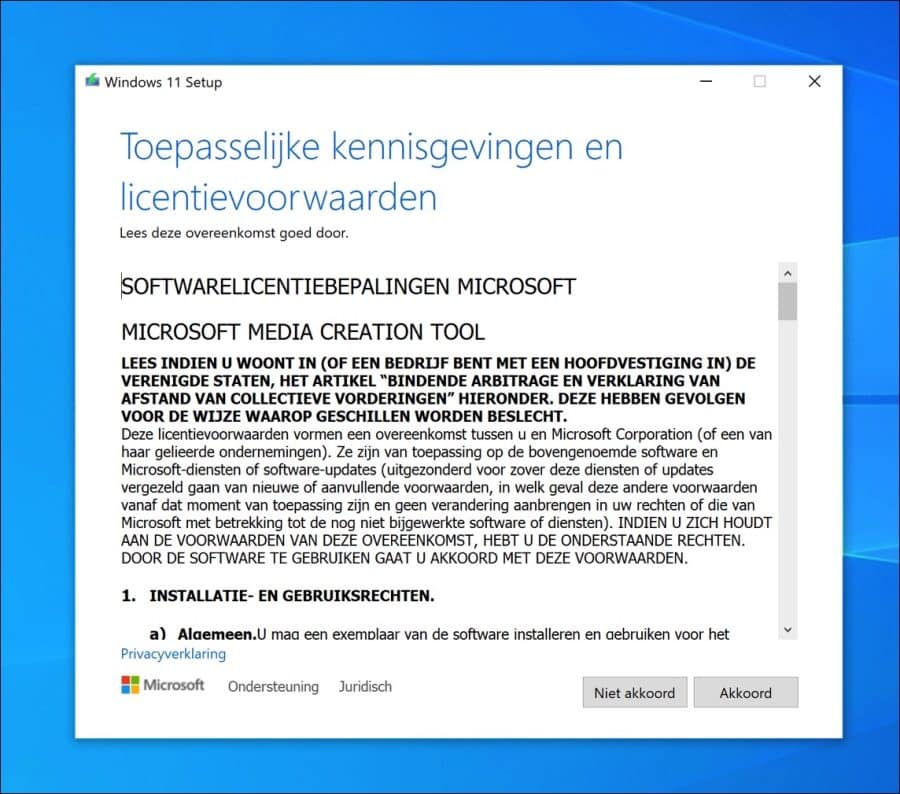
Accepteer de licentievoorwaarden door op “akkoord” te klikken.
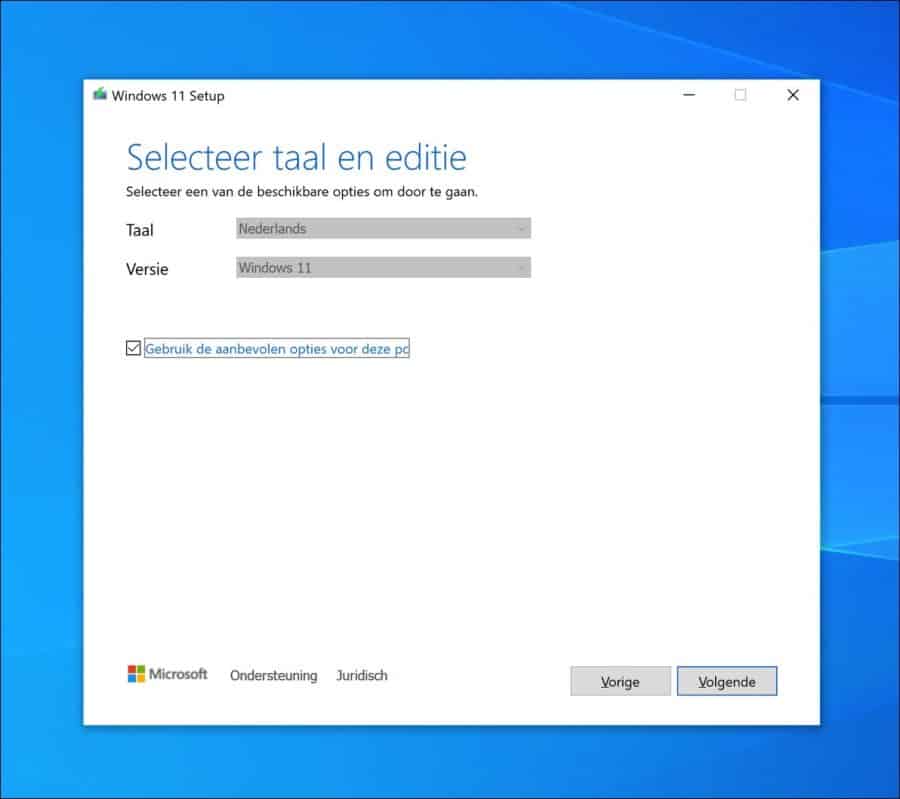
Standaard wordt de Nederlandse taal voor Windows 11 geselecteerd. De optie “Gebruik de aanbevolen opties voor de pc” is ingeschakeld. Indien u een andere taal wenst dan schakelt u deze optie uit en selecteert u de gewenste taal.
Klik op volgende als u akkoord bent met Nederlands.
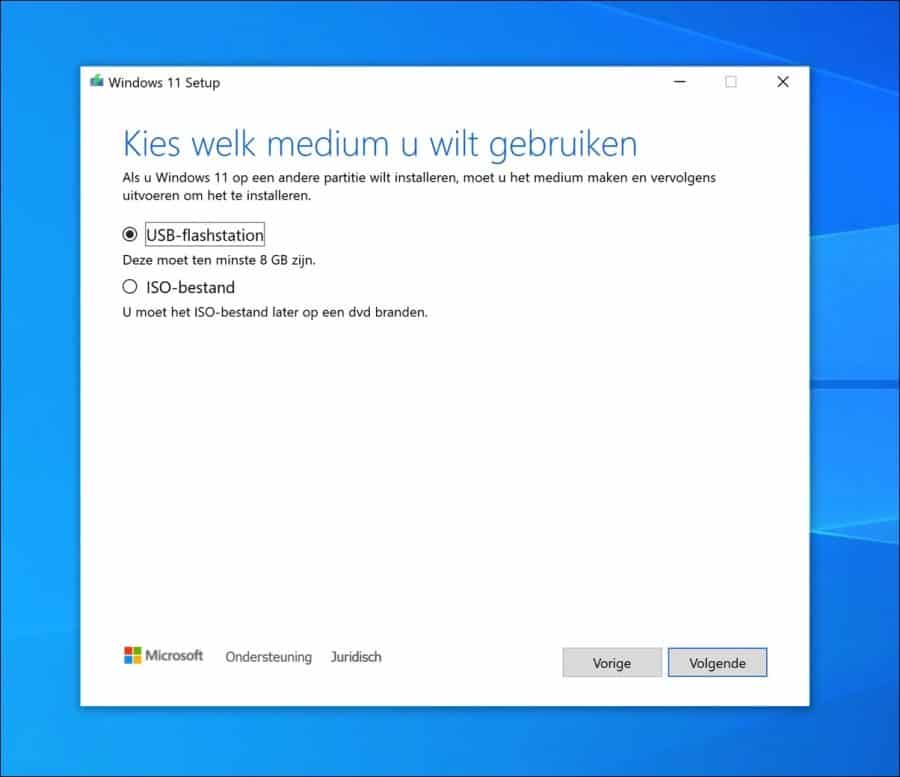
Selecteer “USB-flashstation” en klik op volgende.
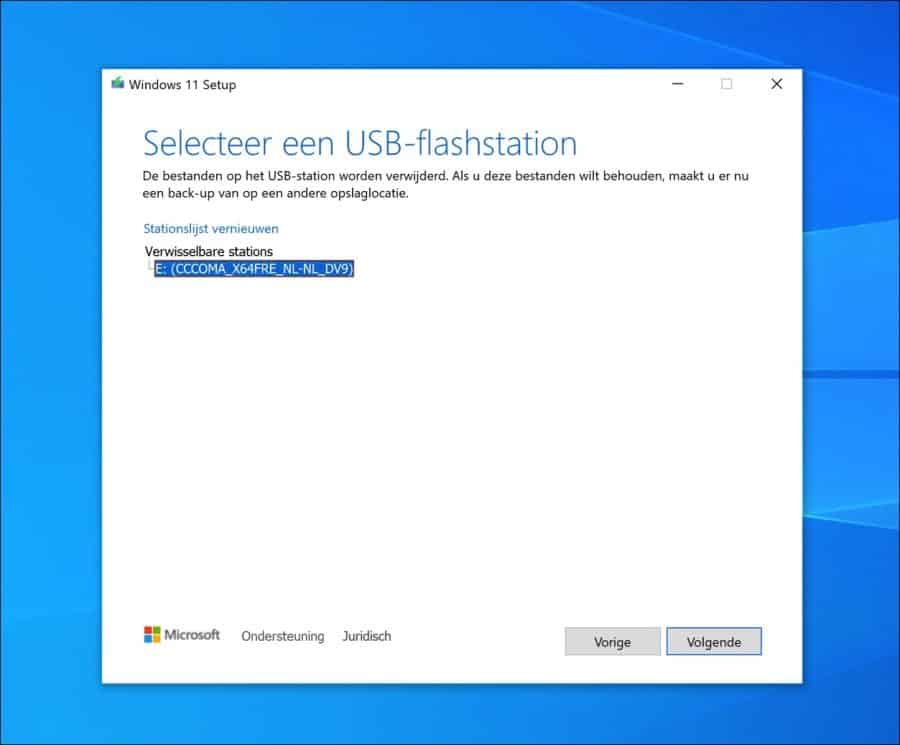
Zorg dat de USB-stick in uw PC wordt gedetecteerd. Selecteer de USB-stick in de lijst en klik op volgende.
Windows 11 wordt nu gedownload naar uw computer. Na het downloaden worden de Windows 11 installatie-bestanden gekopieerd naar de USB-stick.
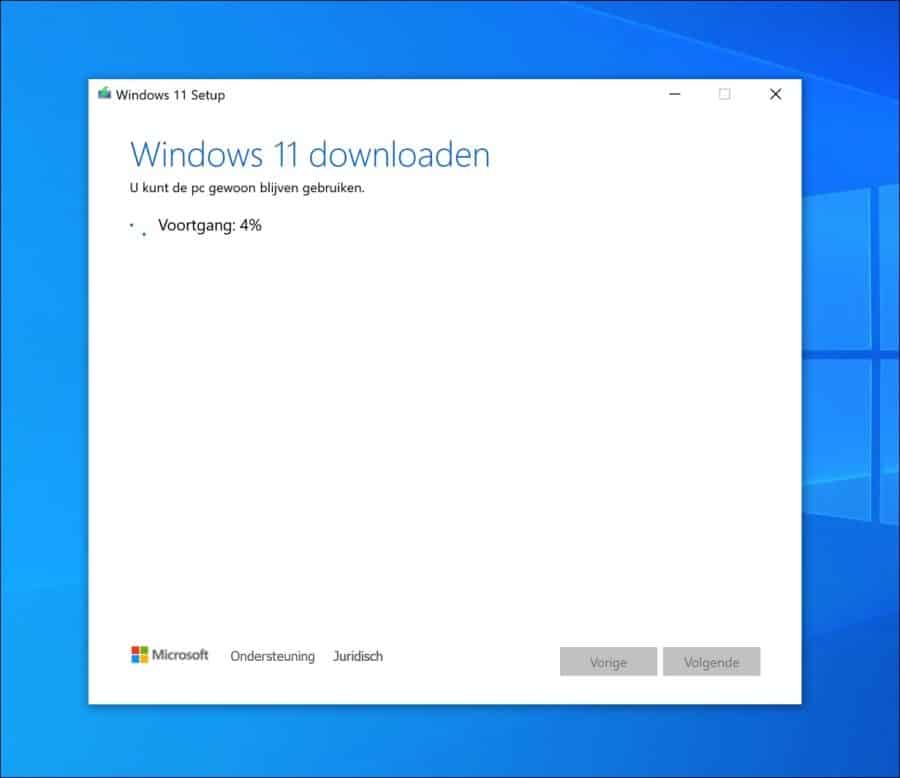
Klik op voltooien als het aanmaken van de Windows 11 installatie-bestanden op de USB-stick is afgerond.
Stap 2: Primaire partitie in Windows 10 verkleinen
Als de USB-stick is aangemaakt is het tijd om de primaire partitie te verkleinen. Hiermee maken we extra data vrij die we kunnen gebruiken om een nieuwe partitie aan te maken. Op deze nieuwe partitie gaan we dan Windows 11 installeren en we laten de originele partitie zoals deze is. Op de originele partitie staat Windows 10 geïnstalleerd en daar gebeurt niets mee.
Een partitie is een deel van de harde schijf dat van andere segmenten is gescheiden. Partities stellen gebruikers in staat een fysieke of virtuele schijf in logische secties te verdelen. Zo kunnen bijvoorbeeld meerdere besturingssystemen op hetzelfde apparaat worden geïnstalleerd.
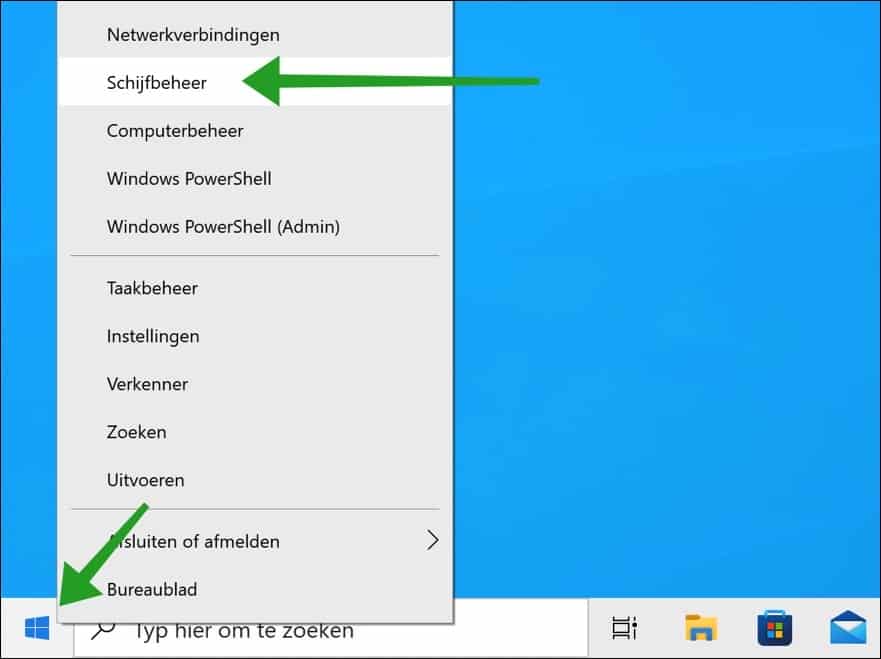
Klik met de rechtermuisknop op de Startknop in Windows 10. In het menu klik op Schijfbeheer.
Dit stukje is een beetje tricky, dus a.u.b. volgt u mijn stappen goed. Als u op enige punt denkt dit gaat niet lukken, ga dan niet verder. Als het misgaat dan kunt u Windows onbruikbaar maken.
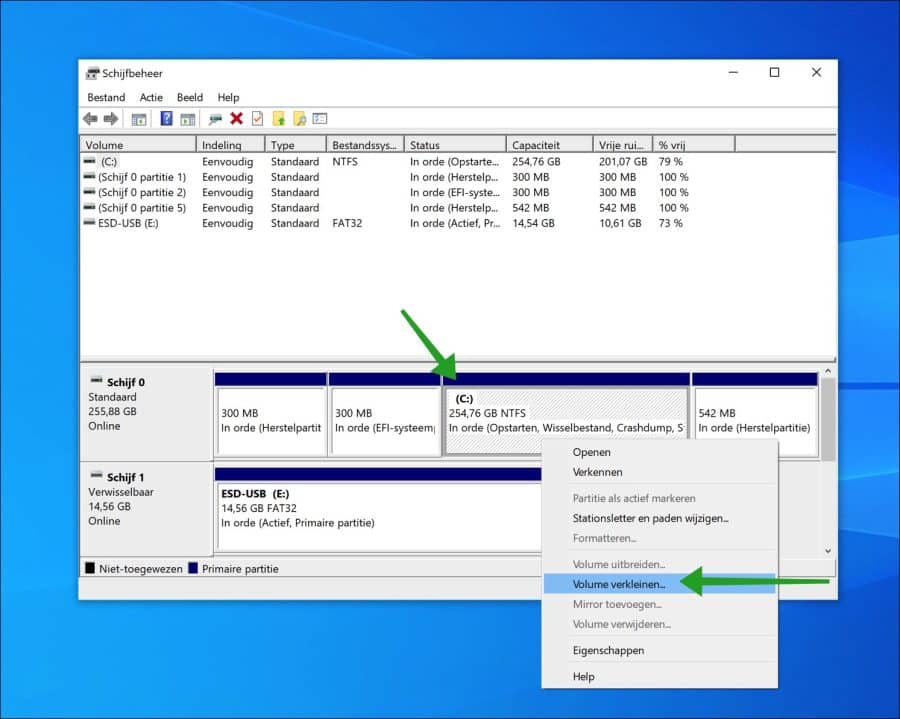
In schijfbeheer ziet u een “C:\” partitie. Naast de C:\ ziet u mogelijk nog een D:\ of “herstelpartitie”. Het gaat om de “C:\” partitie.
Klik erop met de rechtermuisknop op en klik op “volume verkleinen”.
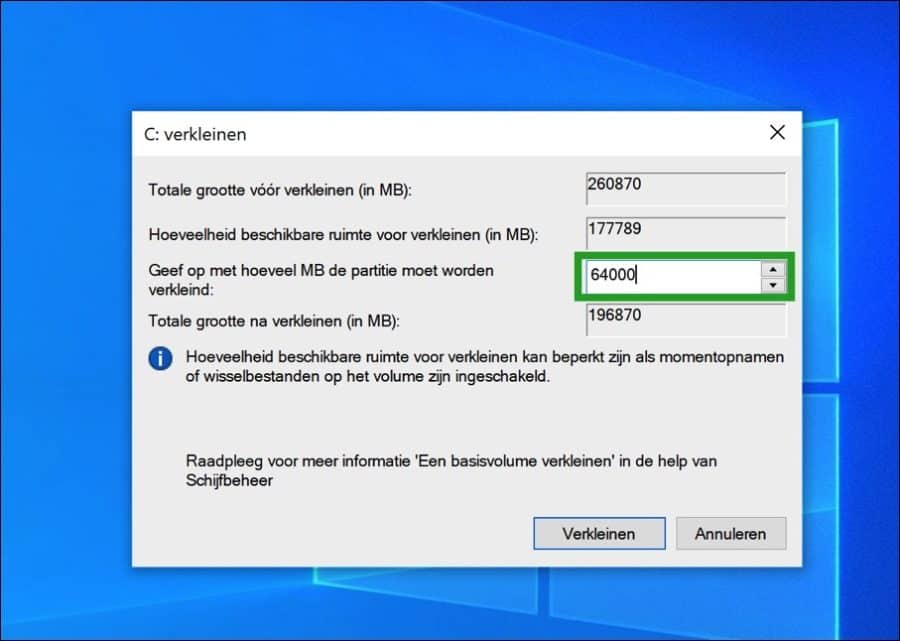
U ziet nu eerst de totale grootte van de schijf en daarna de beschikbare ruimte om te verkleinen in MB’s. Dit is standaard de overige ruimte. Als een schijf dus standaard 250GB aan totaal volume heeft dan gaat daar nog de data die al geïnstalleerd is af (in dit geval Windows 10). De overige data zal Windows adviseren om te verkleinen. Dit gaan we niet doen.
In het veld “Geef op met hoeveel MB de partitie moet worden verkleind” geeft u op hoeveel MB’s u wilt toewijzen aan de nog aan te maken Windows 11 installatie. Windows 11 heeft standaard minimaal 64GB nodig (dat is 64000MB). U kunt meer opgeven als u wilt, als de vrije schijfruimte het toelaat.
Maak u doordachte keuze, controleer of het ook mogelijk is, geef het aantal MB in voor de Windows 11 installatie en klik op “Verkleinen”.
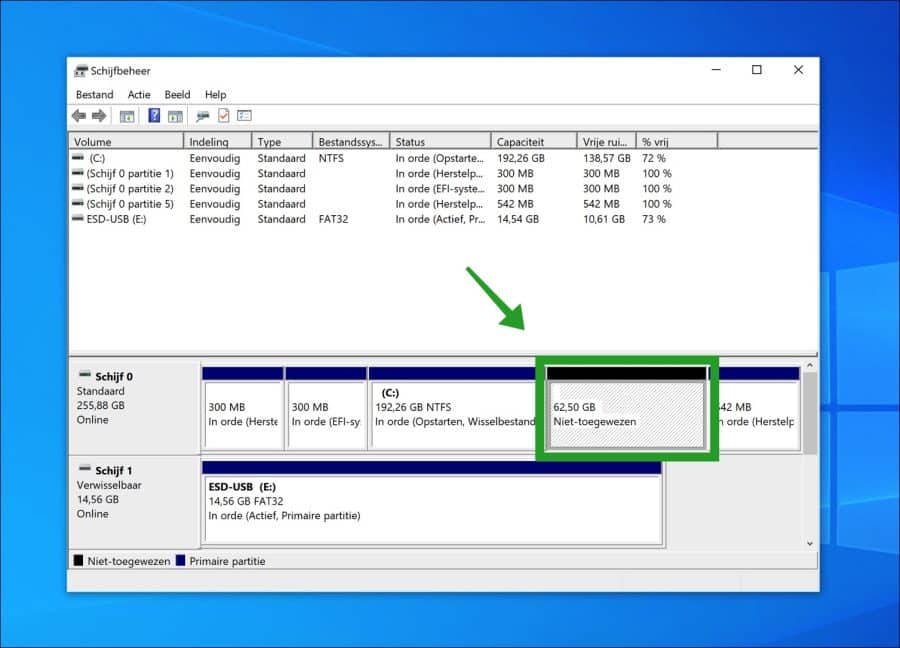
U ziet nu de “niet toegewezen” data op de schijf. Hierop gaan we Windows 11 installeren naast Windows 10.
Stap 3: Opstarten vanaf de Windows 11 installatie USB-Stick
Als u de USB-stick met de Windows 11 installatiebestanden uit de Windows 10 PC heeft gehaald, plaats dan de USB-stick terug. Controleer of deze door Windows 10 wordt gedetecteerd.
Open het Start menu. Houdt de SHIFT knop ingedrukt en klik op de aan/uit knop. In het menu klik op “Opnieuw opstarten” terwijl u nog steeds de SHIFT knop op uw toetsenbord ingedrukt houdt.
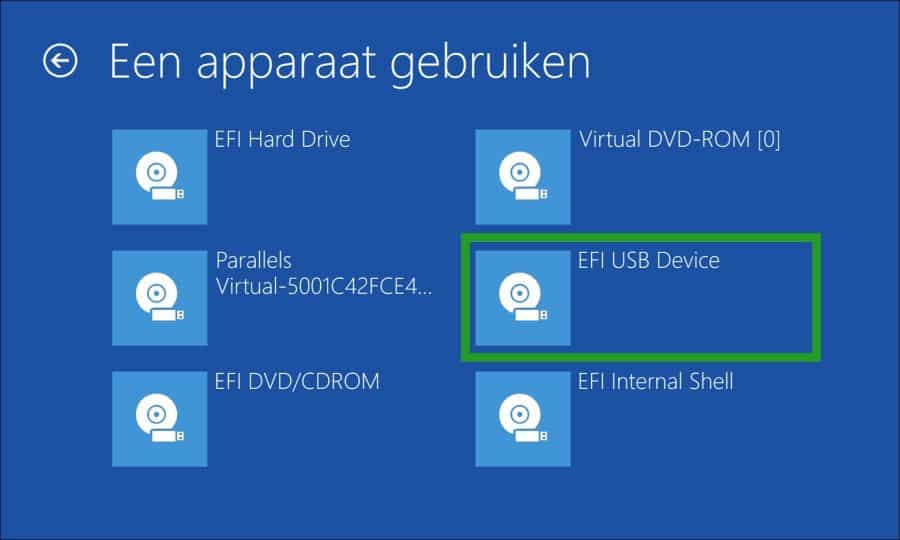
De geavanceerde opstartopties worden weergegeven. Klik op “een apparaat gebruiken”.

Controleer of hier de USB-stick tussen staat. De USB-stick heeft meestal de naam “EFI USB Device” een andere naam is ook mogelijk. Klik op het USB apparaat.
Stap 4: Windows 11 naast Windows 10 installeren
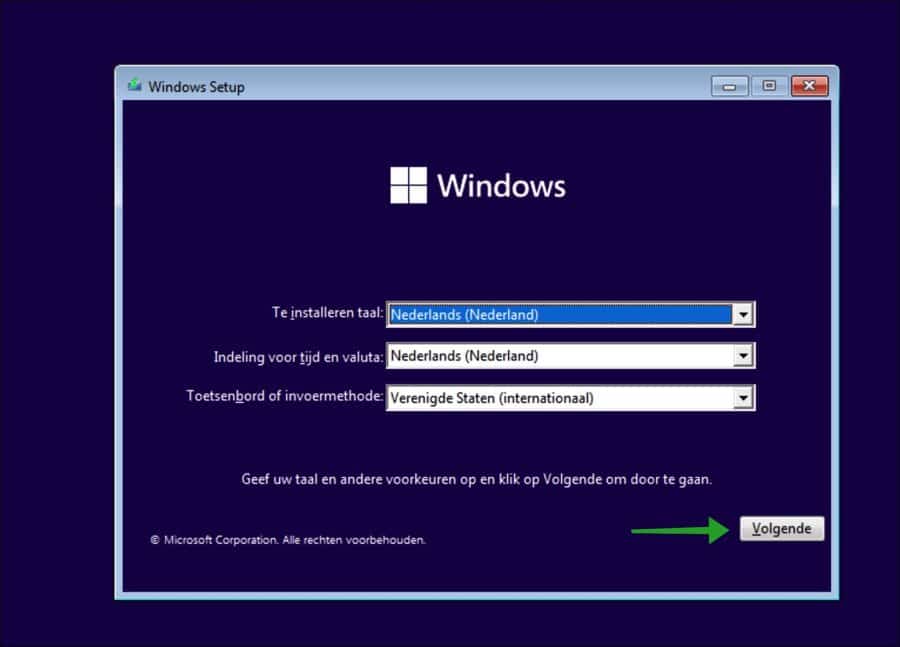
De computer gaat nu opstarten vanaf USB en start de Windows 11 installatie. Controleer de gewenste taal instellingen etc. en klik op volgende.
Als u een Windows 11 productcode heeft dan geeft u deze in. Zo niet, dan klikt u onderaan op “Ik heb geen productcode”, dat komt later wel. Klik op volgende.

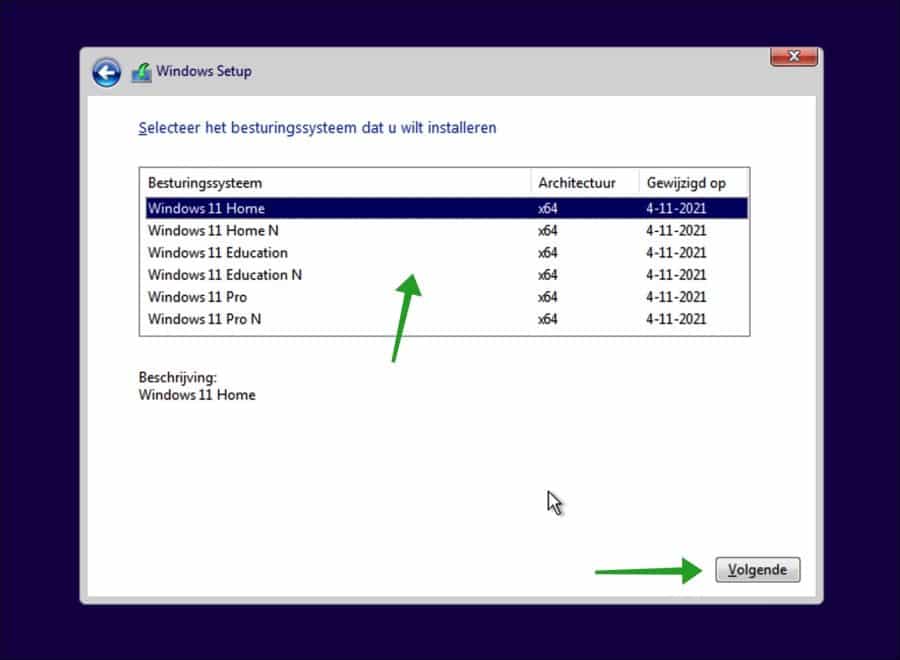
Maak een keuze welke Windows 11 versie u wilt installeren. Klik op volgende.
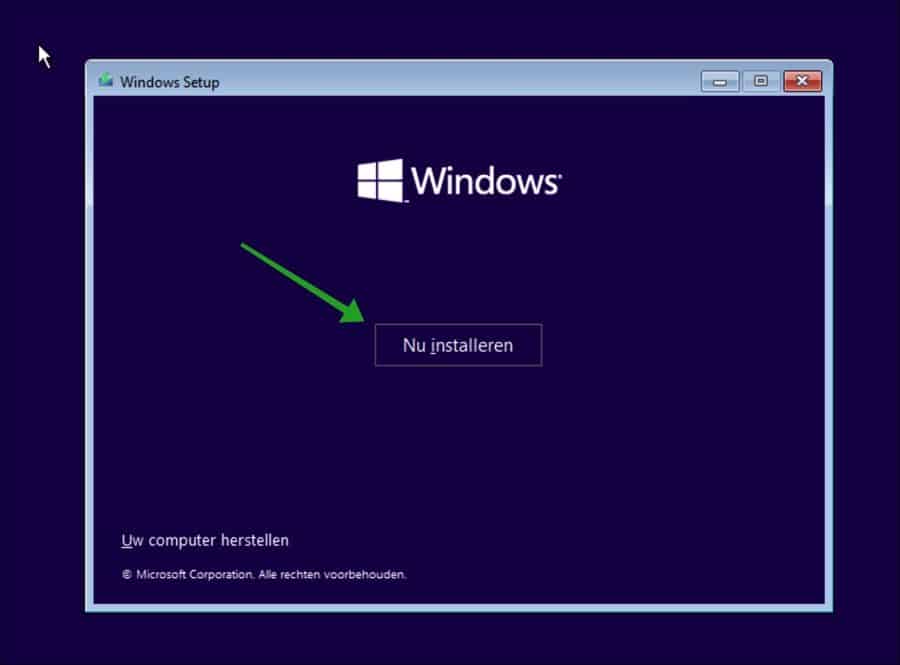
Klik op de “Nu installeren” knop om verder te gaan met de Windows 11 installatie.
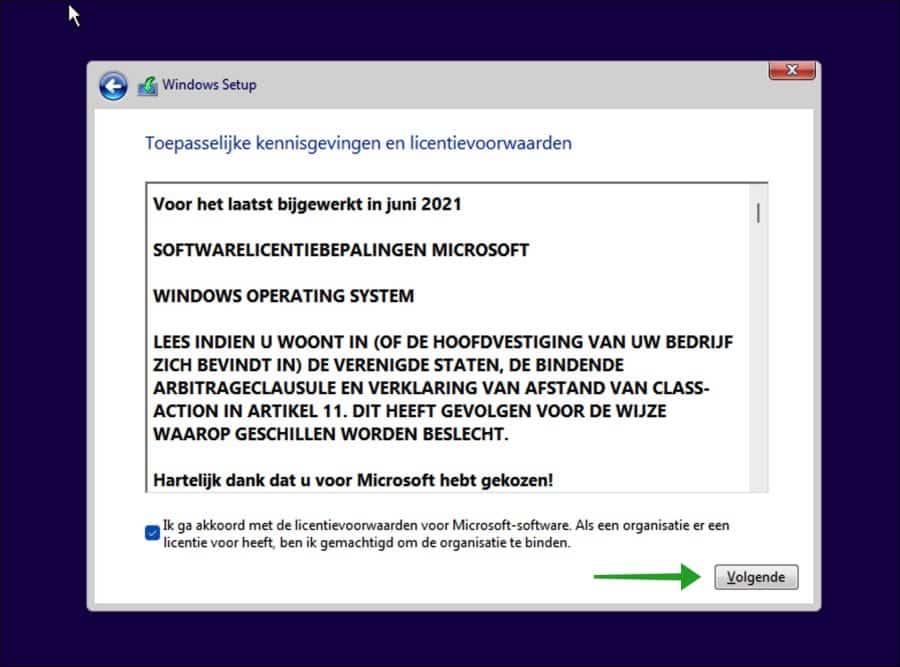
Accepteer de licentievoorwaarden en klik op volgende.
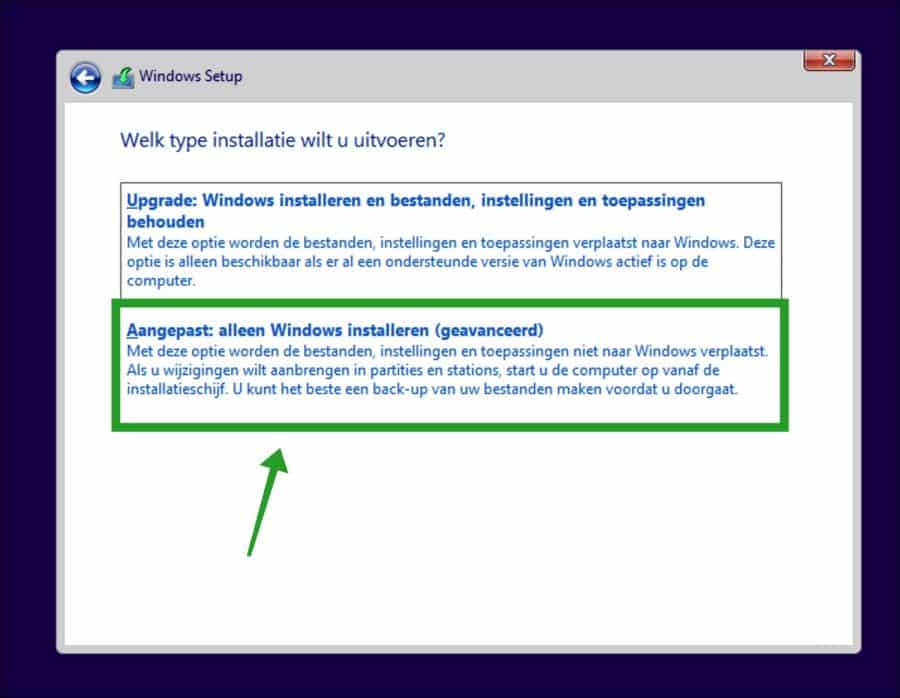
Dit is belangrijk, klik hier op “Aangepast: alleen Windows installeren (geavanceerd)”.
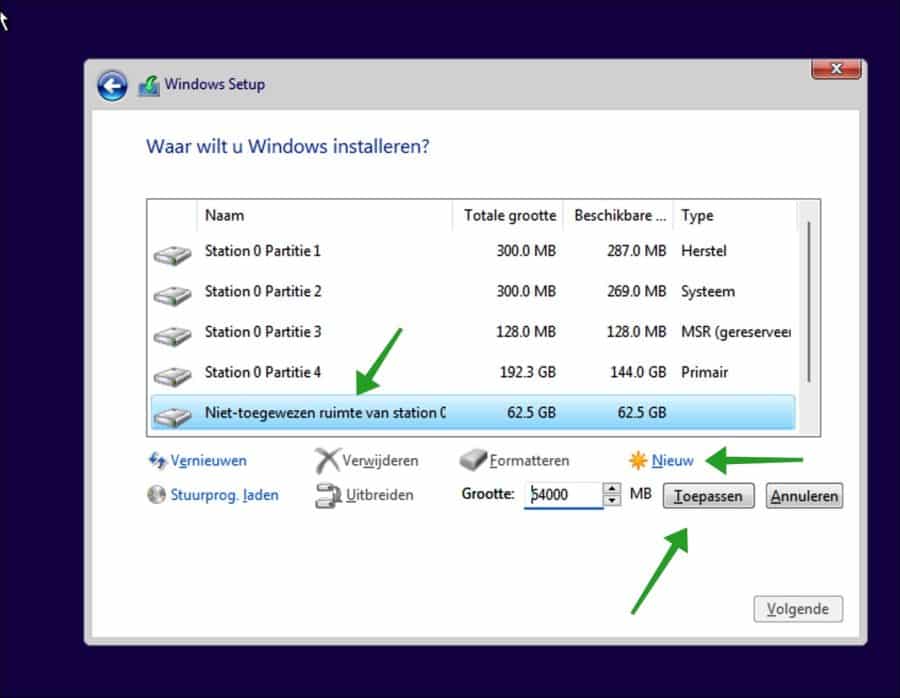
U ziet nu een overzicht van allerlei partities om Windows 11 op te installeren. Klik op de “Niet toegewezen ruimte” met de totale grootte die u eerder vrij heeft gemaakt via Schijfbeheer in Windows 10. Klik daarna op “Nieuw” en daarna op “toepassen.
U kunt nu op de volgende knop klikken.
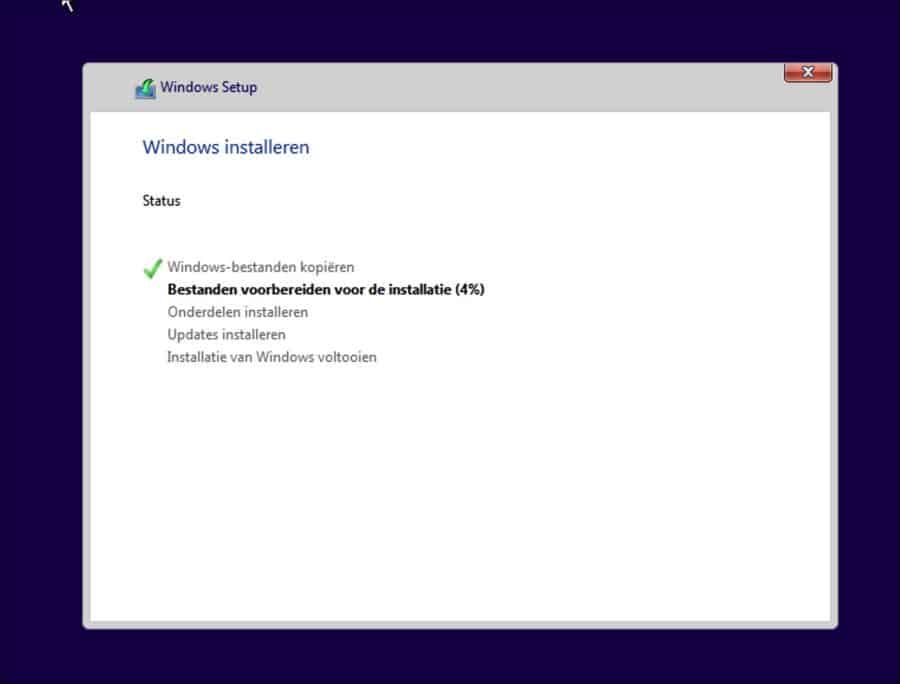
Windows 11 wordt nu geïnstalleerd op uw PC. Dit duurt even.
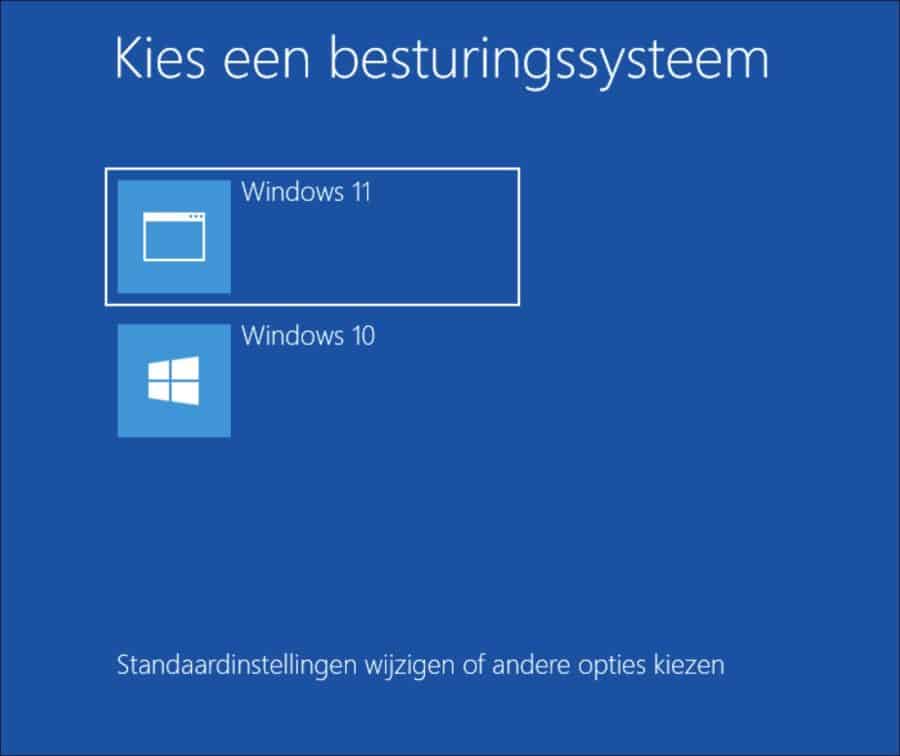
Na de installatie en een herstart van uw PC ziet u het volgende scherm waar u een keuze kunt maken om een besturingssysteem te starten.
U kunt kiezen uit “Windows 11” of “Windows 10”.
U heeft nu met Success Windows 11 naast Windows 10 geïnstalleerd in een dual-boot configuratie. De installatie van Windows 11 kunt u nu verder afronden.
Ik hoop u hiermee geholpen te hebben. Bedankt voor het lezen!
Beste Stefan,
Wil dualboot installeren via methode 4
USB stick met Rufus gemaakt met het iso bestand.
Via Shift herstarten.
Dan krijg ikin het venster “Kies een optie” niet “Een apparaat gebruiken” te zien.
Daar loopt het dus vast.
Groet,
Wouter
Hallo, uw computer heeft mogelijk een andere manier om op te starten vanaf USB. Het hoeft niet via de geavanceerde opstartopties.
Lees meer: https://www.pc-tips.info/tips/windows-tips/hoe-start-ik-mijn-computer-op-vanaf-usb/
Succes!
Hallo Stefan,
Het lukt dus niet me tee usb-stick.
Kan ik ook een opstartbare dvd maken?
Groet,
Wouter
Hallo, jazeker. Dat kan ook met de media creation tool. U maakt dan een ISO-bestand, selecteer deze optie. Hierna brand u deze ISO op de DVD. Succes!