

As the time in Windows 11 or 10 is no longer synchronized with Microsoft's servers, you will receive error messages in various apps. A time or date that is incorrect prevents a secure SSL connection to servers.
SSL (Secure Sockets Layer) uses digital certificates to establish a secure connection between your computer and a server. These certificates contain information such as the identity of the certificate holder and the date the certificate was issued and expires.
One of the most important parts of SSL is the validation of the validity period of the certificate. This is done to ensure that the certificate is still valid and has not expired. Your computer or server compares the current one date and time with the “valid from” and “valid until” dates in the certificate. If the current date and time is outside this range, the certificate is considered invalid, and the SSL connection will not work.
Therefore, an incorrect time setting on your computer can cause SSL connections to fail, even if the certificate is valid. It is therefore important to ensure that the clock on your computer is set to the correct time to avoid this problem. So, if the time doesn't sync properly, you may get error messages when installing updates, visiting a website, or downloading updates in various installed apps.
Time sync fails in Windows 11 or 10
Set time automatically
To start, I recommend checking in the settings whether the time and date are automatically synchronized. A connection is then made to a time server via a service.
In most cases this is Microsoft's time server, namely time.windows.com. As the computer is part of a domain the time server may be set via a server in the domain.
Open the settings. Then click on “time and language” and then on “date and time”. Make sure the “Set time automatically” option is enabled.
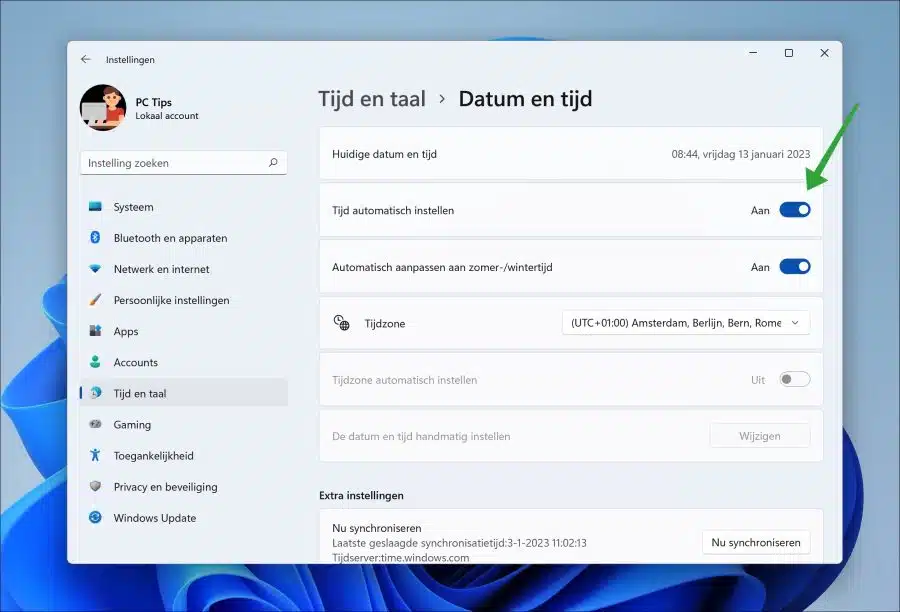
Then click on the “Sync now” button in the “additional settings”.
Set Windows Time service to automatic
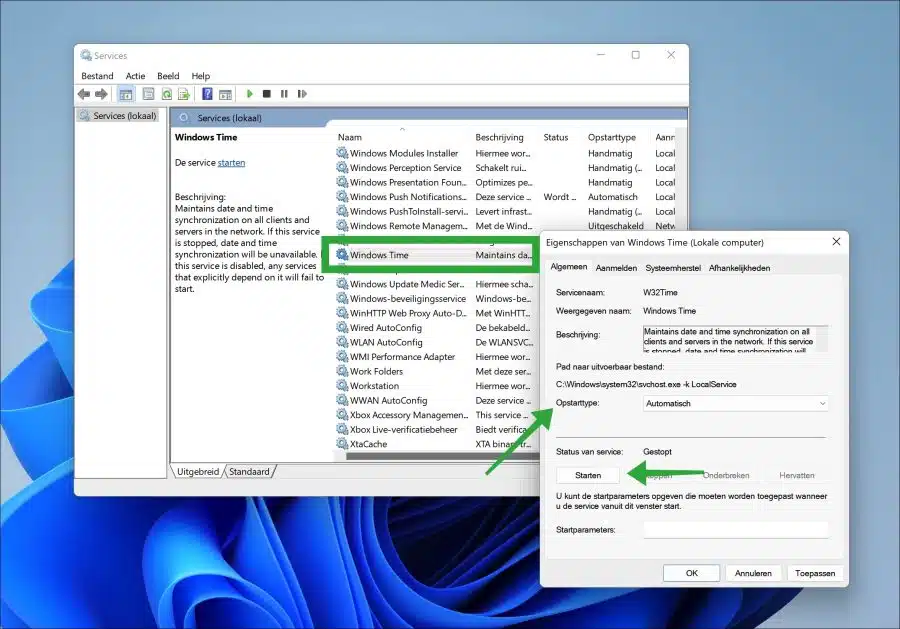
The “Windows Time” service maintains date and time synchronization on all clients and servers in the network. If this service is stopped, date and time synchronization will be unavailable. If this service is disabled, services that explicitly depend on it will not start.
Open the Services. Search for the “Windows Time” service and double-click it to open. In the service settings, change the “Startup type” option to “Automatic”. Then click the “Start” button to start the “Windows Time” service.
Now restart the computer. Immediately check whether the time and date are now synchronized.
Reset time settings
If you have unexpected problems with the time and date on your computer, resetting the time settings may help. Sets the default values for time and date.
Open a Command Prompt as administrator. Execute the complete commands, confirm each command with the enter key.
net stop w32time
w32tm /unregister
w32tm /register
net start w32time
w32tm /resync
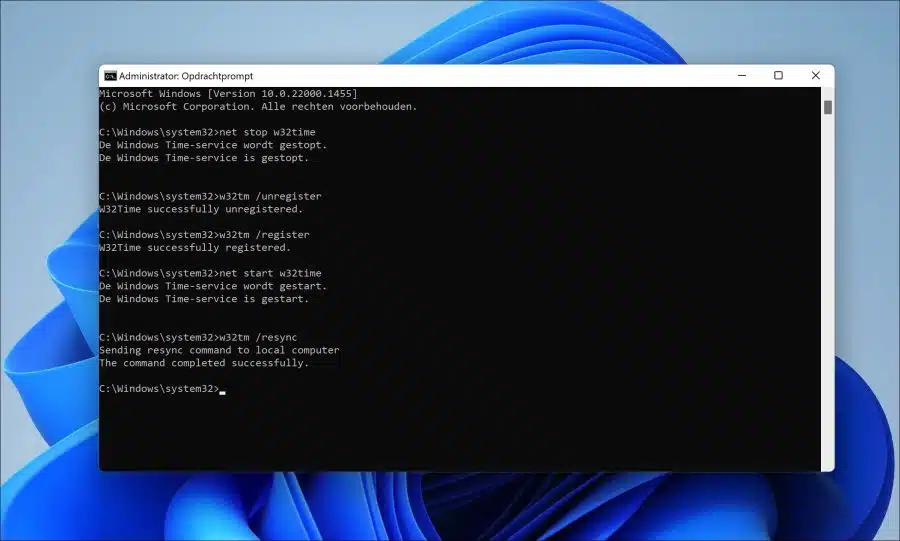
Restart your computer and check whether the time and date are now synchronized correctly.
Repair system files on your computer
If there system files are damaged then you can have Windows 11 or 10 repair it itself. This also applies to files related to time and date. I recommend running the automatic repair process “SFC” to fix the time and date synchronization problem.
SFC means “System File Checker”. It is a built-in Windows utility that scans the system files on your computer and replaces those found to be corrupt or missing. This tool checks the integrity of all protected system files and replaces incorrect versions with correct Microsoft versions.
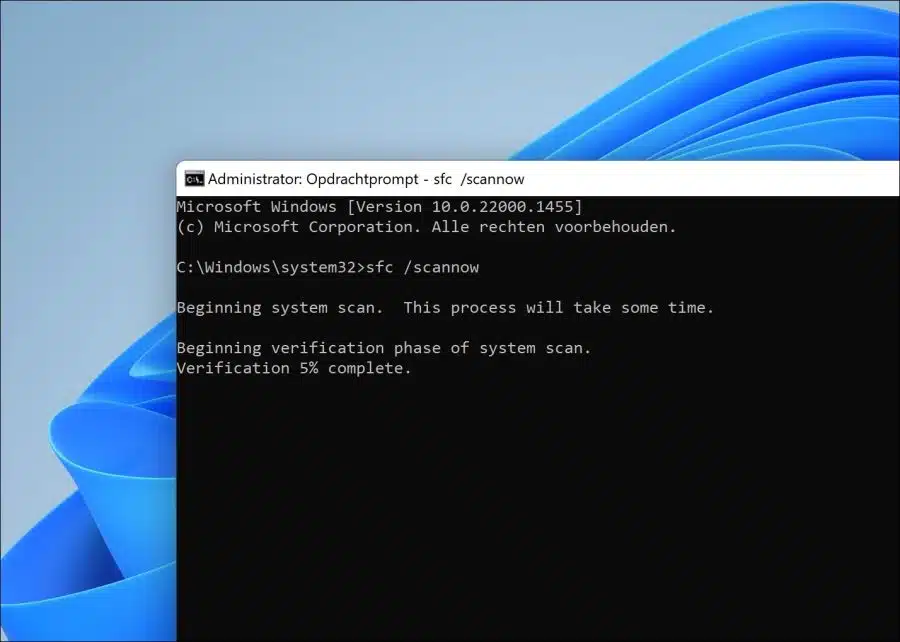
Open a Command Prompt as administrator. Then enter the following command to run SFC. This process takes 10-30 minutes, do not interrupt the SFC process.
sfc /scannow
I hope this has helped to resolve time synchronization issues in Windows 11 or 10. If it didn't work, you can use the app “nettime” use to force time. Thank you for reading!